
Supplies:
Champagne flutes (4 pack at Target for $9.99)
Gold Vinyl
Silhouette CAMEO or Portrait
Circle Confetti (Design ID #45405)
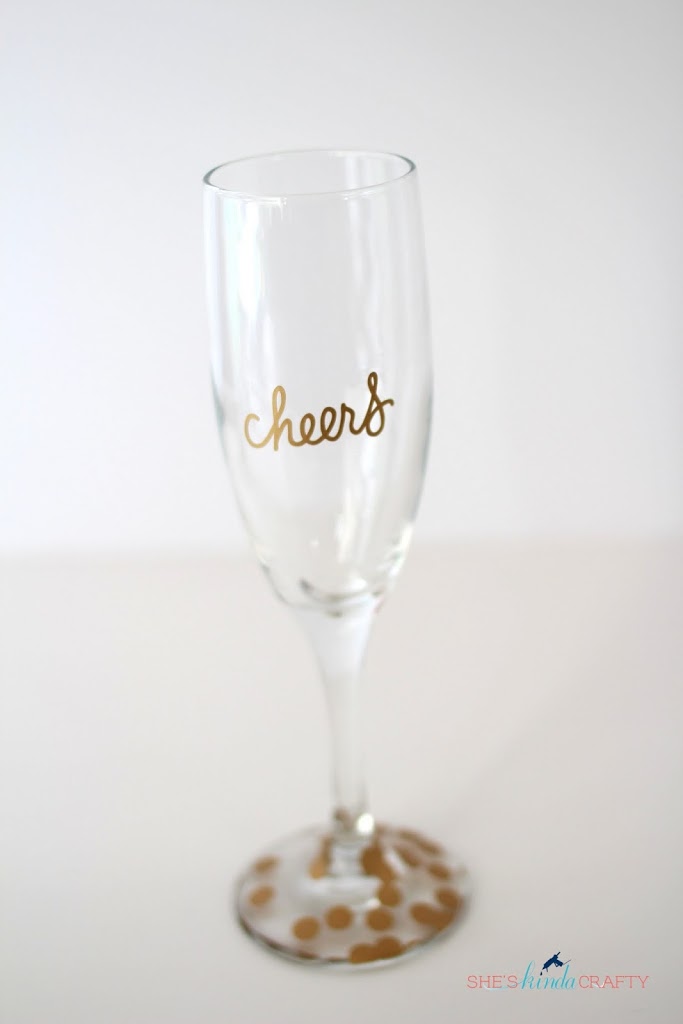
Cheers (Design ID #24001)
Weeding hook
Transfer paper or contact paper
Scissors
Directions:
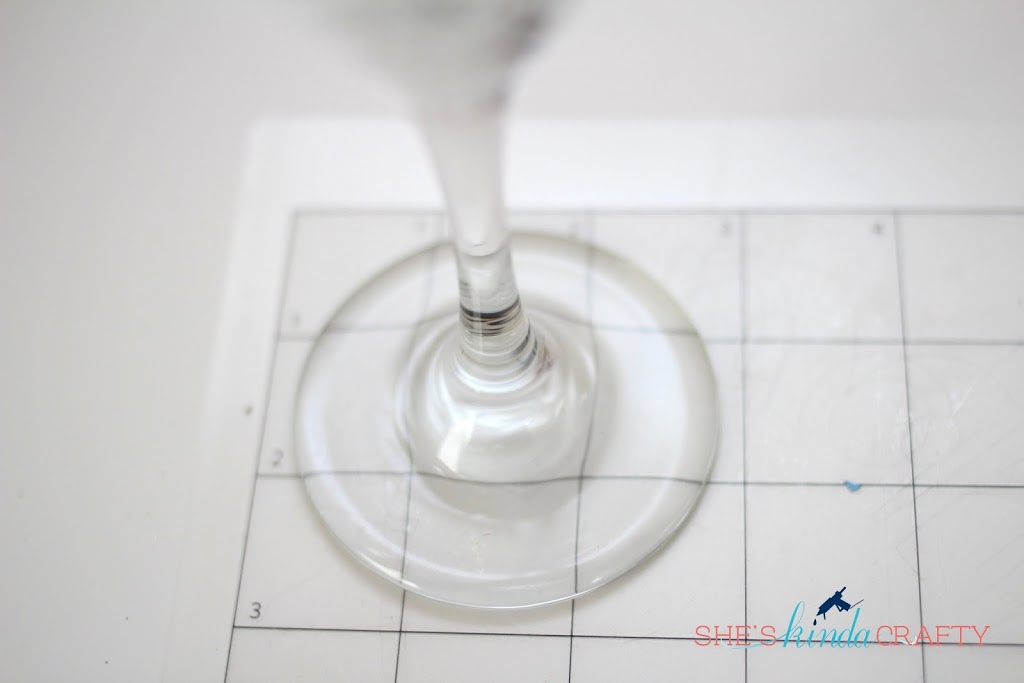
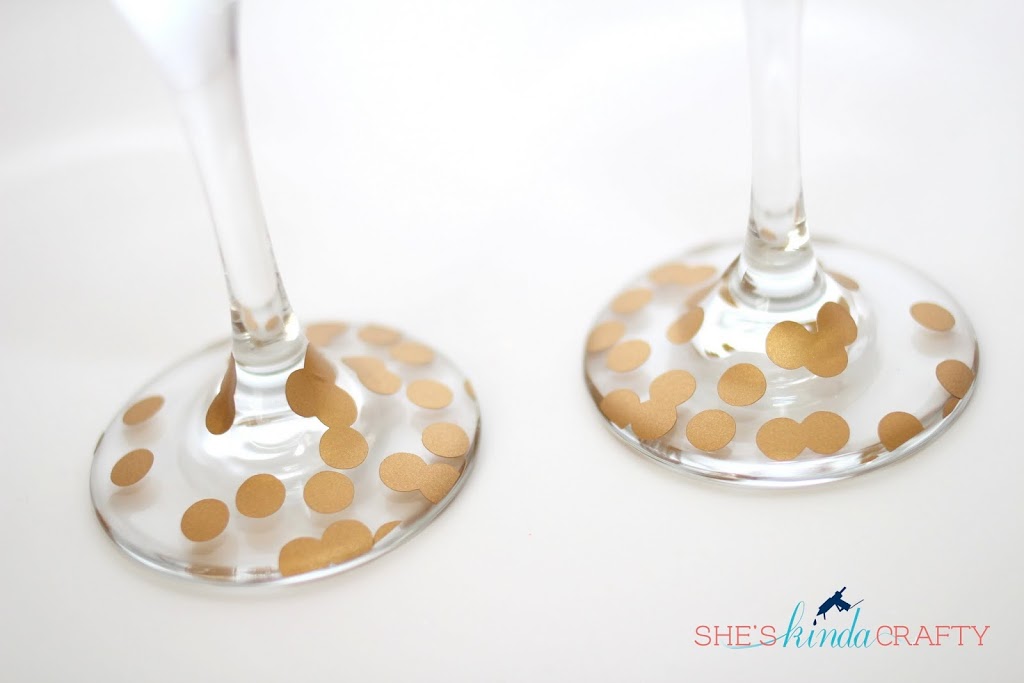
– Measure the base of your champagne flute, I found it was easiest to just place it on my cutting mat
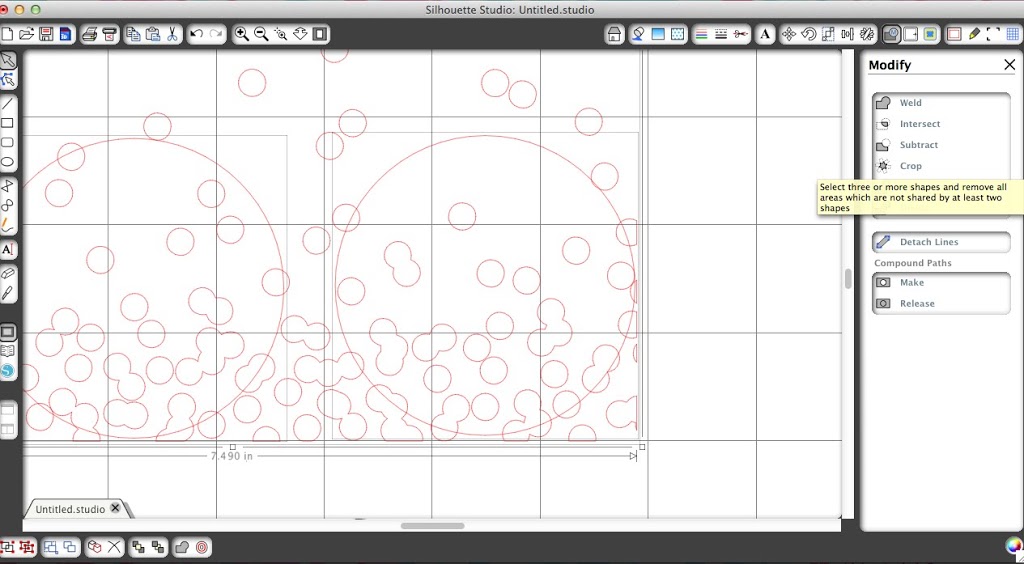
– In Silhouette Studio open a new file and bring in Circle Confetti design and Cheers design
– Draw a circle a tad bit bigger than your champagne flute base, duplicate for each glass you want to make
– Place your circle on top of your confetti design
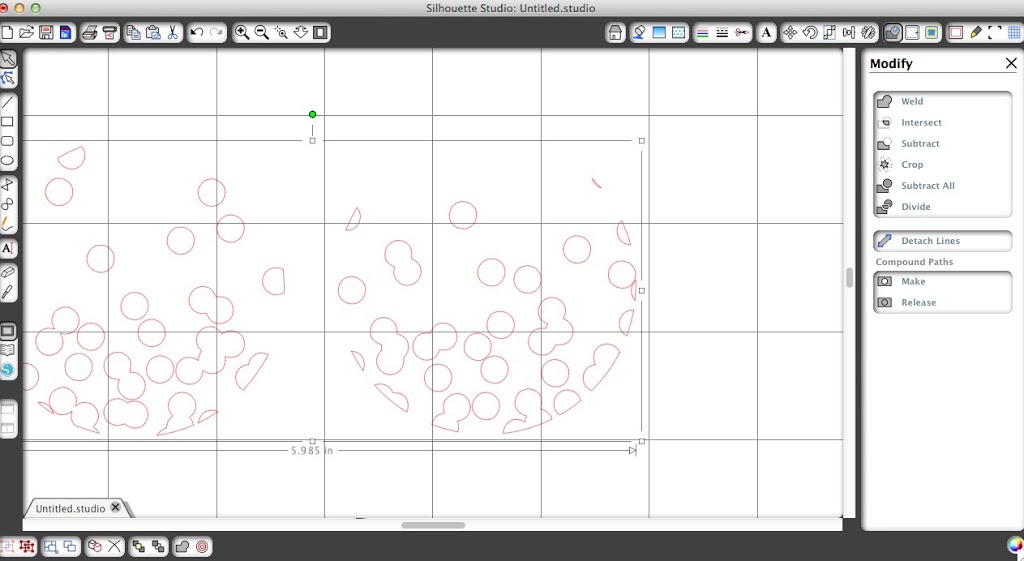
– Select your circles and while holding SHIFT select your Circle Confetti design then in the modify window click CROP (see screenshot below). Before pressing anything else click on GROUP in the bottom left corner.
– Arrange the confetti base circles along with “Cheers” onto your drawing area. I like to maximize my vinyl usage as you can see below in how I cut mine all close together.
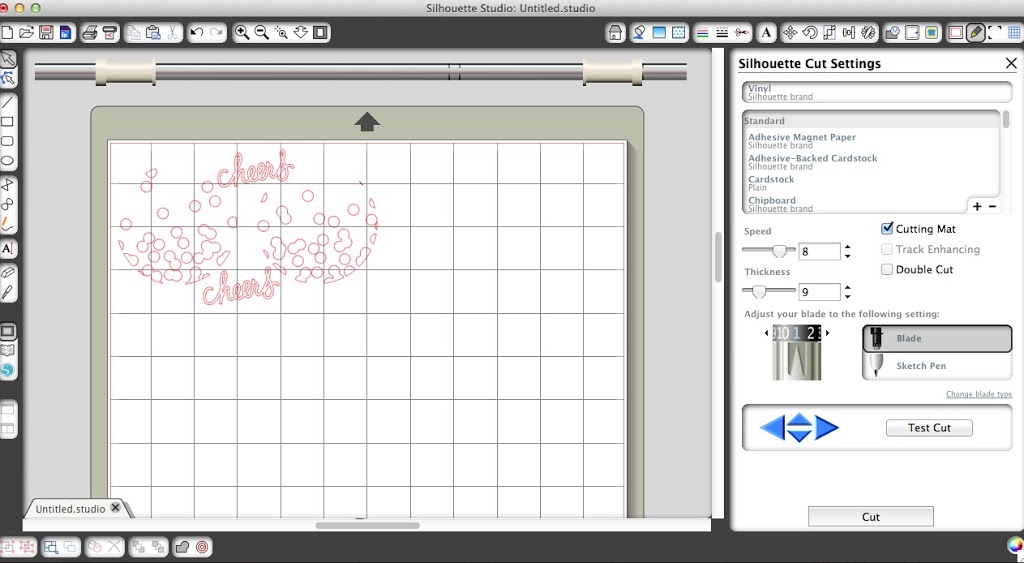
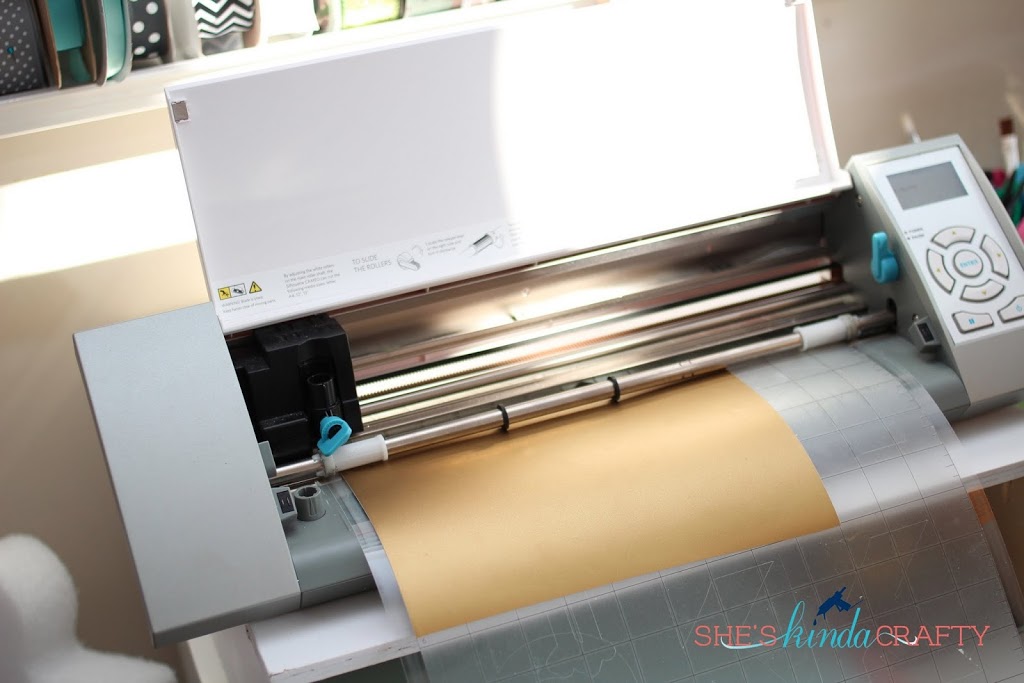
– Place your vinyl in your machine with the blade set to a depth of 2 (I always use my mat when cutting vinyl, it’s a personal preference)
– Select Vinyl as your material in the Cut window and let it fly!
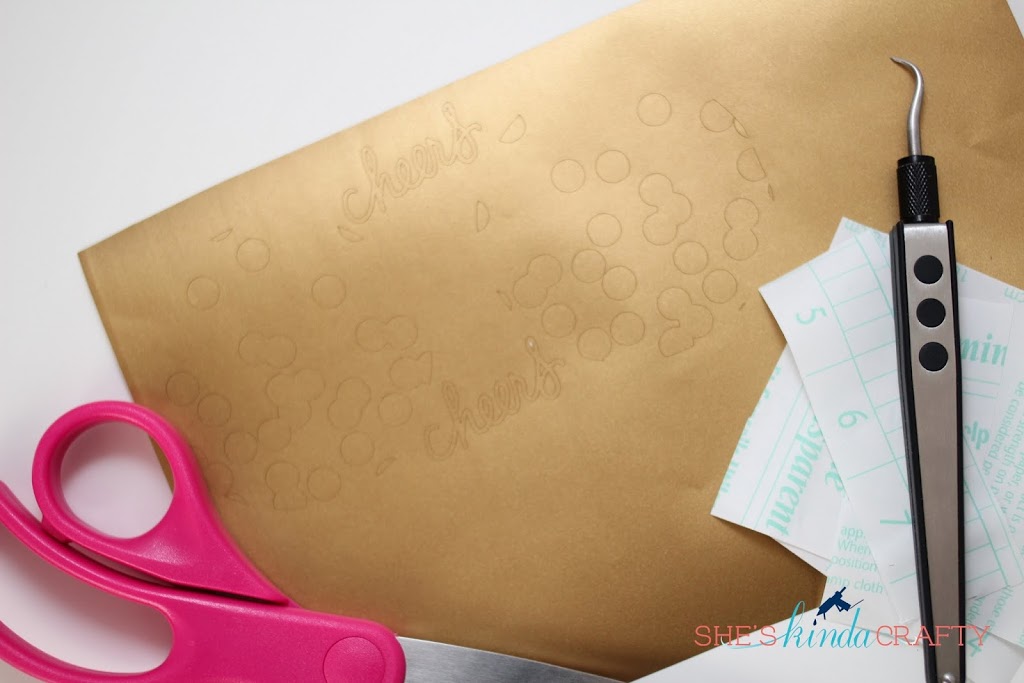
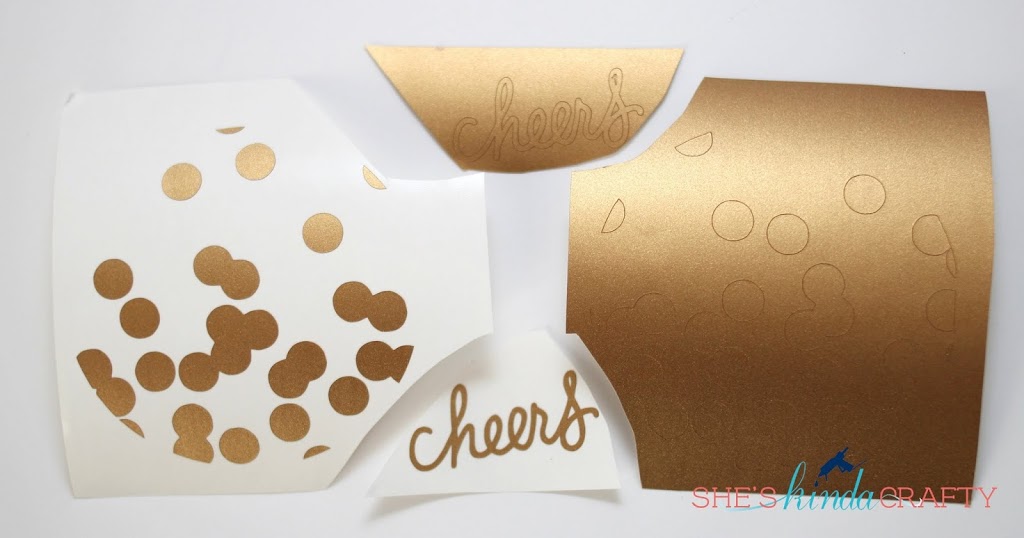
– Weed the excess vinyl from your design. You will need a hook (or something sharp) to get the little pieces out of the lettering. Cut each design apart from one another (see below).
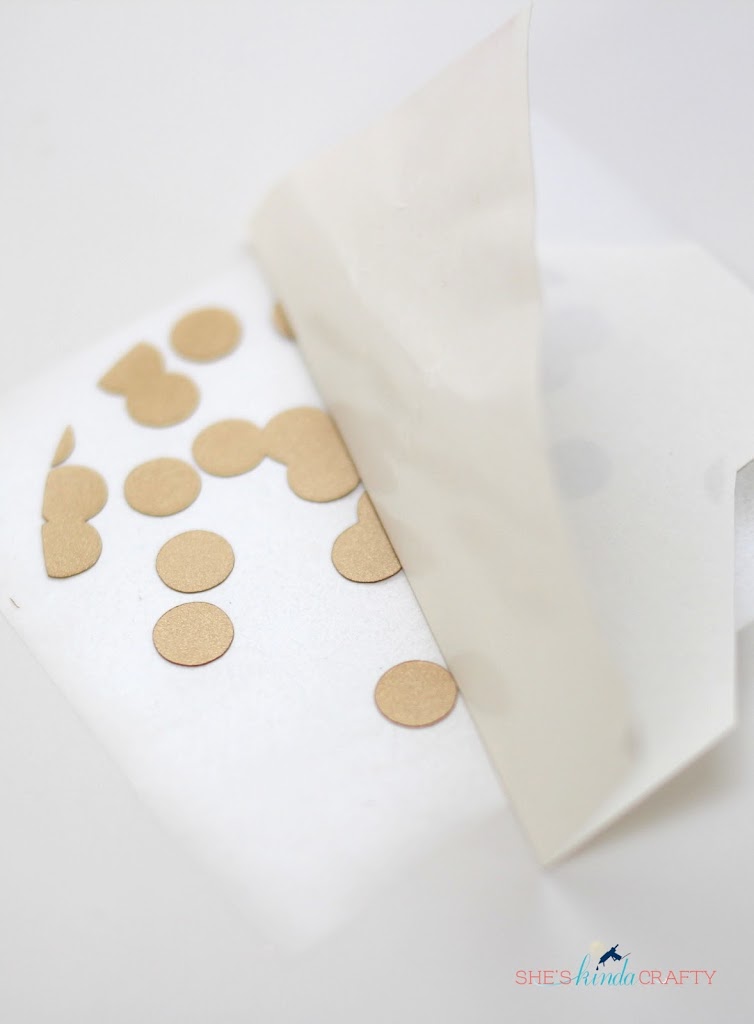
– Using transfer tape or contact paper (see my tutorial on Vinyl 101) pick up your vinyl, pick a starting spot on your glass base and in a circle start pressing your “confetti” down. Because this is a curved surface you will have to pick up the transfer tape as soon as you’ve pressed down the vinyl and work your way around the base.
– Repeat this process with “cheers”
– Clink
– Drink


Related articles


Can you wash the glasses with the vinyl on the front? Did you put something on them to seal them?
Thank you 🙂
You can hand wash them, no sealing needed as I use outdoor/permanent vinyl.
These are so cute! I think I need one of those machines you keep talking about! 😉
Lauren recently posted…New Year’s Resolutions for 2015!
Where do you purchase your permanent vinyl?
Hi Bethany, I usually buy my vinyl at http://www.craftvinyl.com
Hello,
I think this is the machine for me however what I want I am unsure if it can be performed.
What I am trying to do looks exactly as this metallic gold on glass looks, however I want to put it behind the glass instead of on top of the glass. I have a 3D type box photo frame and I wanted the writing on the inside/underside of the glass, I guess it would have to be applied/printed backwards for this to work and the adhesive side would need to be the metallic side. Am I explaining myself well, probably not. I don’t know if this is even possible but I’m desperate to find out. If you are able to help I would be greatly appreciative.
Yes, you would just have to mirror the design and apply it to the inside of the glass. It would work perfectly and I have done it many times myself!