Sorry that this has taken me forever to post but you know how life just sometimes gets in your way of the fun things and just wants you to do boring things instead, booo to you adult life!

Anyway, this topiary is pretty much as easy as it gets – no sewing, minimal measurements, no sticking yourself with pins!
When I originally made THIS egg shaped topiary I had no idea what I was doing so I didn’t take any photos and wouldn’t you know it, I had only bought 1 paper mache egg and 1 Styrofoam egg. So my original was done on the paper mache, and this tutorial you will see I used the Styrofoam egg, so now we know you can use either! Oh yeah, and I ran out of those pretty ribbons so I had to use what I had on hand – I am not a fan of this combo so I didn’t make it into a topiary, it is currently being used as a football by my daughters.
Here goes!
 |
| yes, I store my glue upside down at all times! |
Supplies:
- egg – either paper mache or Styrofoam
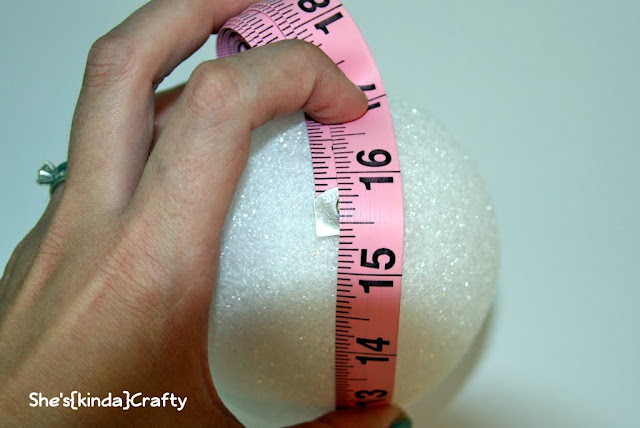
- ribbon – 3 or 4 coordinating ribbons (or you can do all one ribbon, too) – amt will be determined by size of your egg, see below
- glue (I love my Beacon 3-in-1 Advanced Craft Glue)
- measuring tape or string & ruler
- scissors
- wood dowel
- pot or pail or bucket
- Styrofoam or floral foam
Instructions:

 |
| top look |
 |
| bottom look |

 |
| see the overlapping |

So that’s it! So easy, right?!?


Awesome!!
Cute…
Thanks so much, I bought all the stuff for it I was just waiting on the tutorial! <3
That is adorable and looks so easy!!!
I LOVE LOVE LOVE! Can you post this on our blog? Please let us know if you’d be interested. Thanks – Rebecca
love this! You’ve done so well.
OK. Why don’t you come link it up in the DIY CRAFT TUTORIAL LINKY PARTY: http://www.finecraftguild.com/spring-diy-home-decor-craft/
Our readers would love to find you!
Rose
pretty! I love the colors you chose – so cheerful!
Looks great!! So festive!
What a cute idea! I saw you over at TT & J and now I’m your newest follower from http://www.sweetpeasandbb.blogspot.com/
What a cute idea! I would love for you to come link up to my Sew Crafty Party !
Super cute and looks pretty easy to make! Would love for you to link this up 🙂
Lolly Jane
lollyjaneboutique.blogspot.com
I love this and will be featuring it on my blog today. Thanks so much for sharing 🙂