Shes {kinda} Crafty

Dedicated to All Things {kinda} Crafty

  • Home
  • Blog
  • About Me
  • Shop
  • Wreaths
  • As Seen On
  • Privacy Policy

Scrap Buster Clipboard DIY

January 11, 2013 By Stacy 3 Comments

It probably comes as no surprise that I have a hard time throwing away anything that could one day be considered a craft supply. I have stickers that are probably 15 years old, that, in all honesty, will most likely never be used, but I can’t seem to throw them out. So when I cut down a piece of 12×12 scrapbook paper to use for a project I usually end up saving the rest of it, even if it’s now odd shaped.
But my paper keeping ways came in handy last weekend when my husband made me clean out a bookshelf so that we could start our office renovation. Behold – the scrap bust clipboard!

 Supplies:
  • A mini clipboard
  • coordinating scrapbook paper scraps
  • Mod Podge
  • foam paint brush
  • nail file
  • Xacto Knife & self-healing cutting mat
So this is what I started out with – some random scraps of scrapbook paper in odd shapes, and a newly found mini clipboard I discovered while cleaning out a bookshelf.

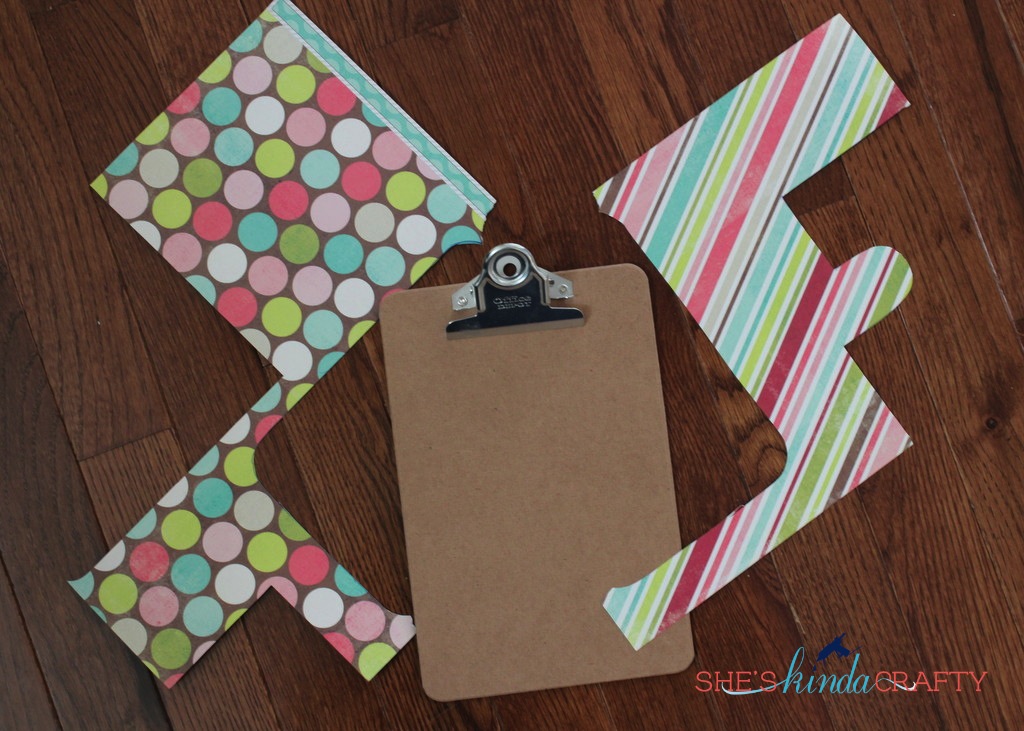
I measured the width and length of the clip board to make sure that I was cutting wide enough strips of paper as well as enough of those strips. Then I laid them out in a pleasing pattern. Because the paper I used was double-sided I got even more bang for my nickel!

Then I gathered my Mod Podge and foam brush. Using a light to medium layer of Mod Podge directly on the clip board I started applying my strips from the bottom, working my way up and adding glue as I went.

The top strip will be the trickiest but you can kind of eye-ball the notch you need to cut to allow space for the hardware. You can also measure the width of it for a more exact notch.

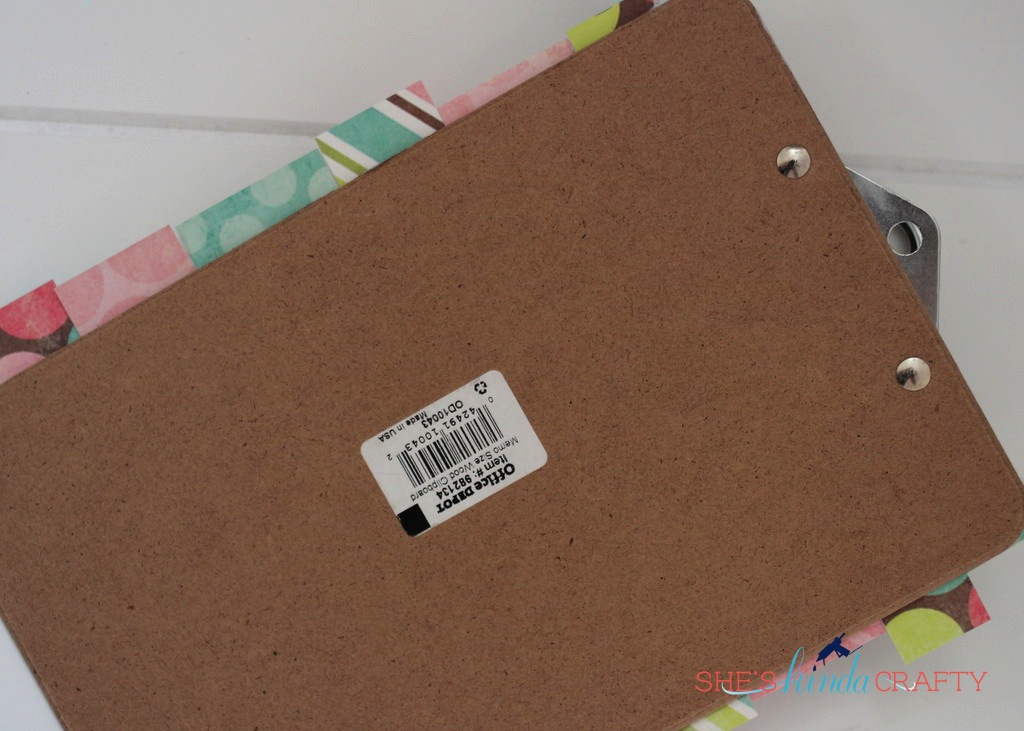
 Let the glue dry for at least 30 minutes, longer if you can. As you can see, I didn’t bother trimming my strips to the correct length before gluing, we’ll take care of that in the next step.

Using an Xacto knife, trim the extra paper off while holding your board over a self-healing mat (or some spare, thick cardboard). After you trim off the extra paper use sand paper or a nail file and file down the edges all around your clip board, it will give your project that extra professional finishing touch.

Apply 1 or 2 more LIGHT coats of Mod Podge to the top of your paper, allowing it to completely dry in between coats (that’s the key to less bubbling). And then, after you clean up your craft station, you’re done!! You could add some matching ribbon if you’d like or some alphabet stickers to personalize the clip board if you’d like.

This mini clipboard is also an awesome, interchangeable 5×7 photo frame!

Linking up here:
tatertots & jello
Sundae Scoop Party

Related posts:

Default ThumbnailMini {Clipboard} Frame Default ThumbnailClippy {Clip} Board! Default ThumbnailCustom Ribbon | How to Print on Ribbon Default Thumbnail20 Minute Tuesday | Shaped Cork Board

Filed Under: Craft Supplies, DIY, frame, gift ideas, tutorial

← Ho Hey | Valentine Printable Sign Hand Stitched Love Hoop | DIY Tutorial →

Comments

  1. Tracy Wellmann says

    January 11, 2013 at 2:34 pm

    Awesome tutorial Stacy — thanks for sharing 🙂

    Reply
  2. tossedsaladlife says

    January 11, 2013 at 3:41 pm

    Adorable. I’ve got tons of clipboards, and lots of scraps! Thanks for sharing!

    Reply
  3. Jenn says

    January 12, 2013 at 4:08 am

    This is so cute. I want to make one and hang it by my stove, then I can clip my recipes on it!

    Reply

Leave a Reply Cancel reply

Your email address will not be published. Required fields are marked *

CommentLuv badgeShow more posts

Welcome! {I’m Stacy.}


Good time, great laughs, and lots of crafts!
I am a full-time working momma of 2 adorable and funny and fully southern little ladies. I like to think that everyone has a crafty side, even if it's only kinda crafty.

{find it}

{follow via Email}

Enter your email address to subscribe to this blog and receive notifications of new posts by email.

Google+ Badge

{previous posts}

Rivit Media Publisher

{Popular Posts}

  • Time for a Quiz | Father's Day Free Printables
  • Custom Ribbon | How to Print on Ribbon
  • Camping Pillow Tutorial | Ann Kelle Fabrics
  • Can We Play? | Last Day of School Cards
  • DIY Stripes and Glitter Mason Jar

{Facebook}

Unable to display Facebook posts.
Show error

Error: (#200) Provide valid app ID
Type: OAuthException
Code: 200
Please refer to our Error Message Reference.

{Instagram}

{Pinterest}

Follow Me on Pinterest

Copyright © 2025 · Daily Dish Pro Theme on Genesis Framework · WordPress · Log in