
Another great thing about this pillow is that you can make it in any size you want for whatever size pillow form you have to have around and if you pillow is 18″x18″ or smaller you only need 3 fat quarter!
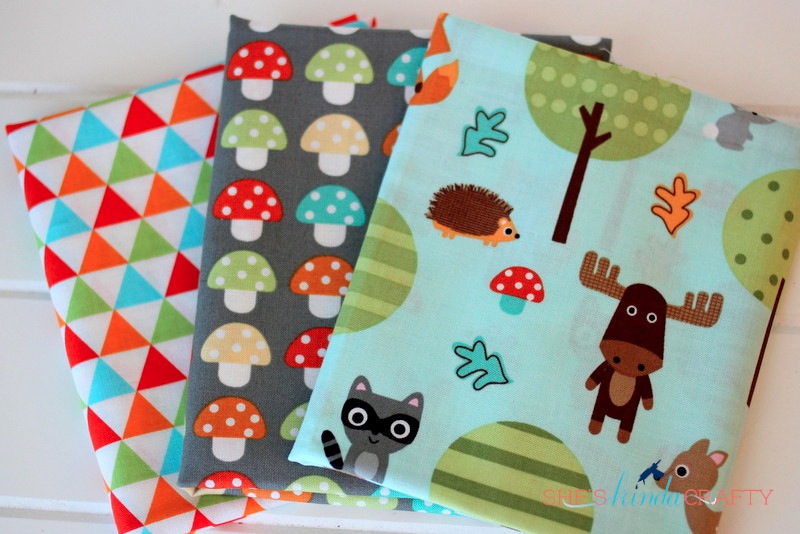
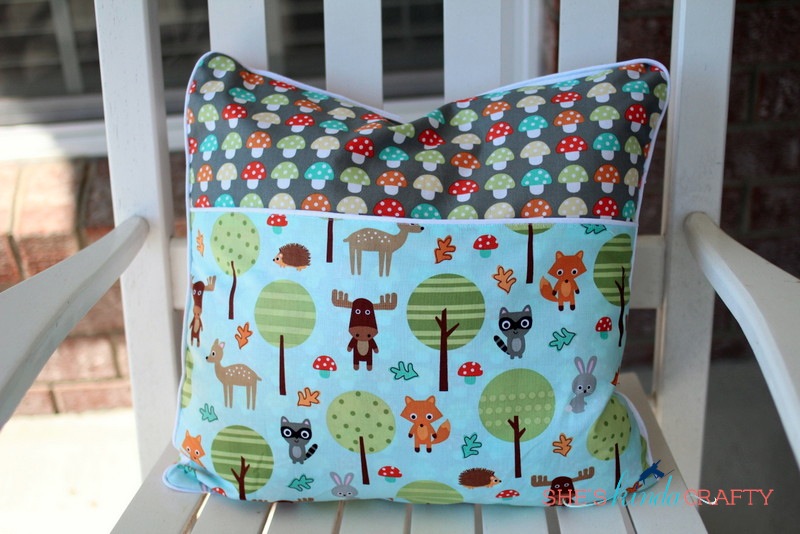
I used these great fabrics from Ann Kelle’s Woodland Pals from Robert Kaufman to make my pillow!
Supplies:
- 1 – 16″x16″ piece of fabric for the front of the pillow
- 1 – 12″x16″ piece of fabric for the pocket
- 2 – 11″x16″ pieces of fabric for the envelope style back
- scissors, iron, thread, sewing machine, and if you’re like me, a seam ripper
- 1 package of coordinating piping, optional
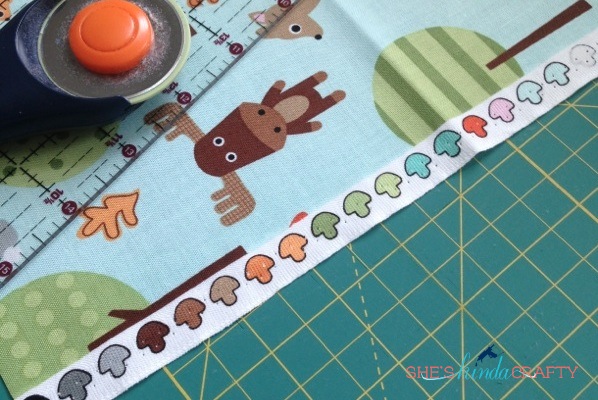
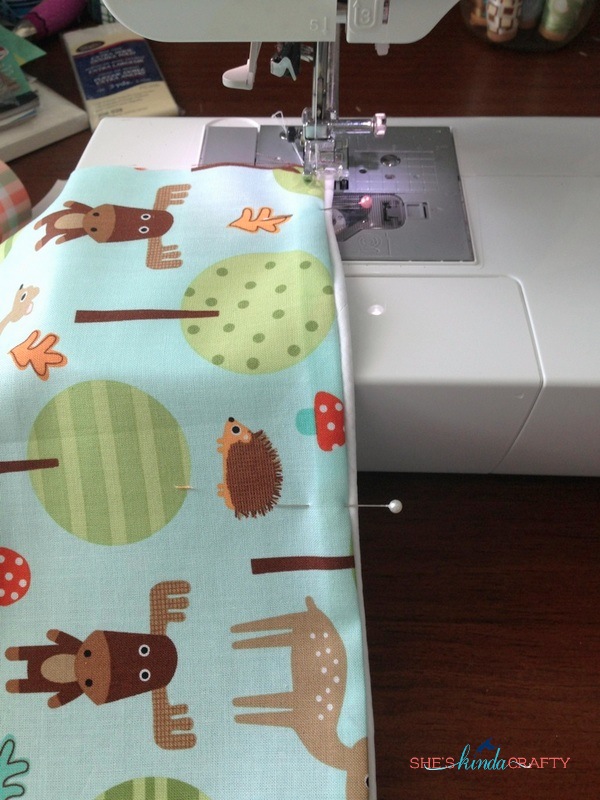
Cut your fabrics to size (isn’t the cutest selvedge ever?!?) and iron them all nice and flat. While you are at your ironing board you’ll want to iron down the seams of the inside 16″ sides two back panels and the top 16″ seam of the pocket fabric. Fold a 1/4″ seam, press, and then fold over another 1/4″ and press again. Then take those pieces back your sewing machine and run a tight top stitch to hold your seams in place. If you are using piping, use this time to attach your piping to the top of the pocket panel, too.
Lay your pocket panel on top of your front pillow panel, matching up the raw sides. If you are using piping, pin down your piping to the front and pocket pieces, notching the corners as you go.
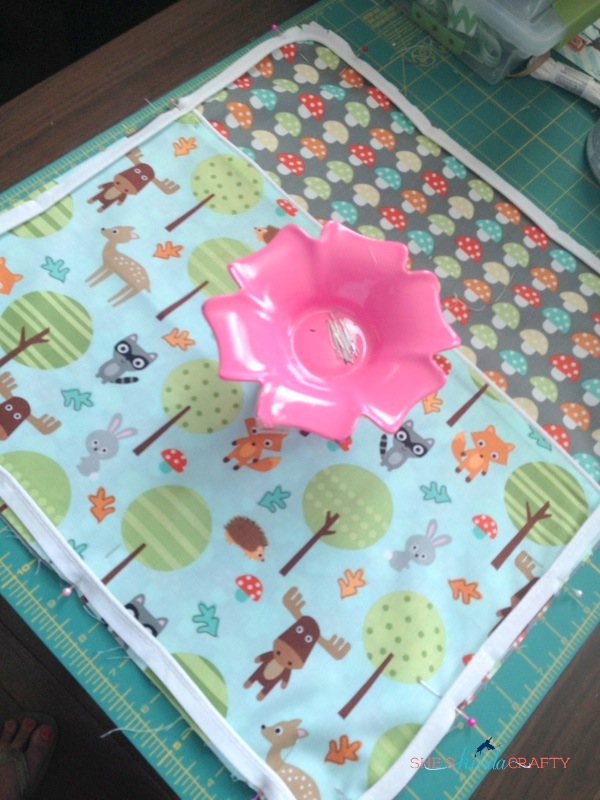
You can run a basting stitch around the piping to hold it in place or you can just go on to the next step.

Lay your two back panels, face down, on top of the front and pillow panels and pin into place, taking extra care to pin the corners of the back panels down completely. Once you have it all pinned into place simply sew around the entire pillow using a 1/2″ seam. Flip the pillow case right side out and stuff it with your 16″x16″ pillow form.
BINGO, you’re done!
Add some books, maybe a map or flashlight, to the pocket and you’re ready to roll!


These pillows are so easy that they are a little addictive to make. I’ve already made a 2nd one and bought fabric (Ann Kelle’s Girl Friends) to make a third. These might be under all of my nephews Christmas trees this winter because I love making them (plus you could fill the pillow with books, treats, etc, if it’s part of a gift)!


super cute!
Such a pretty (and practical) project!
Very cute…my kids would love their own pillow for camping!
Sam
cooksandcreates.blogspot.com
(new follower – found you on sugar bee crafts)
Such a cute idea! I’d love if you’d like up to The DIY’ers: http://homecomingmn.blogspot.com/2013/05/the-diyers-and-some-favorites.html
This is so cool. Gonna make one for my book loving Grandson.
Thanks for sharing.
Great idea! My kids would love these.
LOVE this idea! Just wanted you to know it was featured on our site today: http://www.thedatingdivas.com/food/101-camping-tips-ideas/ Thanks so much for sharing!!! XOXO, The Dating Divas
So Cute!!! I am doing a Camping post next week and would LOVE to feature this on my blog. Would that be okay with you? What a darling idea!!!
No problem Jenny!
Thanks!!! I will be Posting it next Tuesday if you want to check it out 🙂 thehappygal.com
Curious – do you not add a seam allowance beyond the size of the pillow (in your case, 16″) because the pillow is squishy?
Yes, that is correct. I like a firmly filled pillow case. You can def add an allowance if you want it different look.
My granddaughters lived their pillows. Great for holding tablets, phones, xboxes as well as books and coloring pens. Lovely idea.
My granddaughters loved their pillows. Great for holding tablets, phones, xboxes as well as books and coloring pens. Lovely idea.