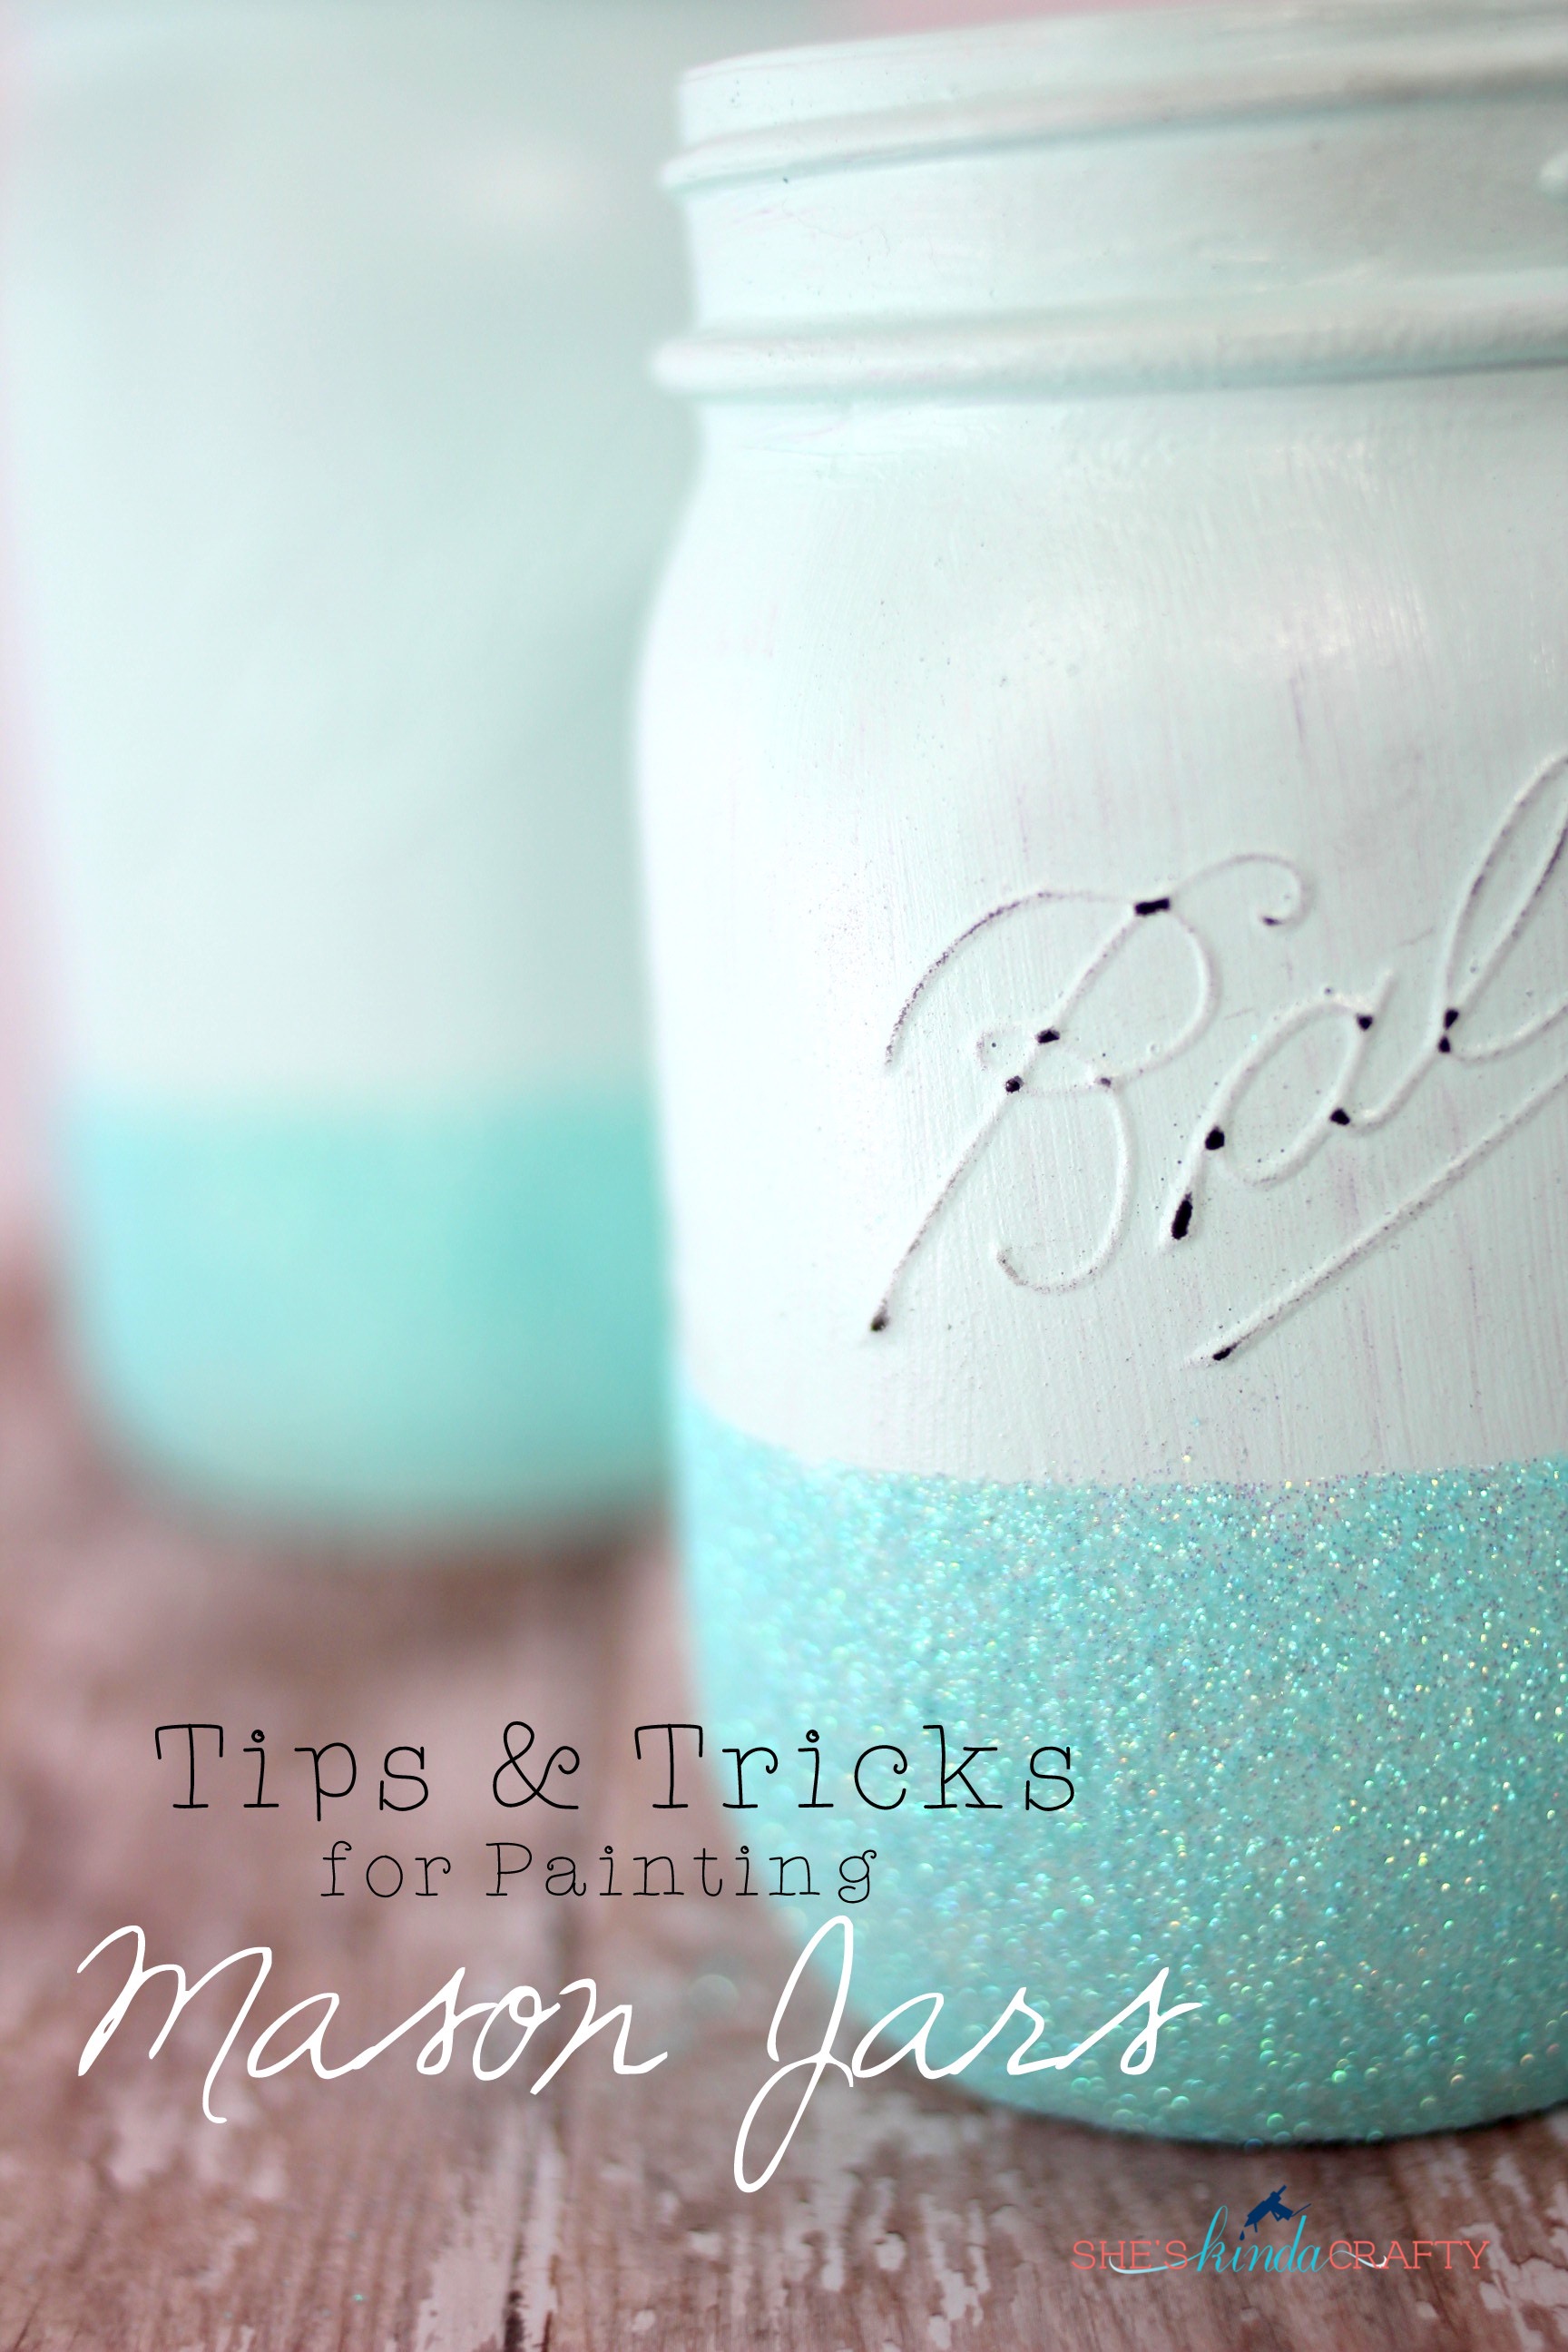
How much do you love all the pretty painted mason jar crafts that you see come through your pinterest feed every day? If you’re like me you love them and want to make them all. However, confession time – I am horrible at painting. So bad in fact that I avoid it all costs. I try not to let my horrible painting skills bring down my mad crafting skillz though, so I am constantly trying to improve and come up with new tricks to painting. So after several major craft fails I think I’ve finally figured out this painting on glass things and want to share with you my tips and trick for painting mason jars so that you, too, can feel like a craft superstar!
Basic Supplies
- Mason Jars
- Spray paint primer (check that is has glass on it’s surface list)
- Paint (I LOVE to use paint samples from the hardware store, best $3 spent)
- Paint brushes | foam or bristle
- Washi or paint tape, Mod Podge, & glitter if you want to glitter your jars
- Sand paper or nail file if you want to add instant vintage to the raised lettering
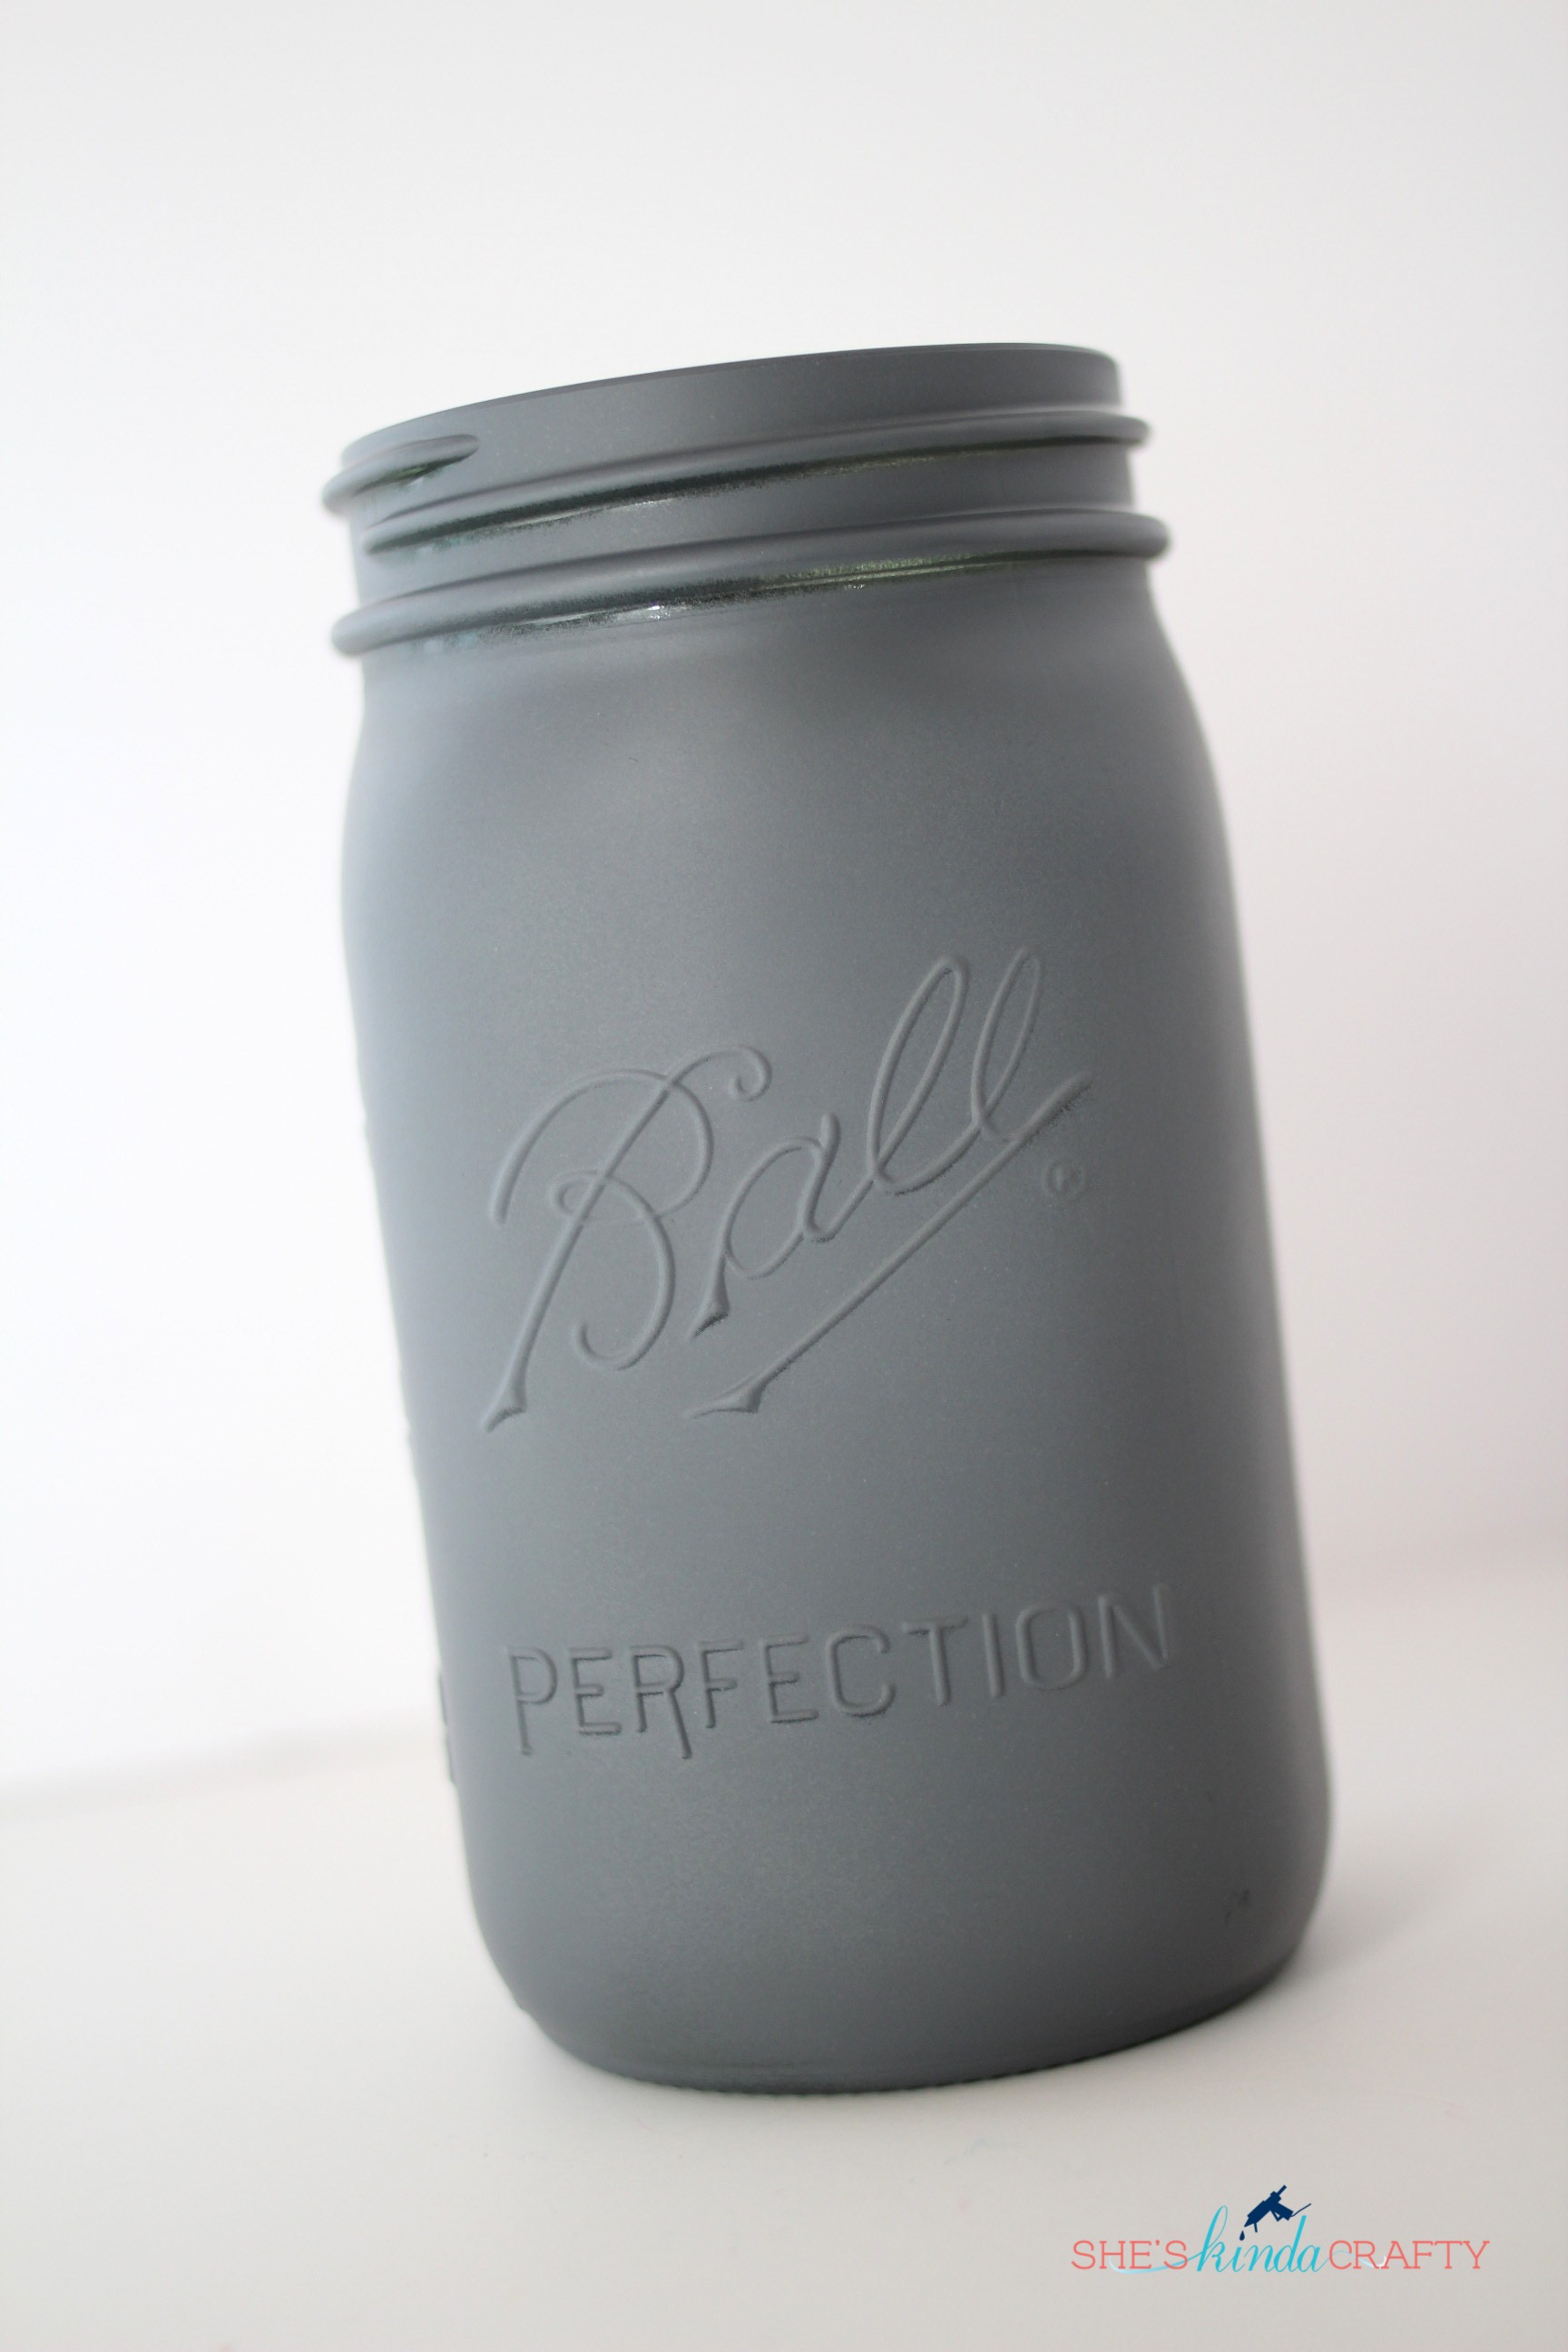
First you’ll want to give your jar a good coat of primer. Primer dries super fast and it’s really the most important step in making your jars look good and less streaky.
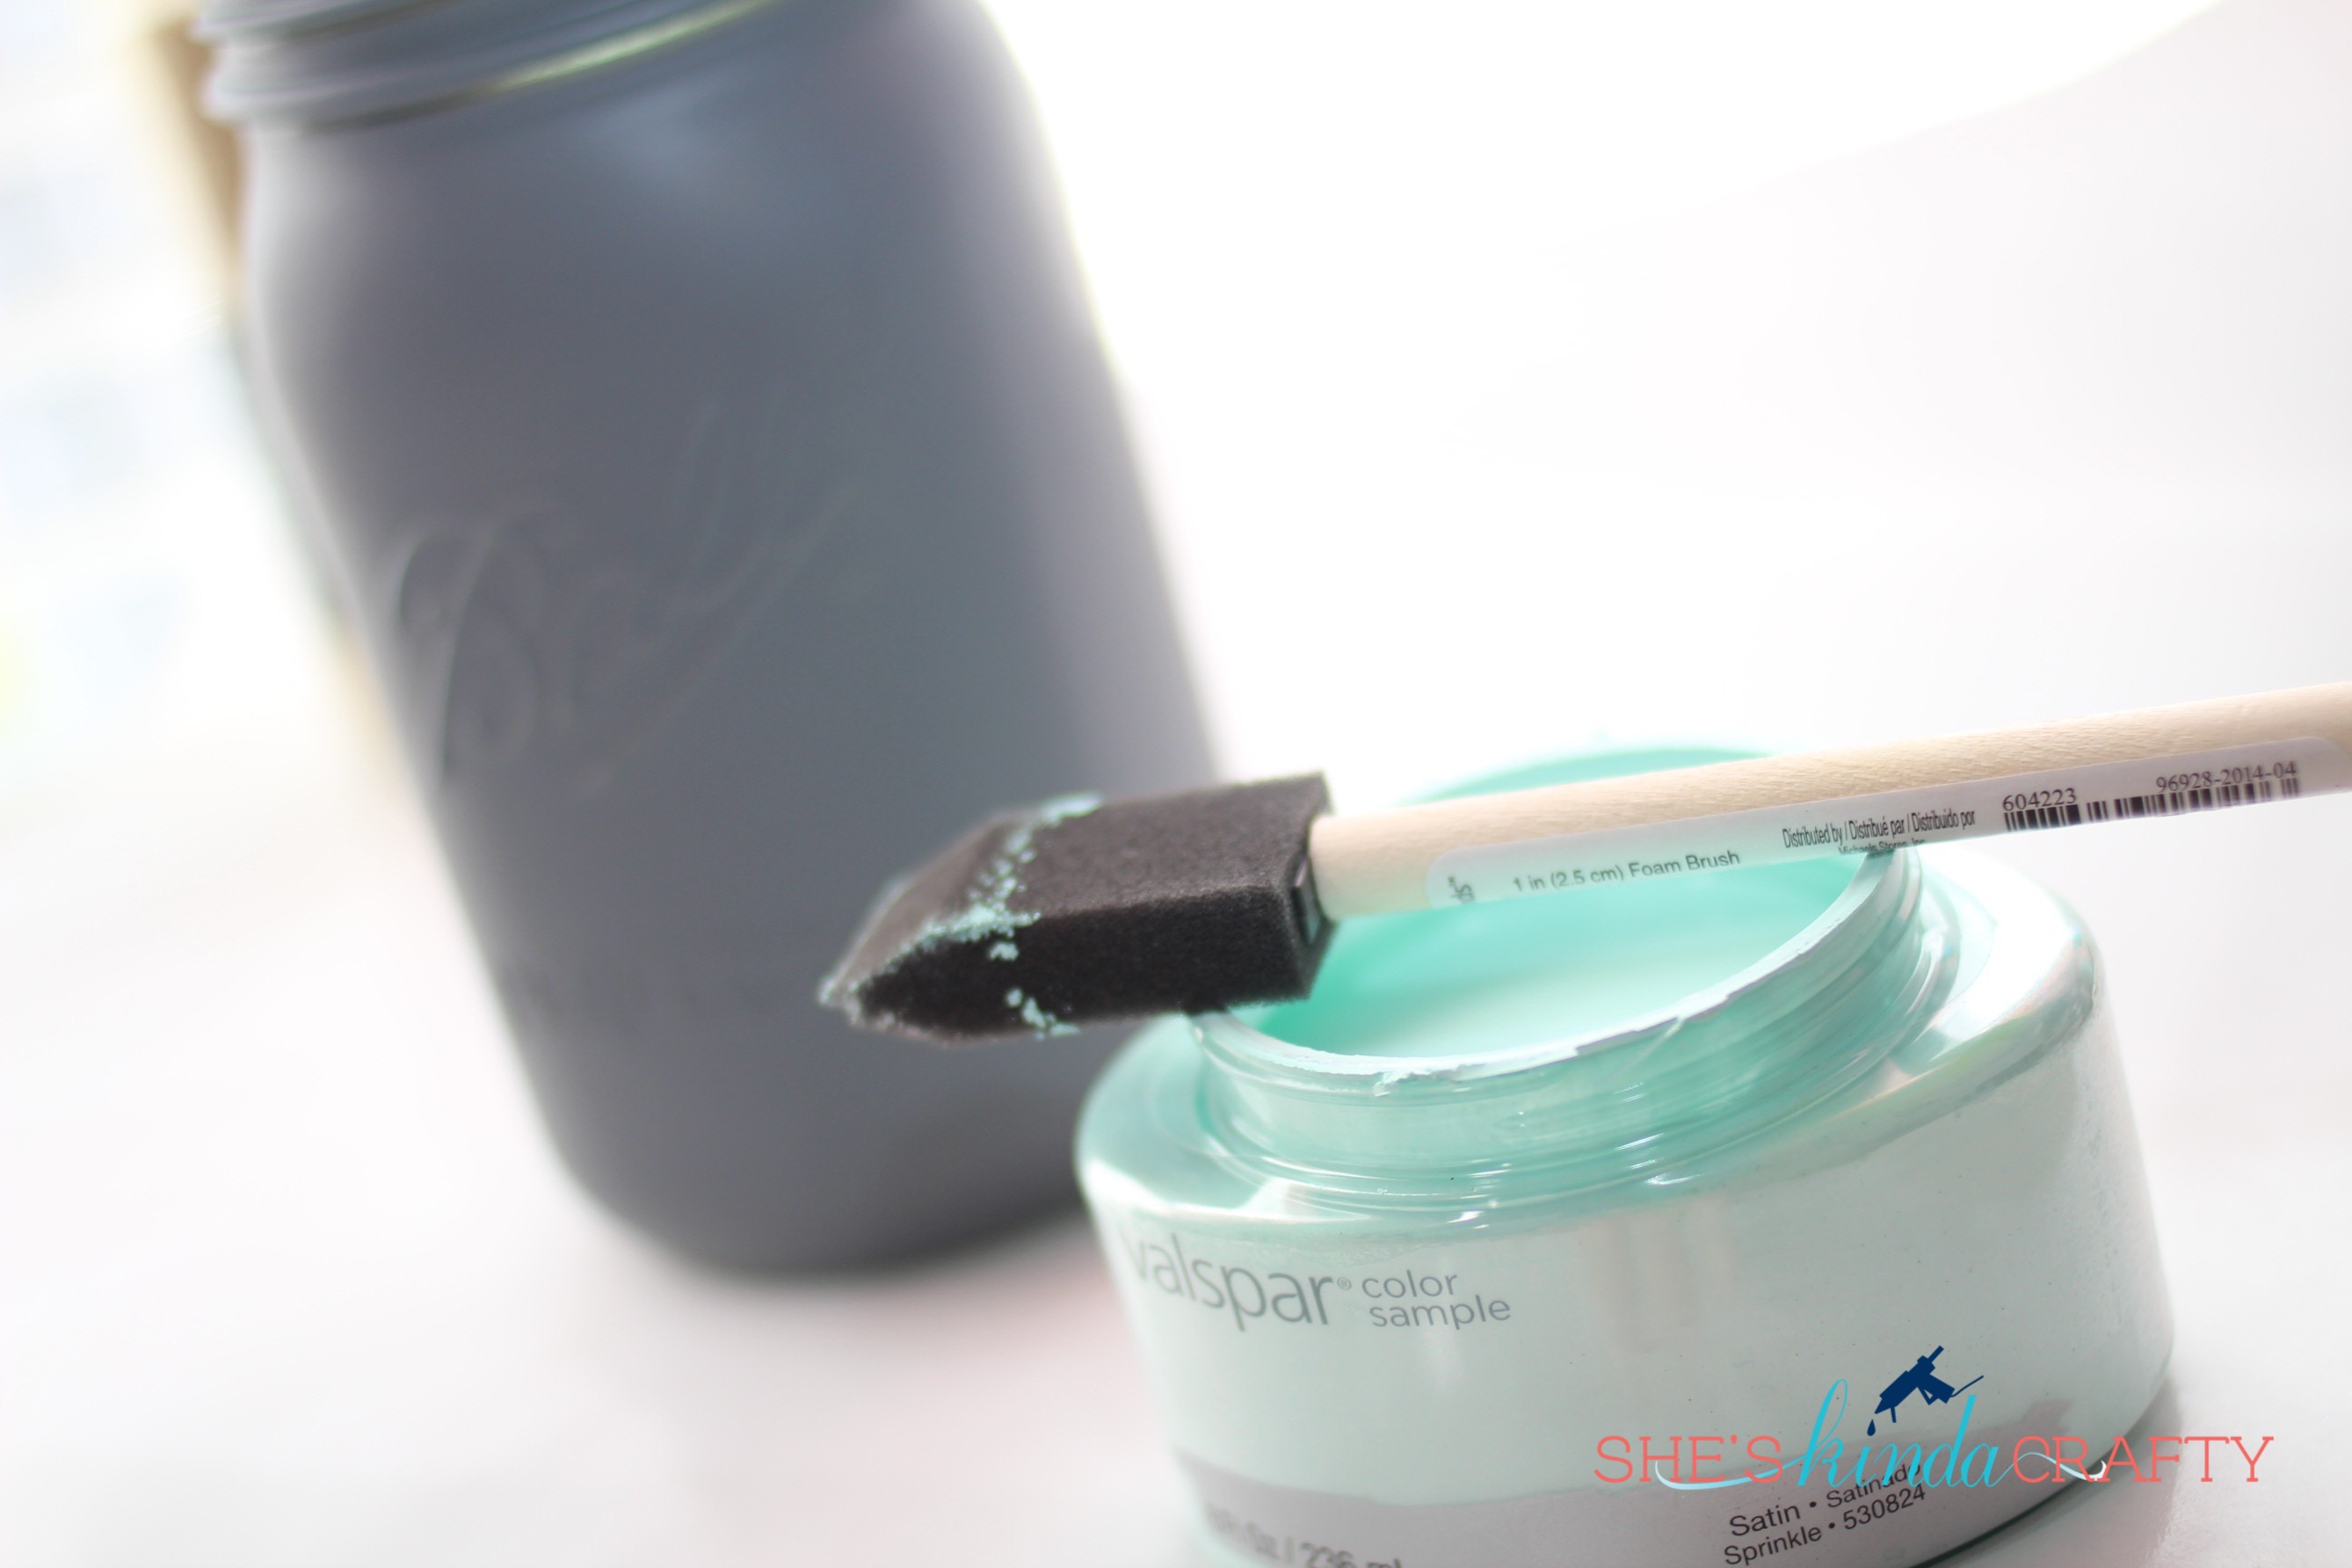
Next, you’ll want to give your jar a good base coat. Paint from top to bottom, all the way around once, not worrying about a streak free coat, it’s impossible and that’s where I would always mess my jars up – trying to get it perfect on the first coat.
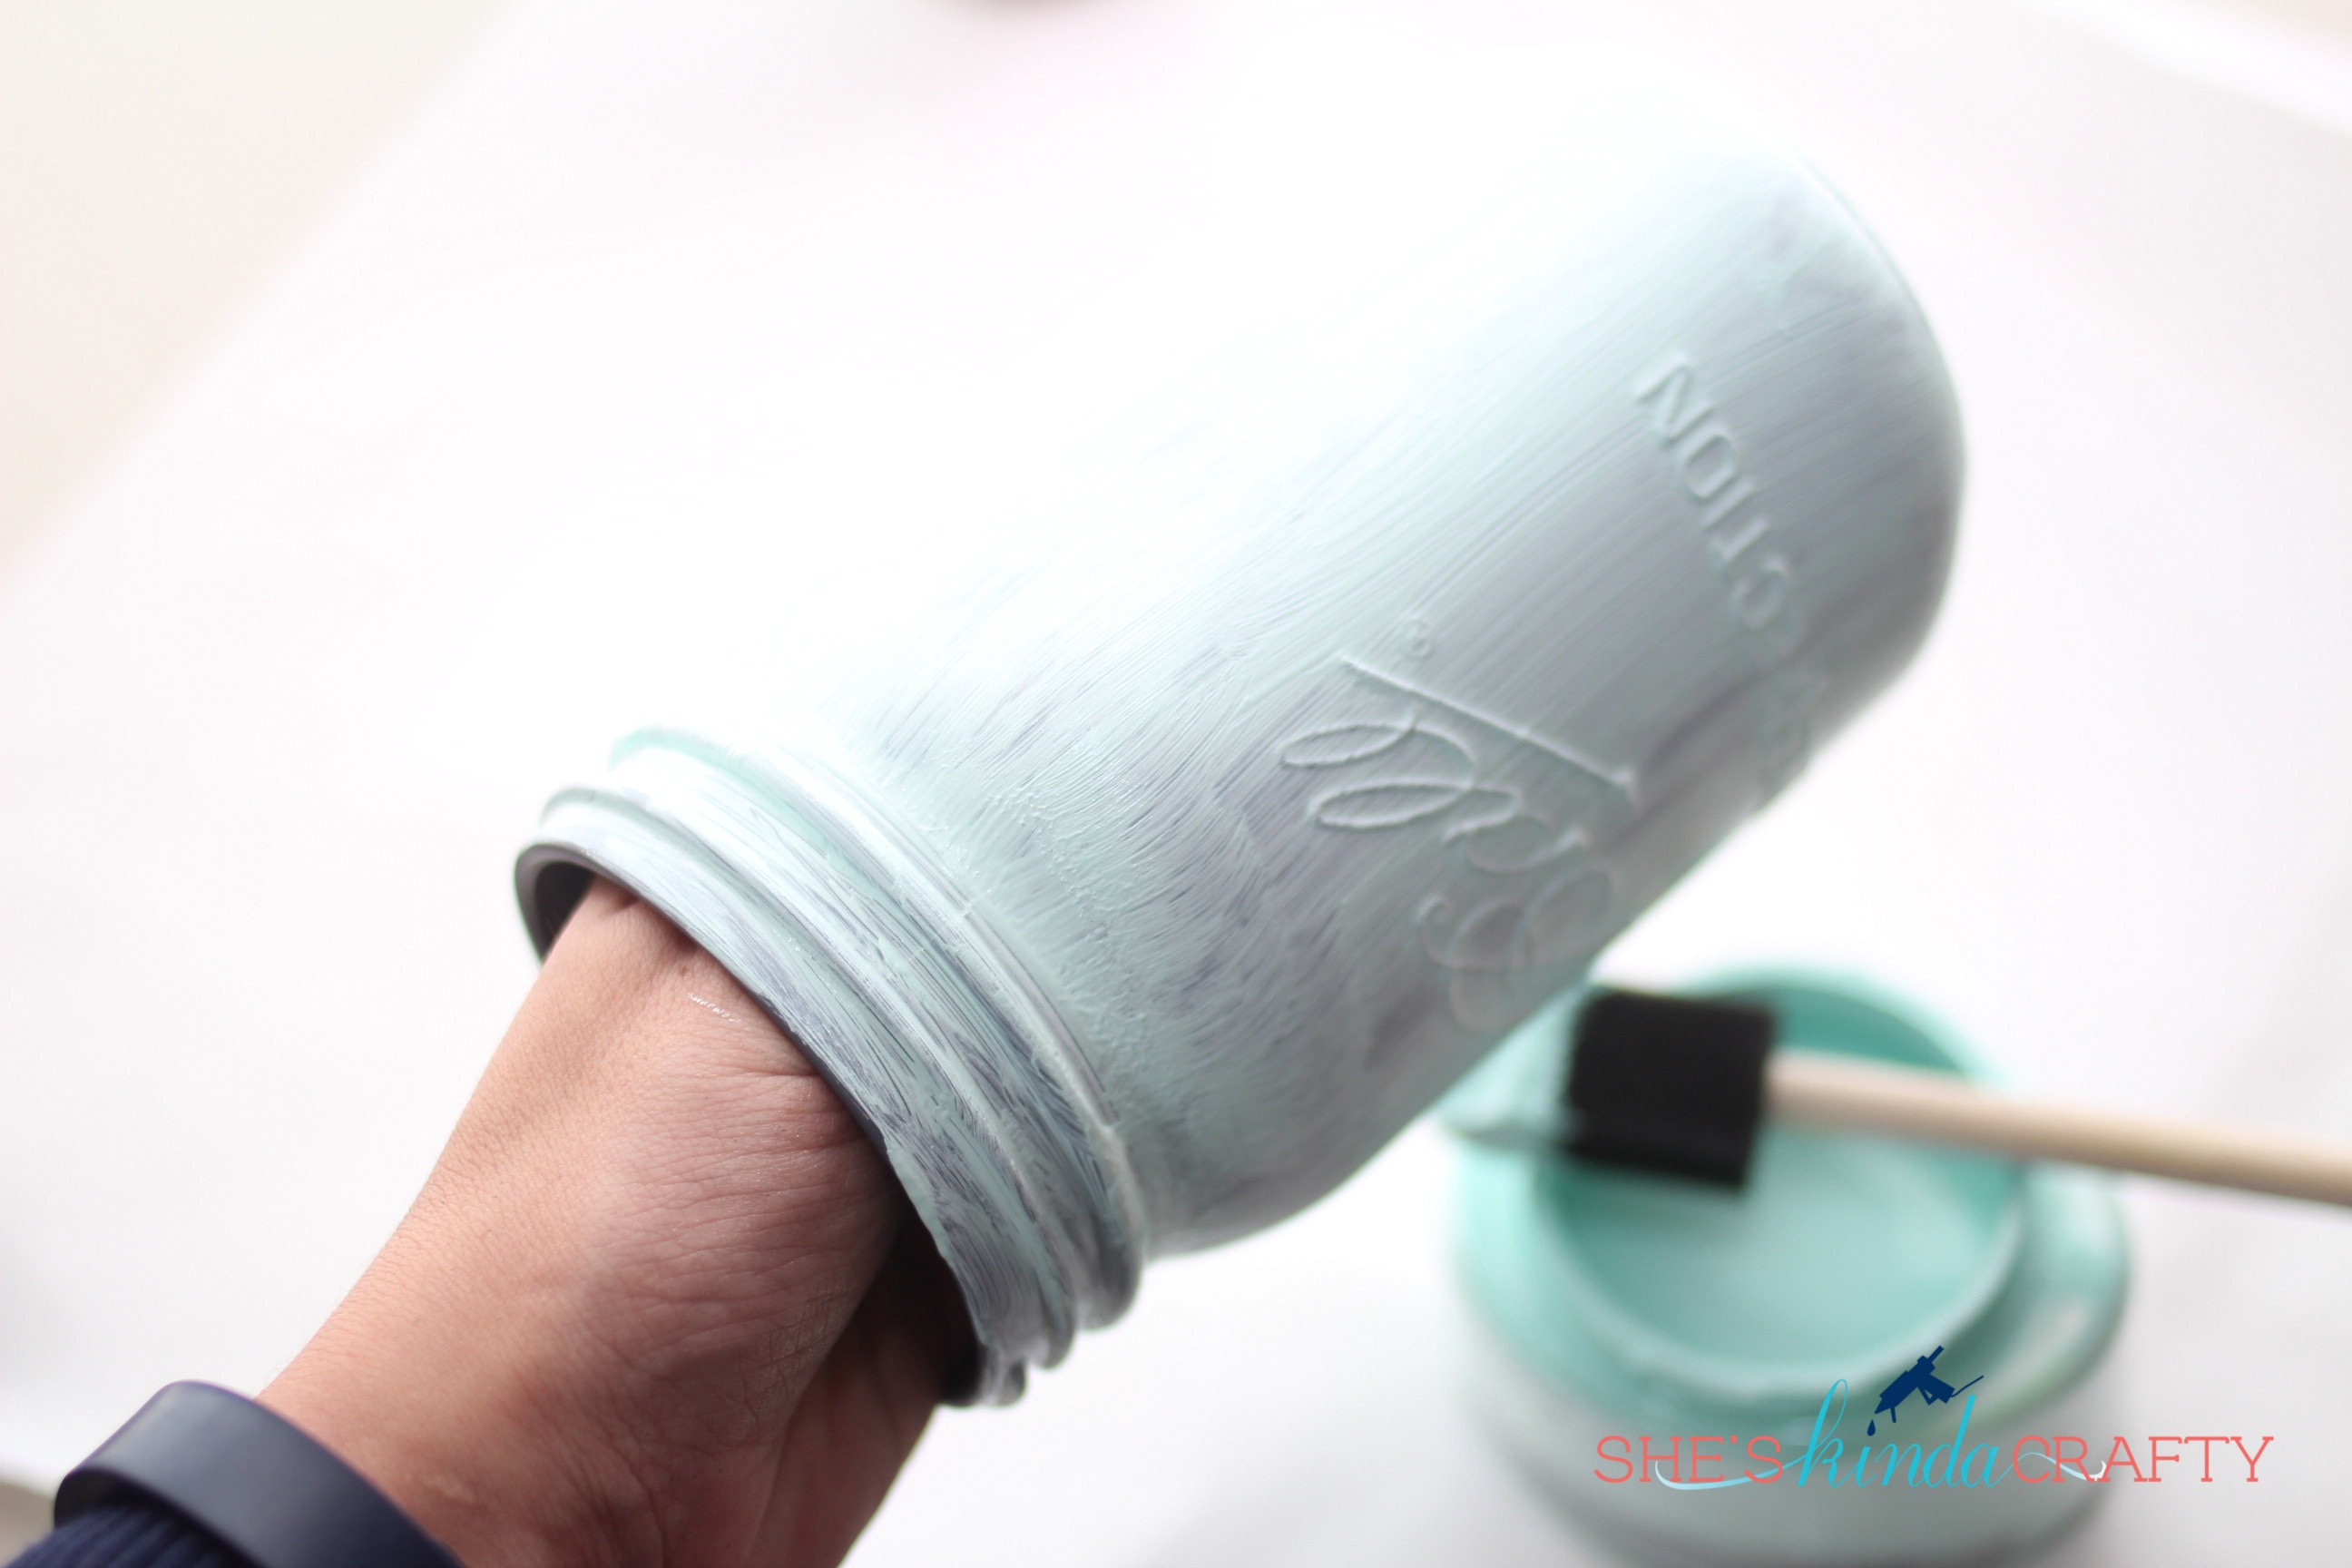
I like putting my hand in the jar so I can get every side all at once without getting my hands messy.
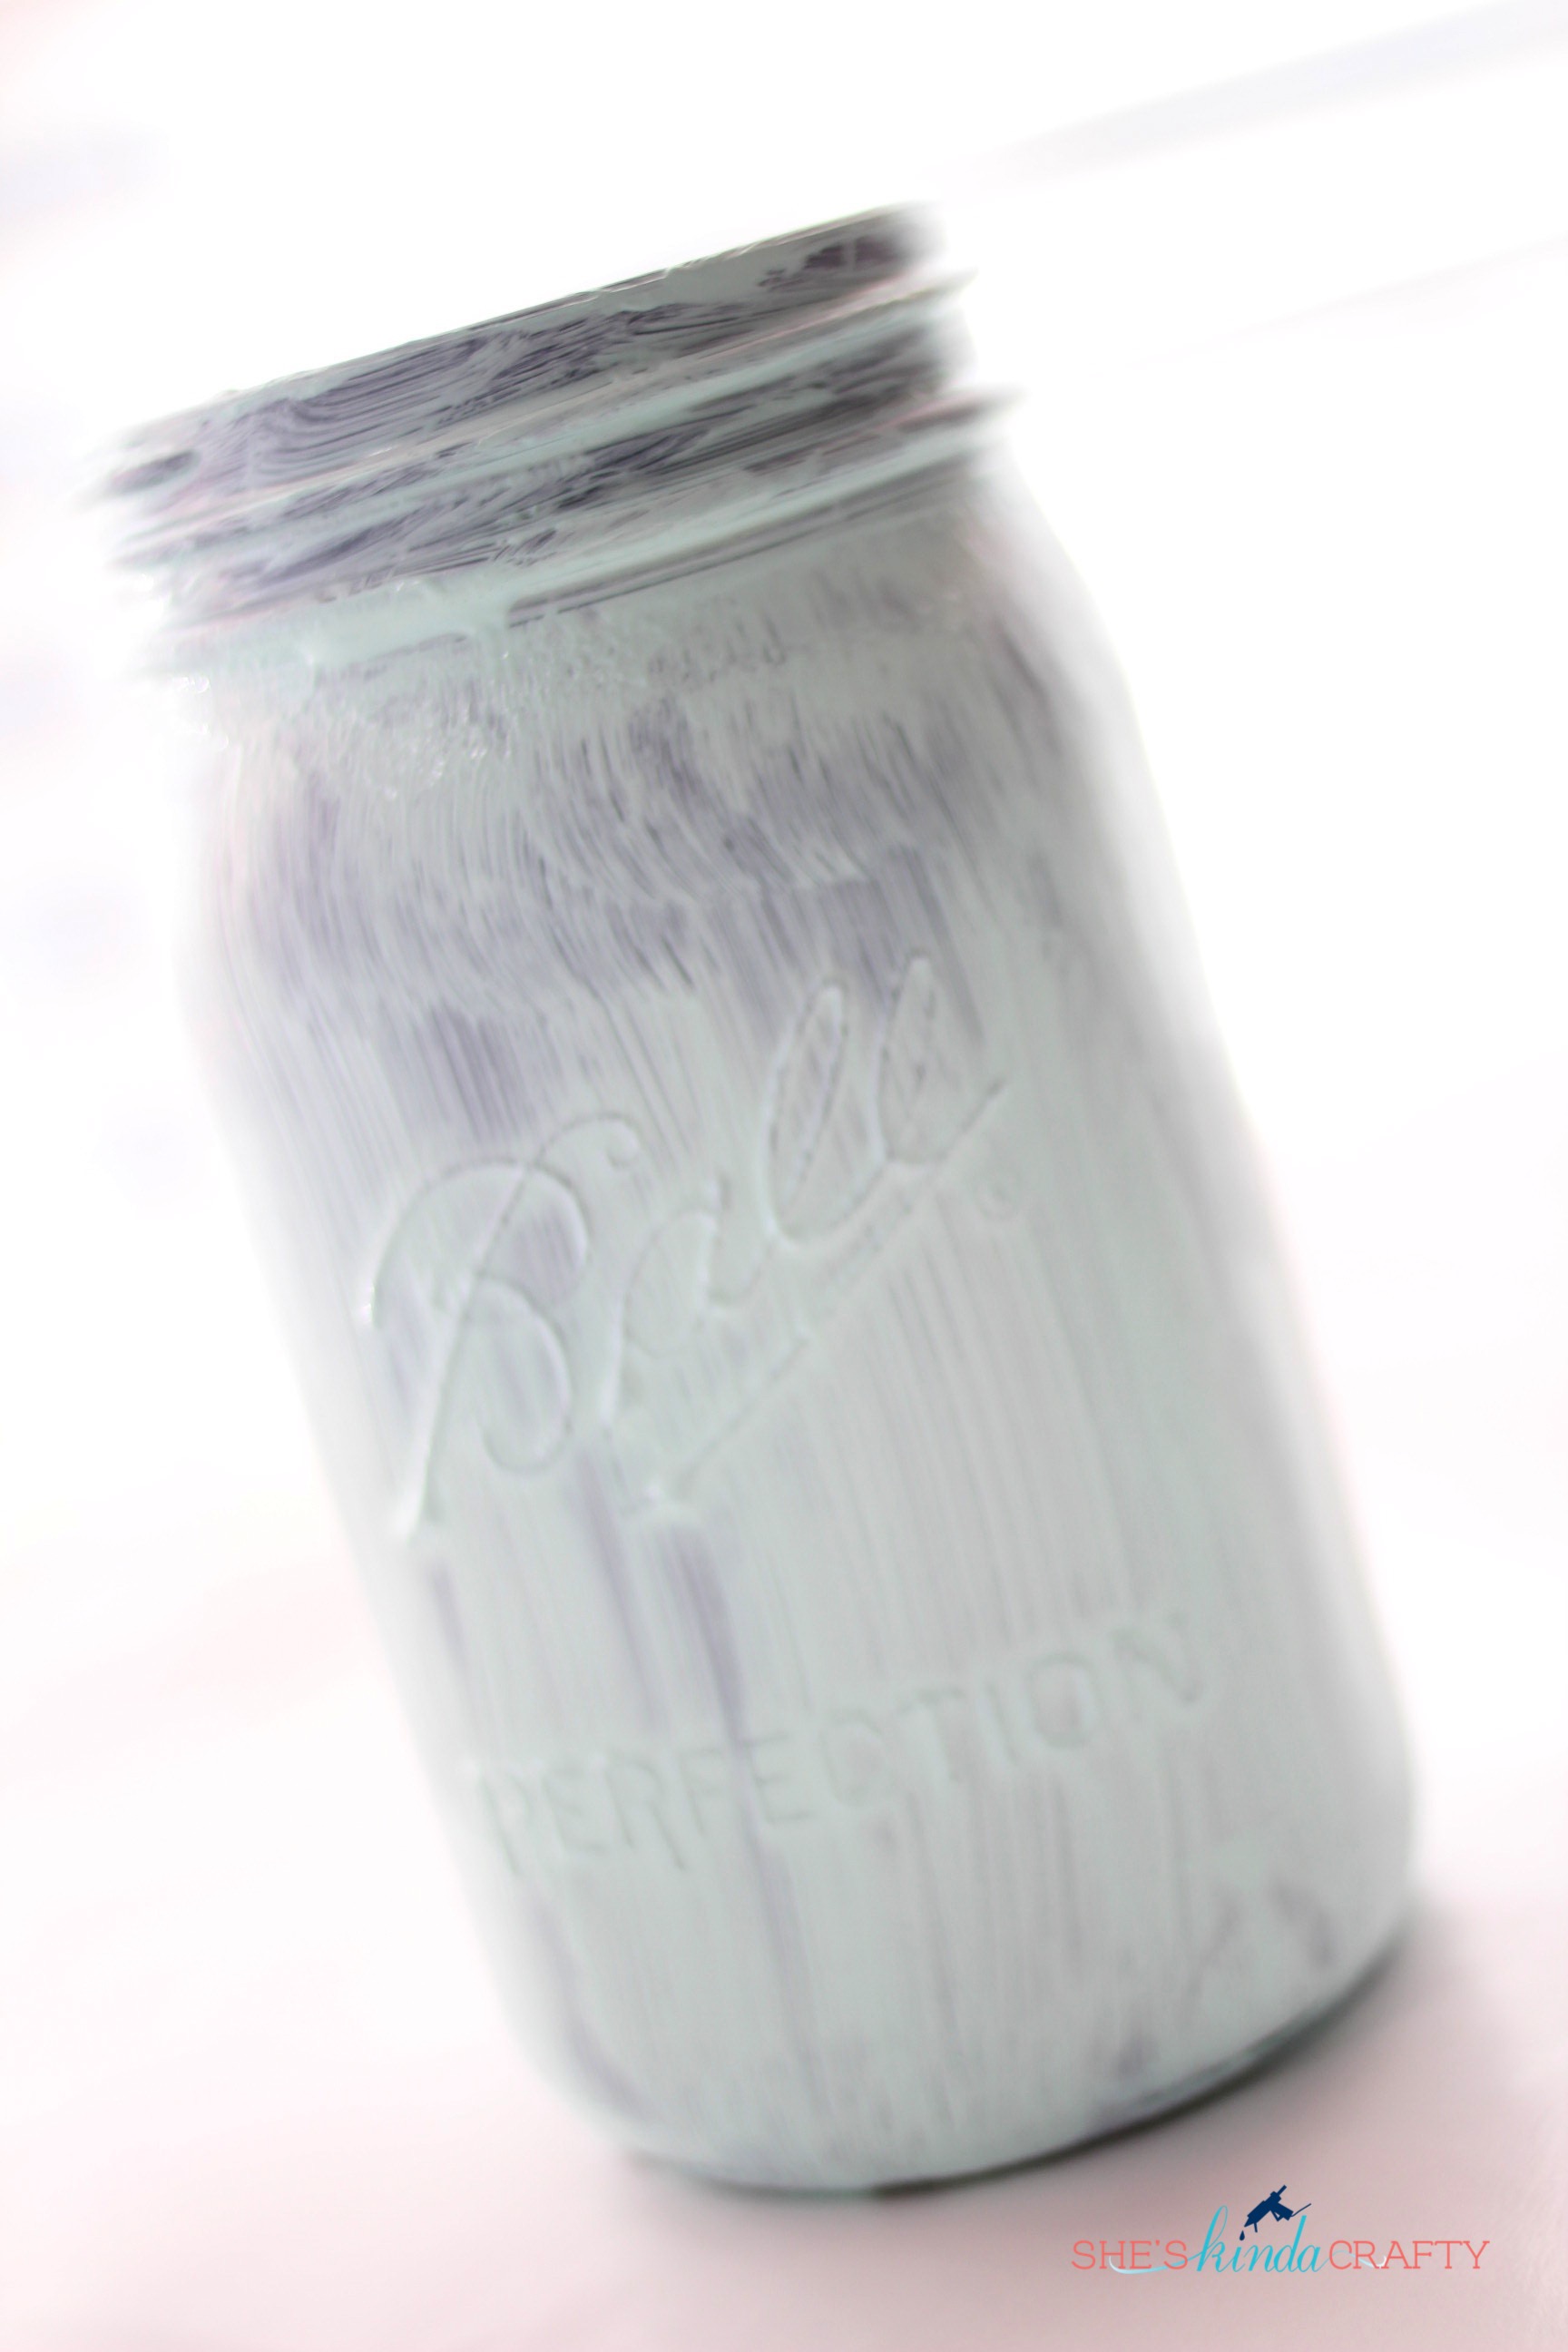
This is what your jar will look like with one coat, not exactly beautiful, right? But that’s ok. Let it dry for at least an hour.
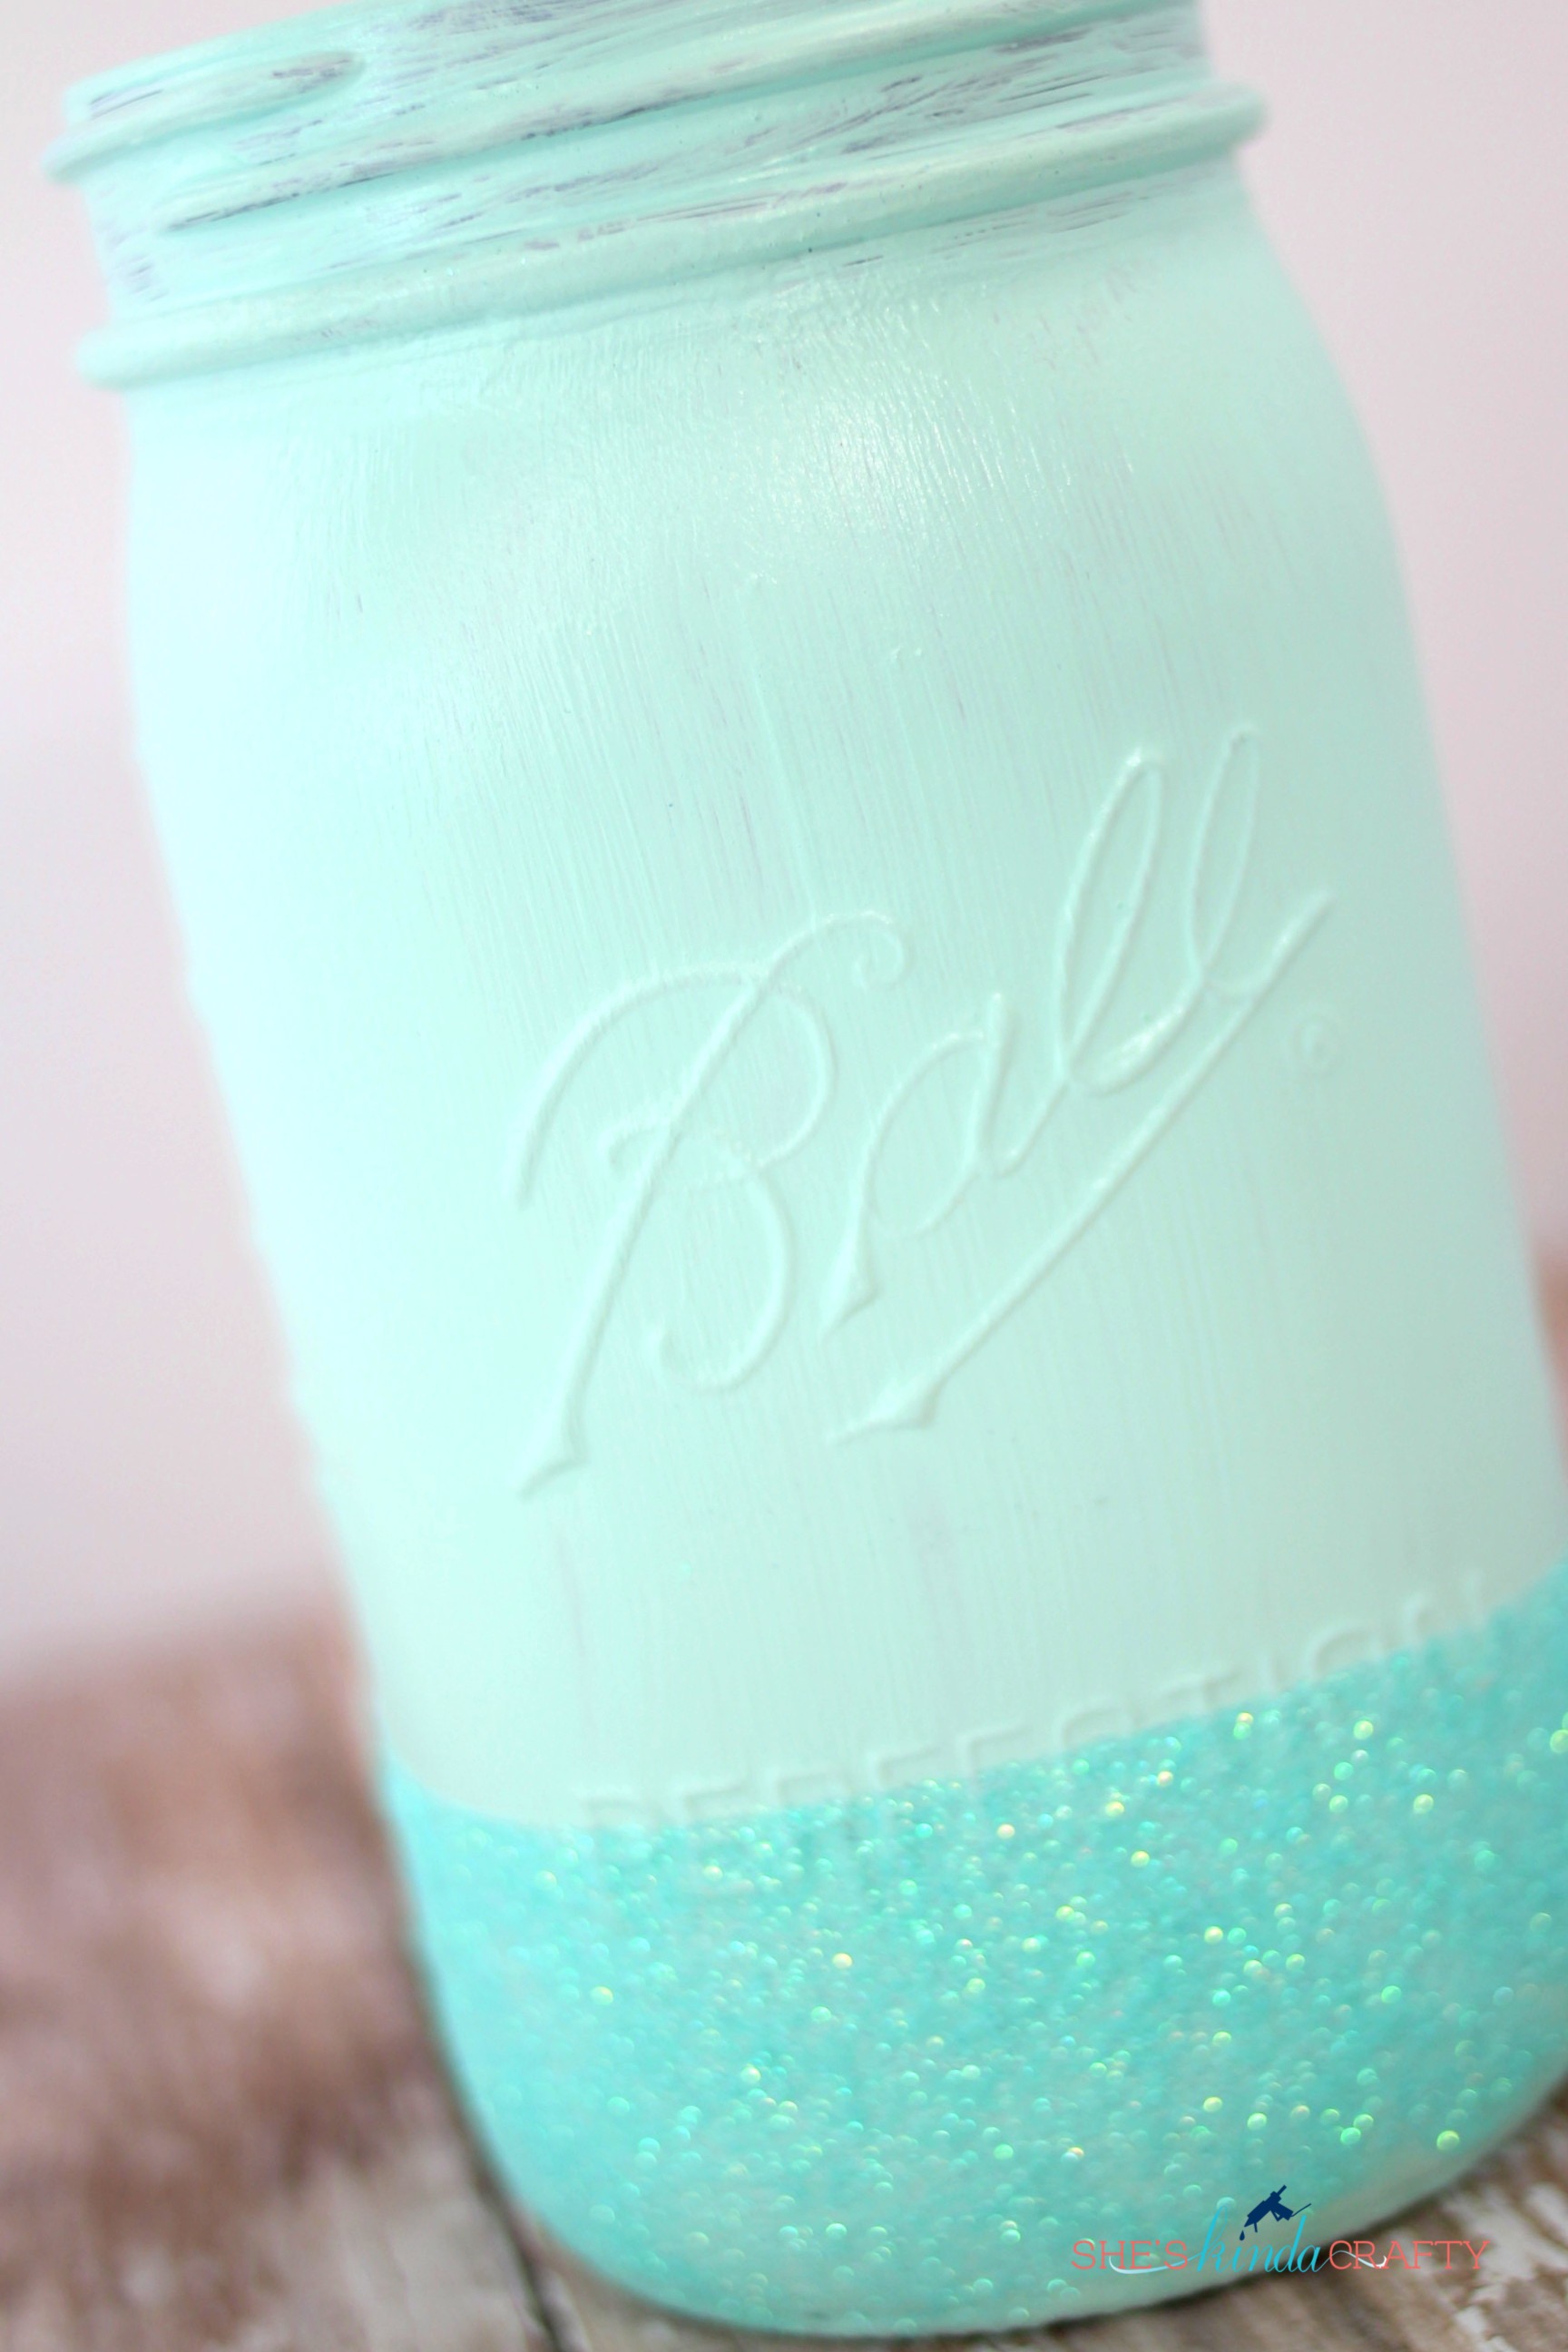
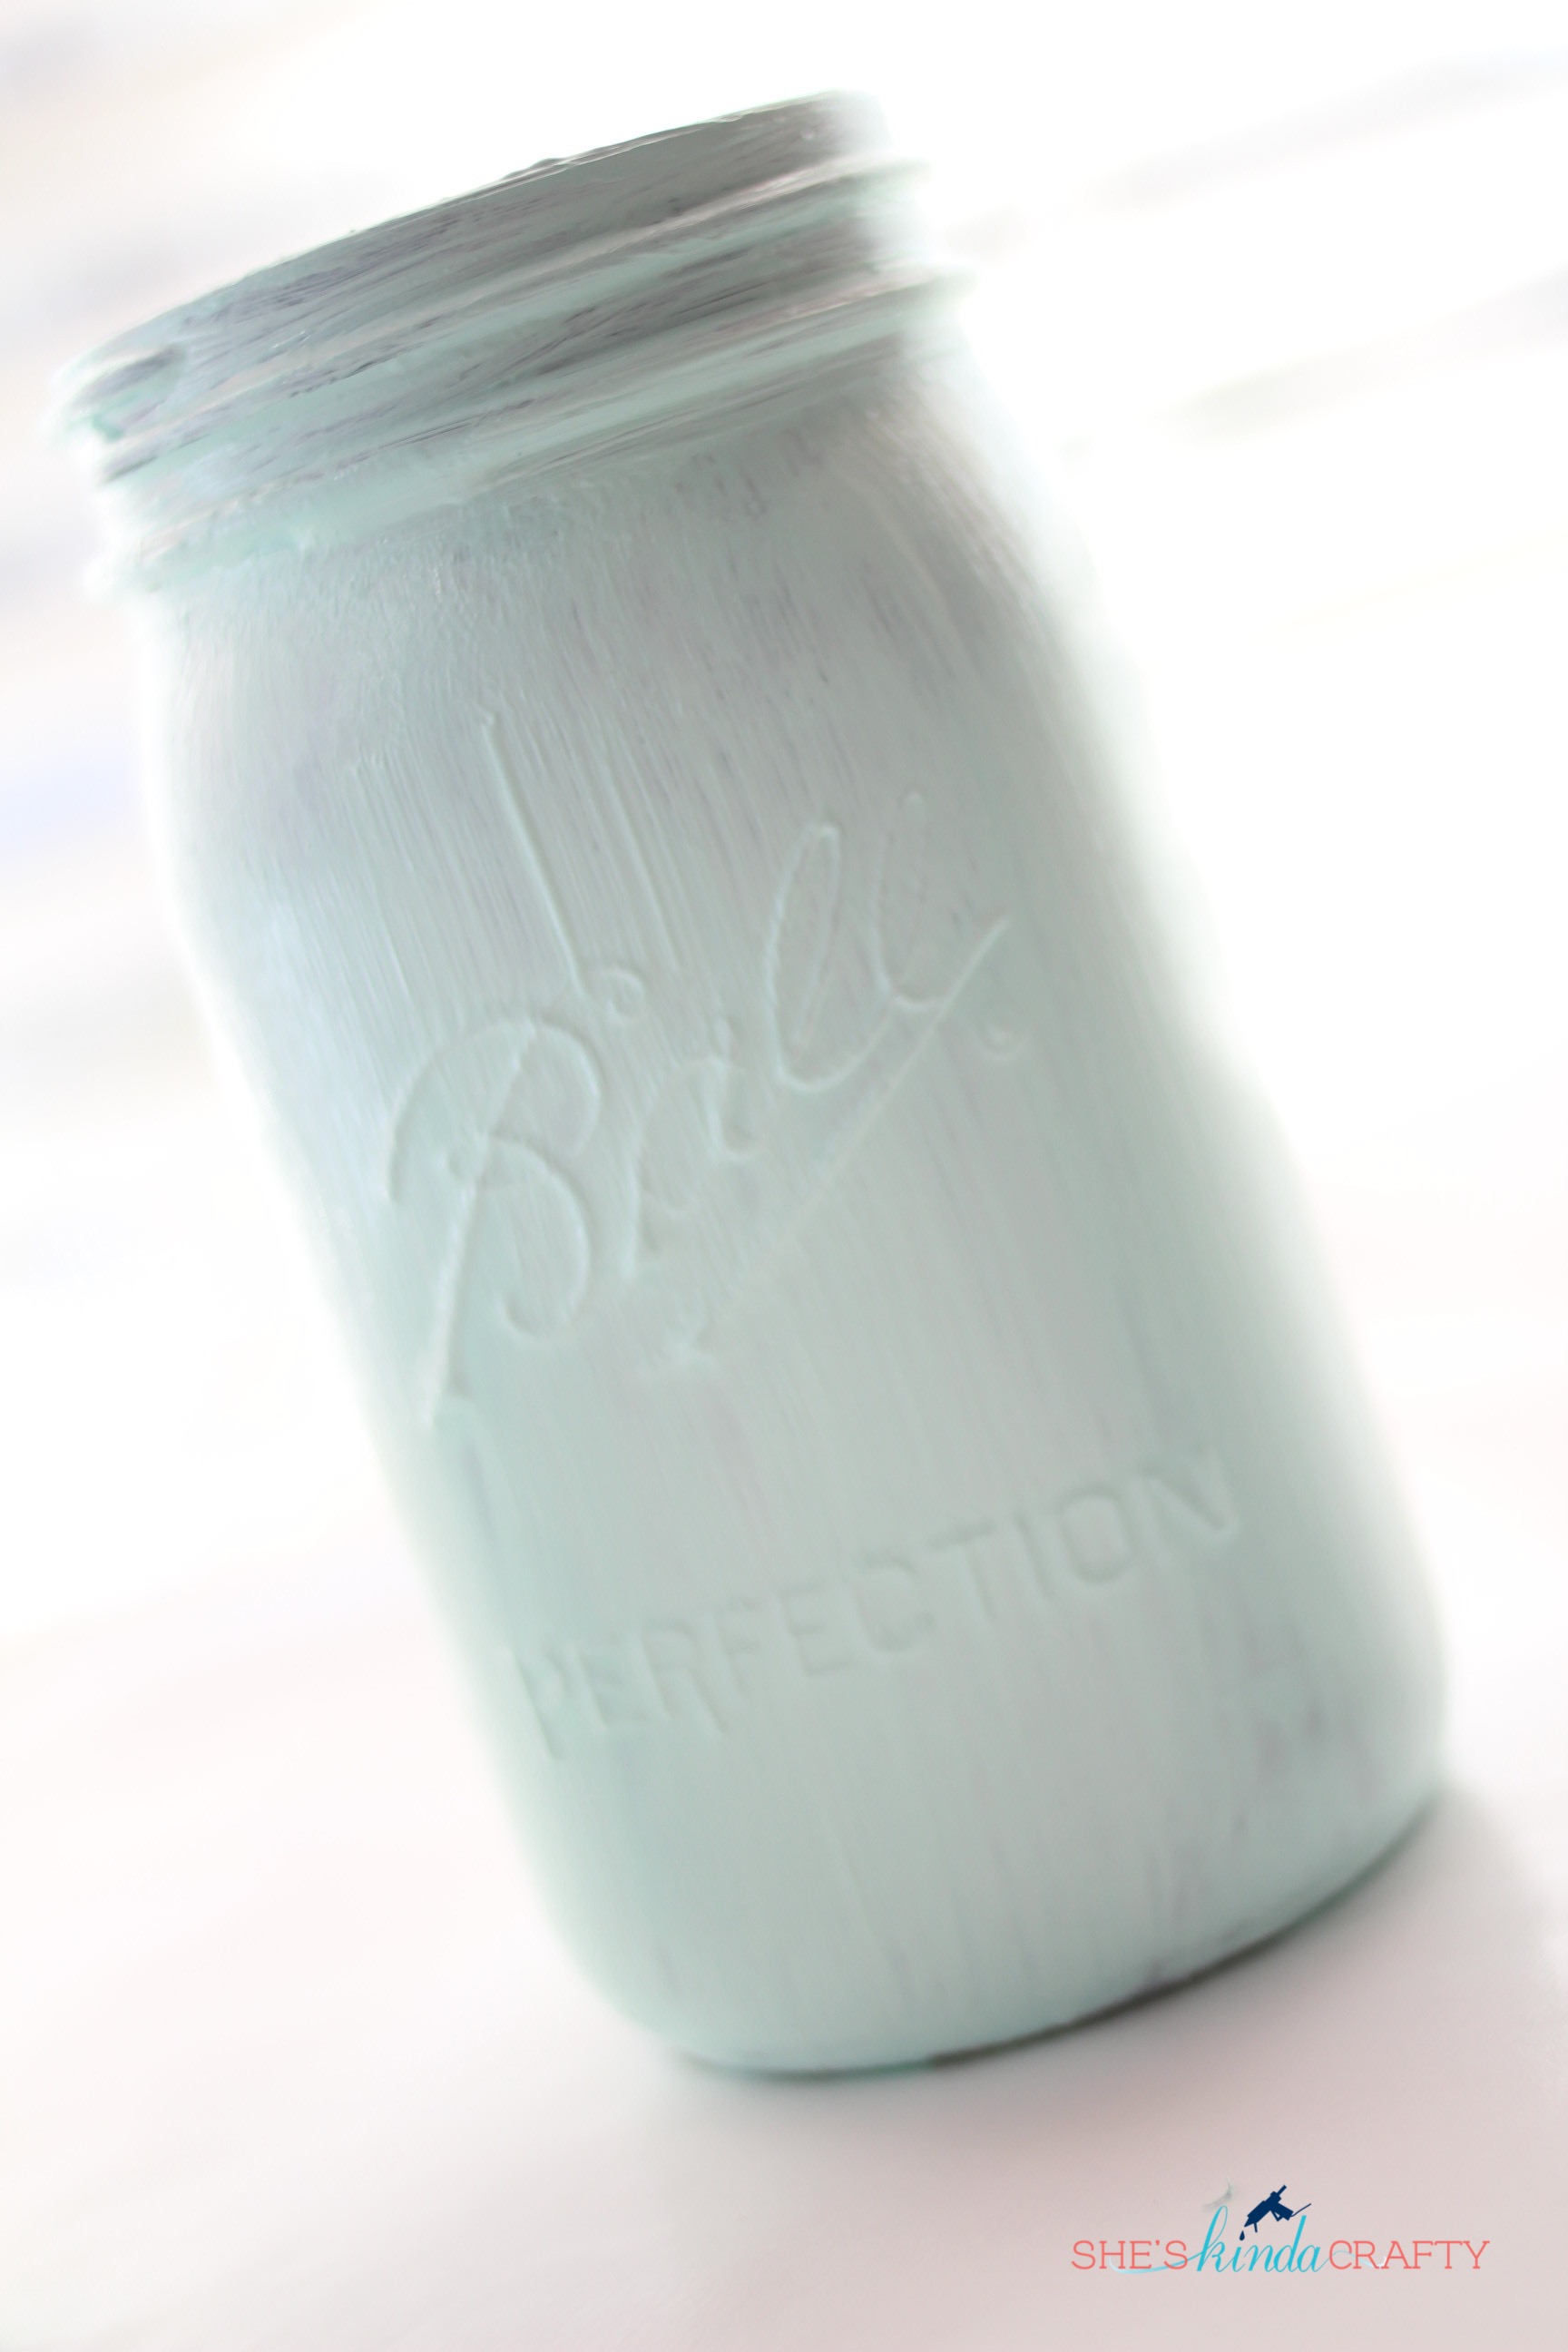 After you give your jar its second coat it will look like this, definitely better, but I like to give mine a third coat, for good measure, after the 2nd coat has dried completely. If you want a vintage look you can run a nail file or some sand paper over the raised lettering to chip a little paint away, as I did in the smaller jar, or leave it whole as I have with this bigger jar.
Now you should have a jar that looks incredible! But do you know what’s better than incredible?? GLITTER!
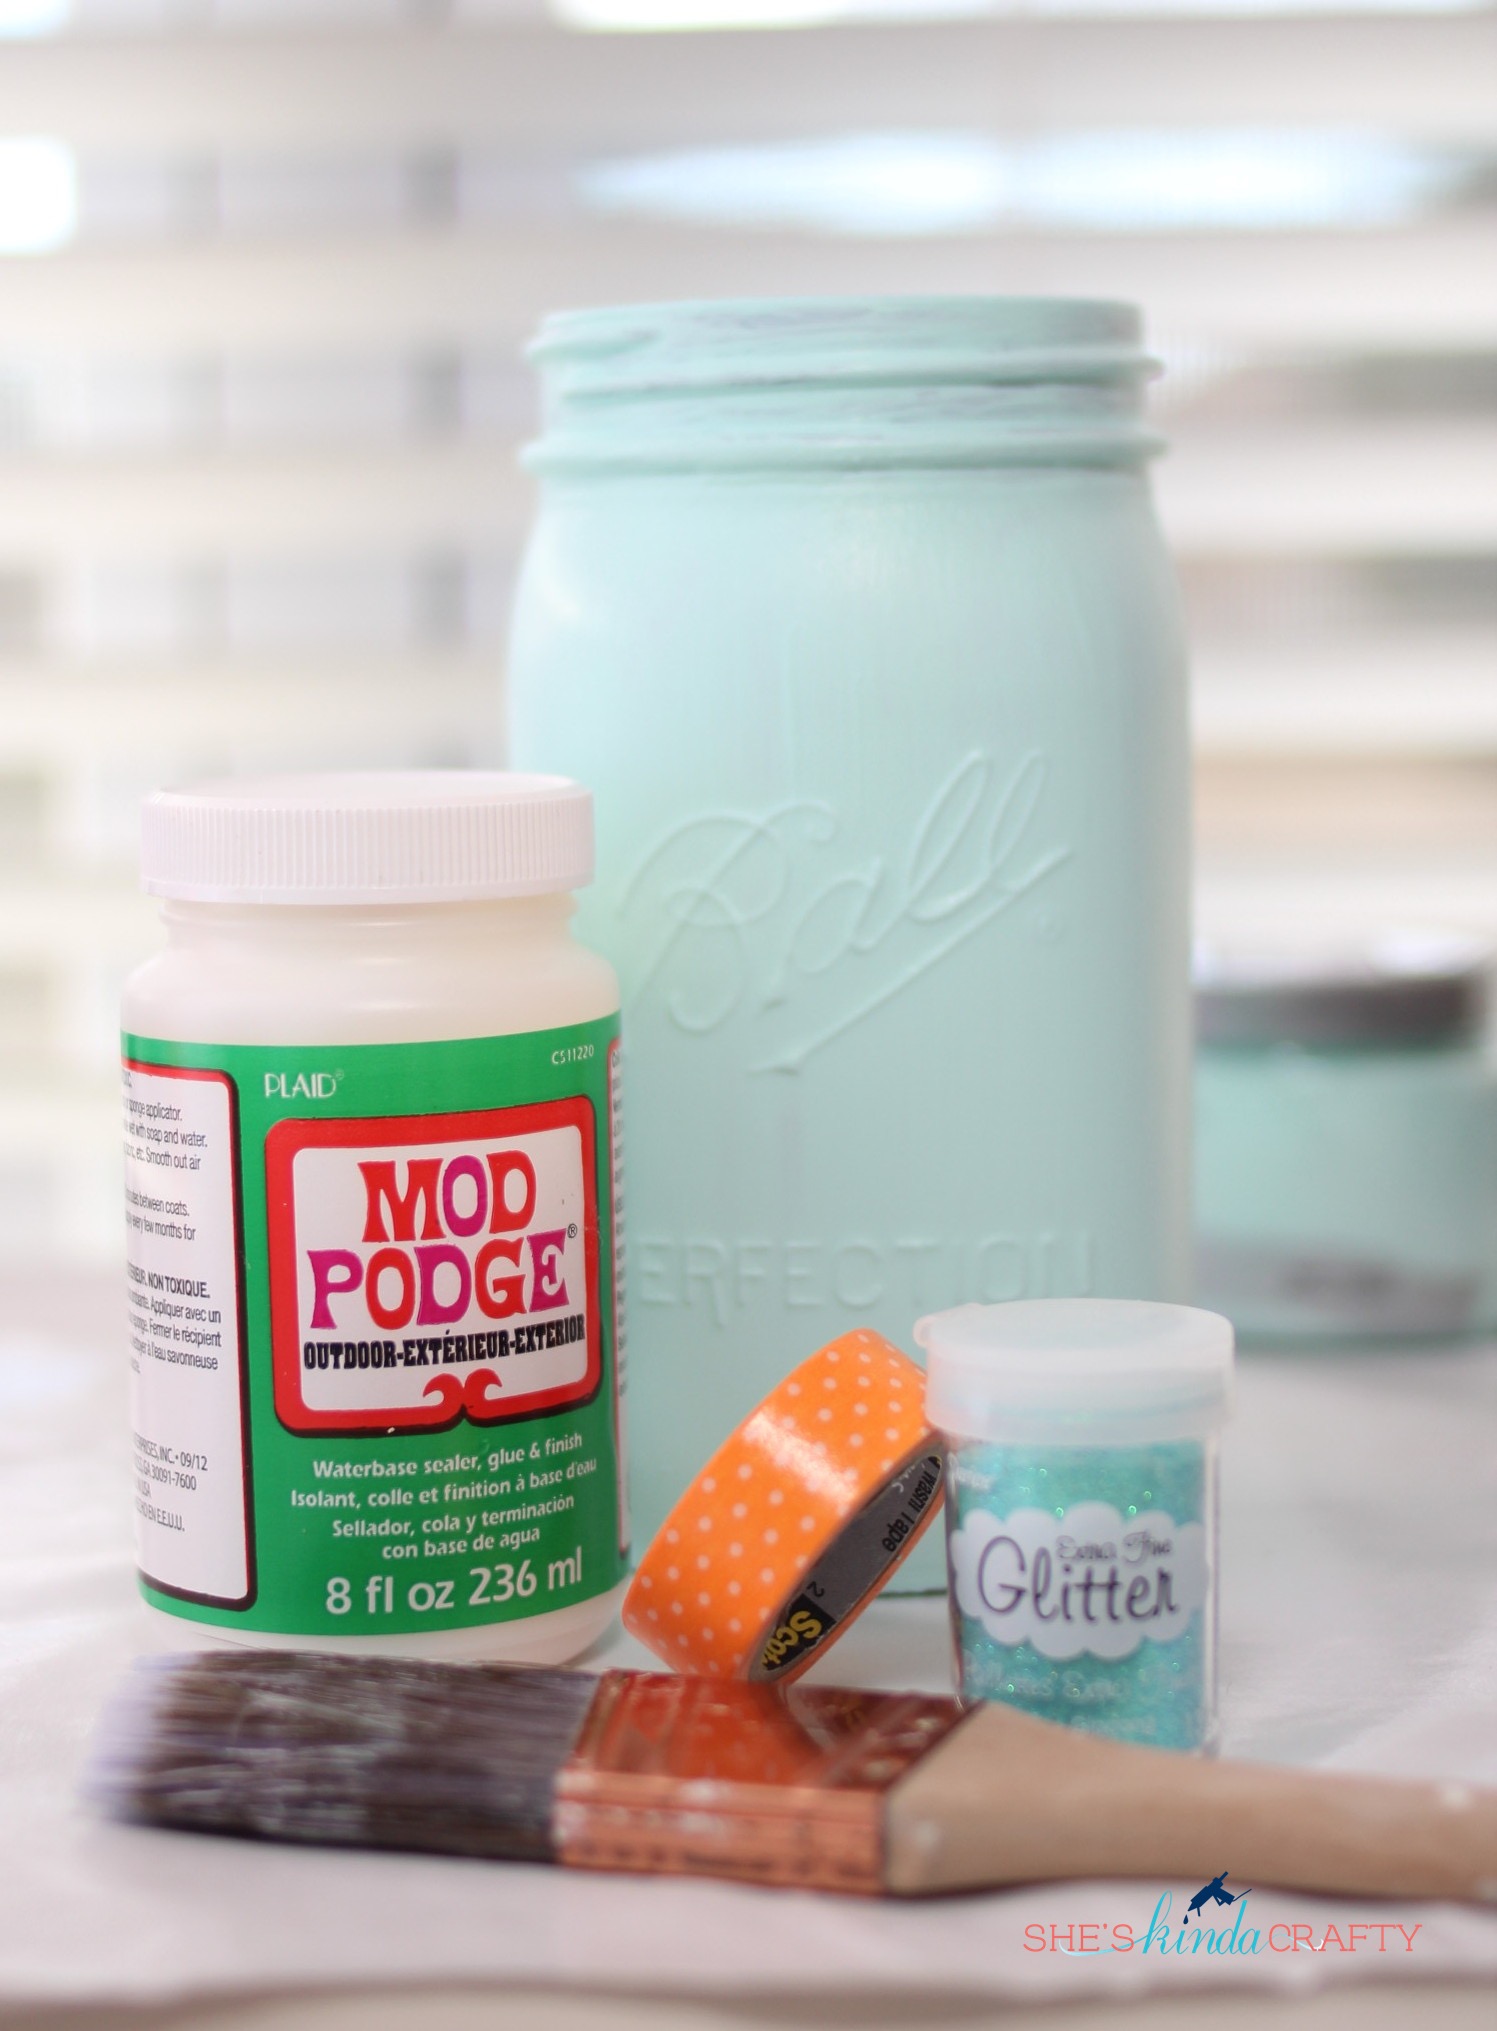
To add glitter you’ll want Mod Podge (I just grabbed my outdoor formula because it was handy but any formula will do), a brush, painter’s tape or washi tape, glitter, and acrylic sealer (not pictured).
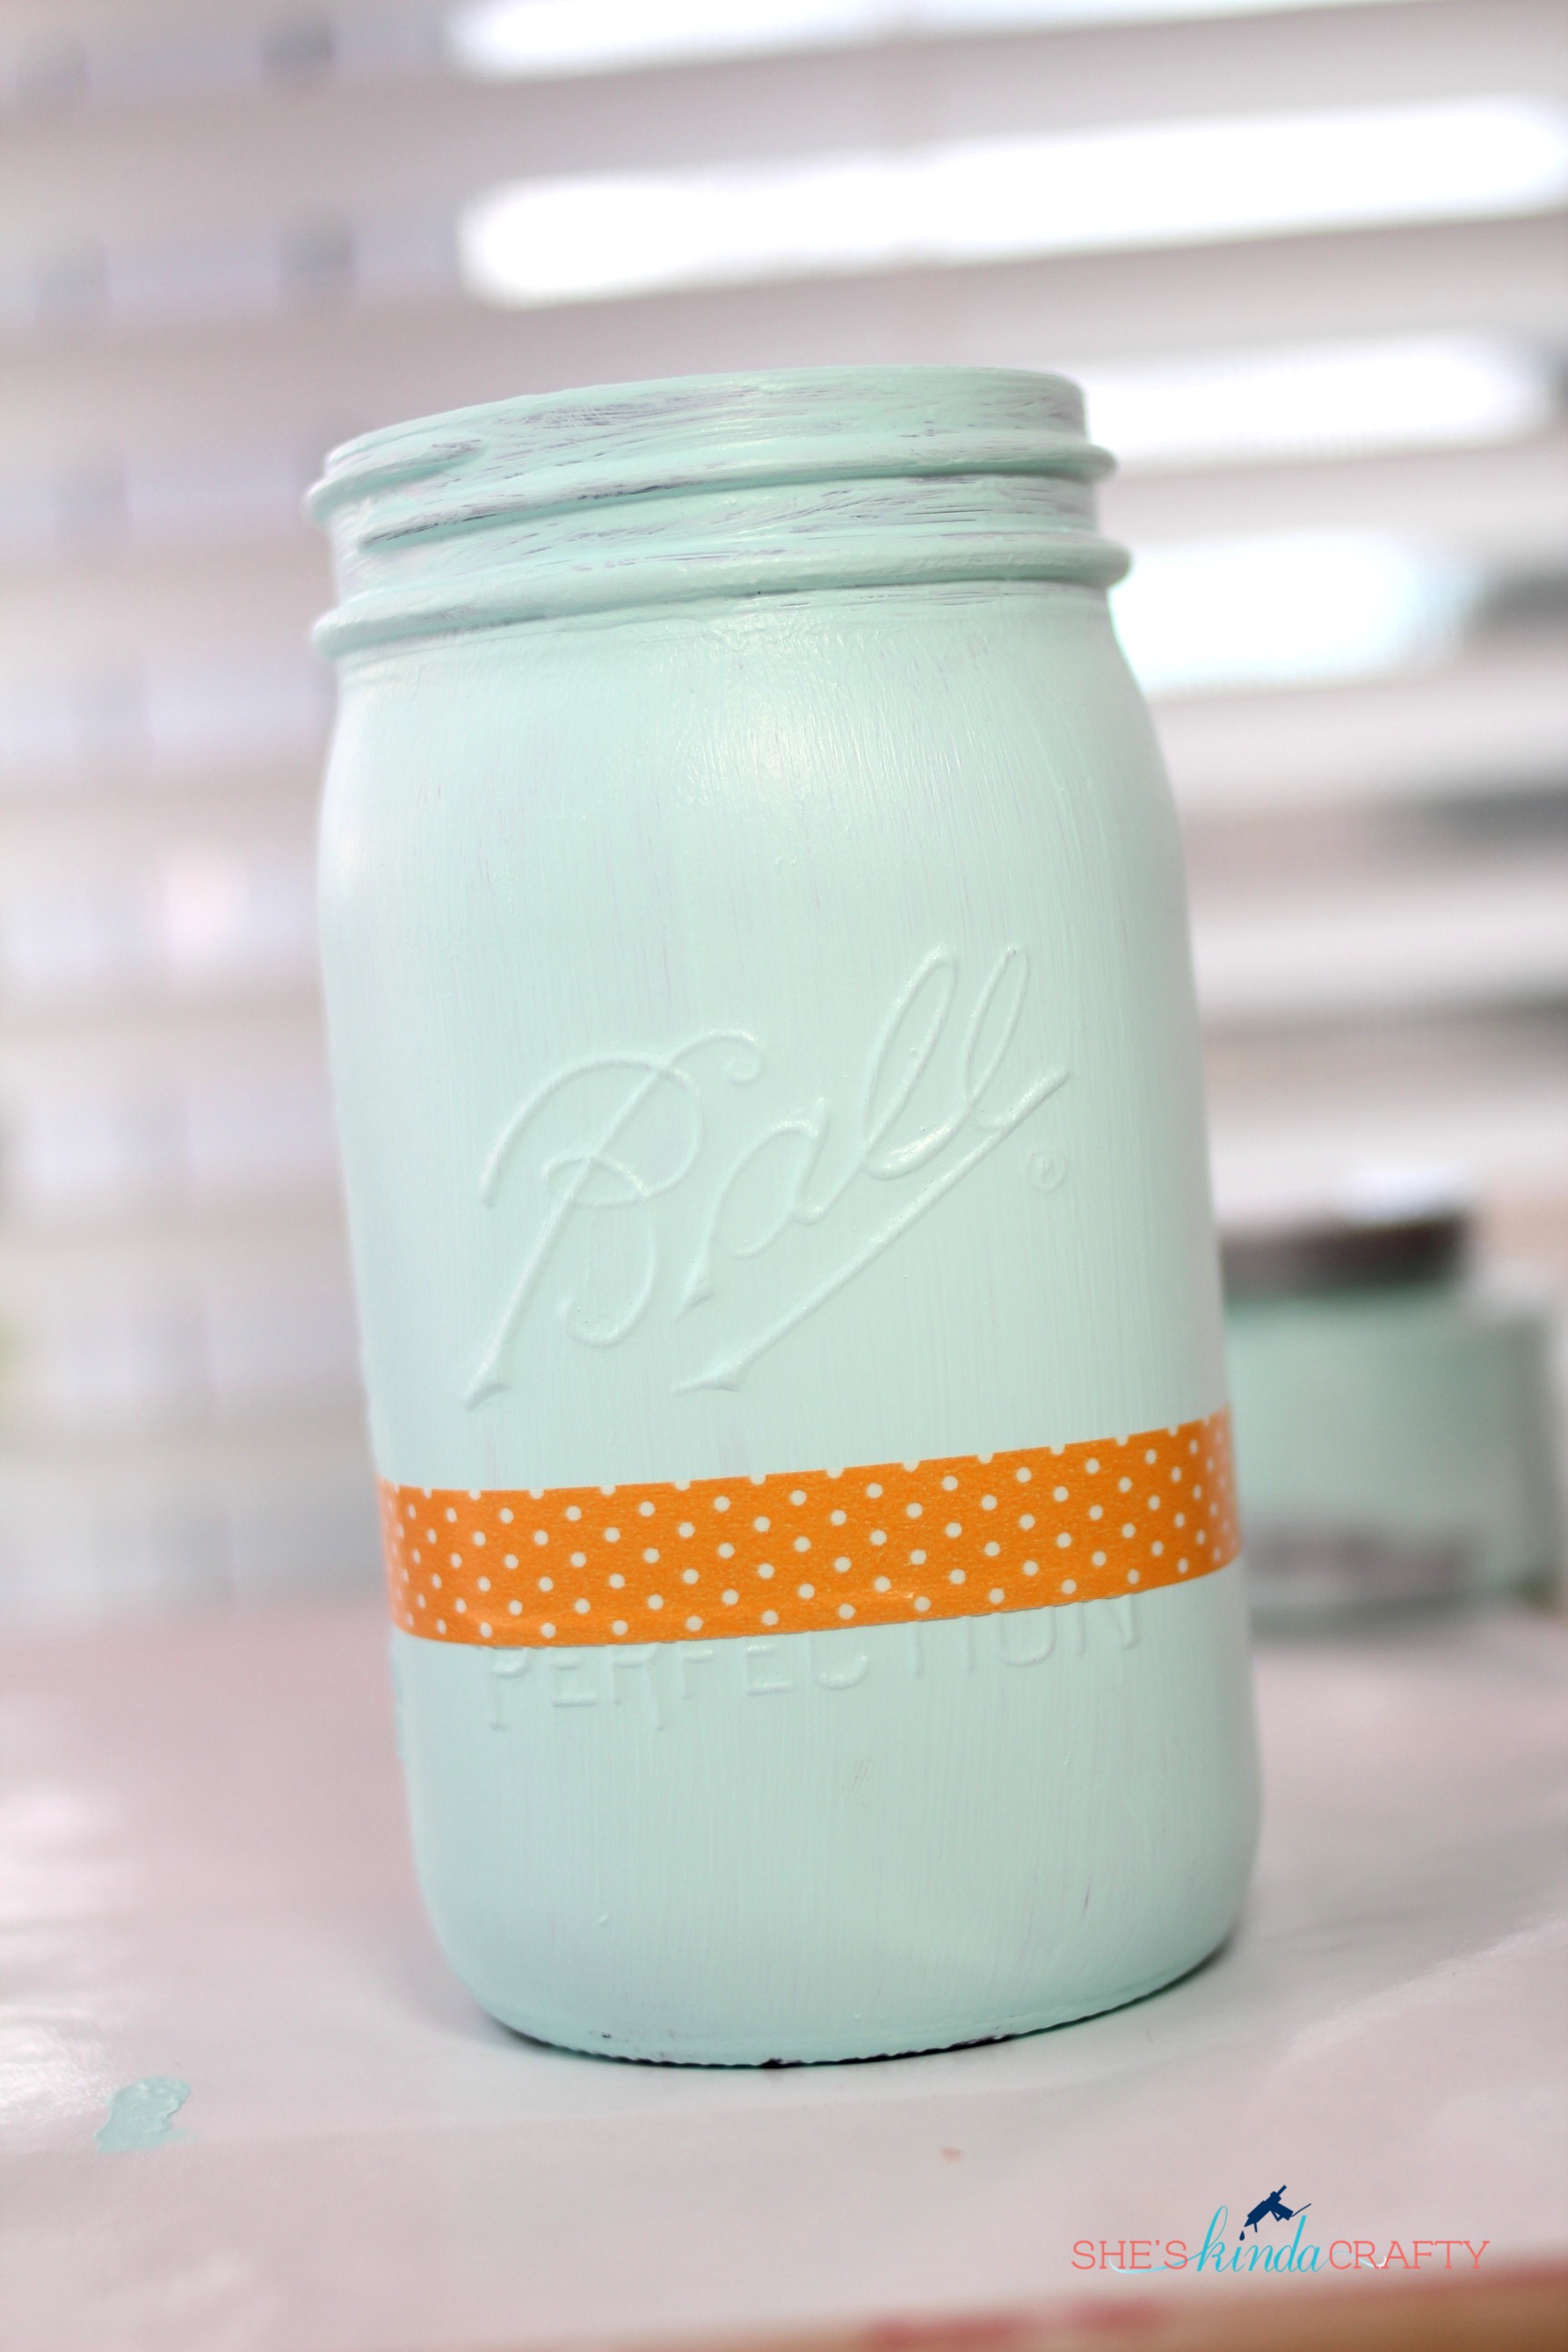
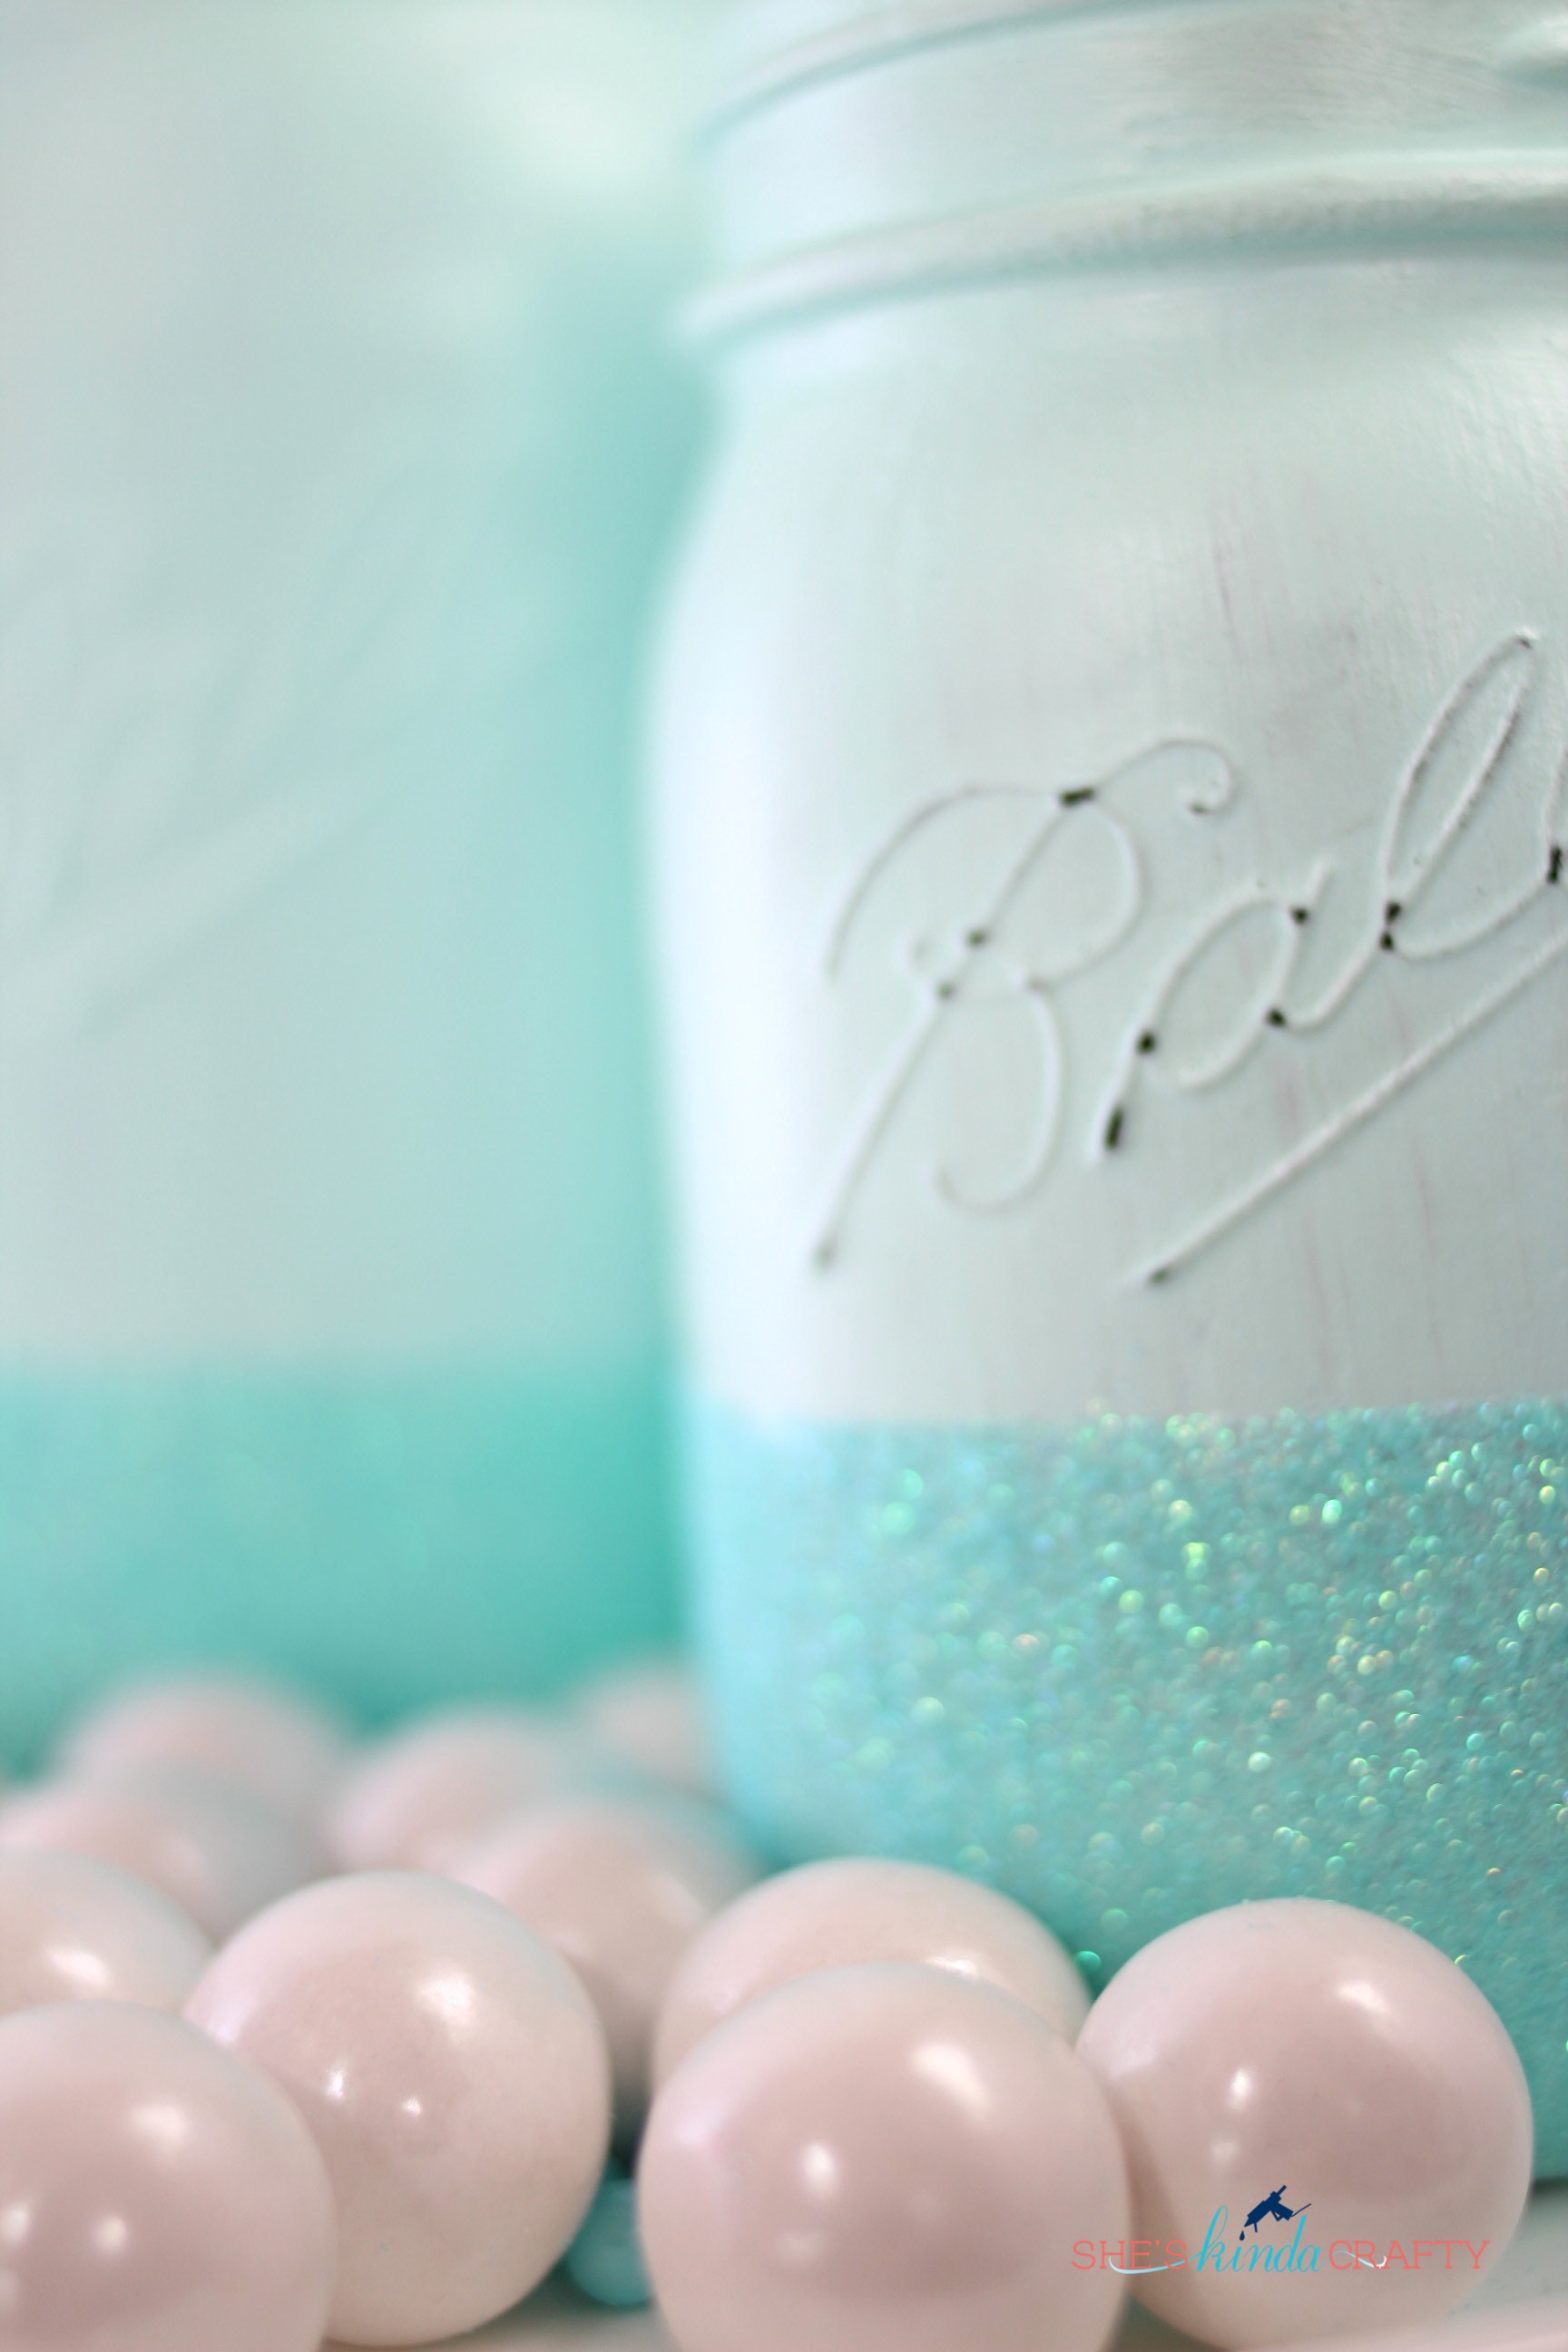
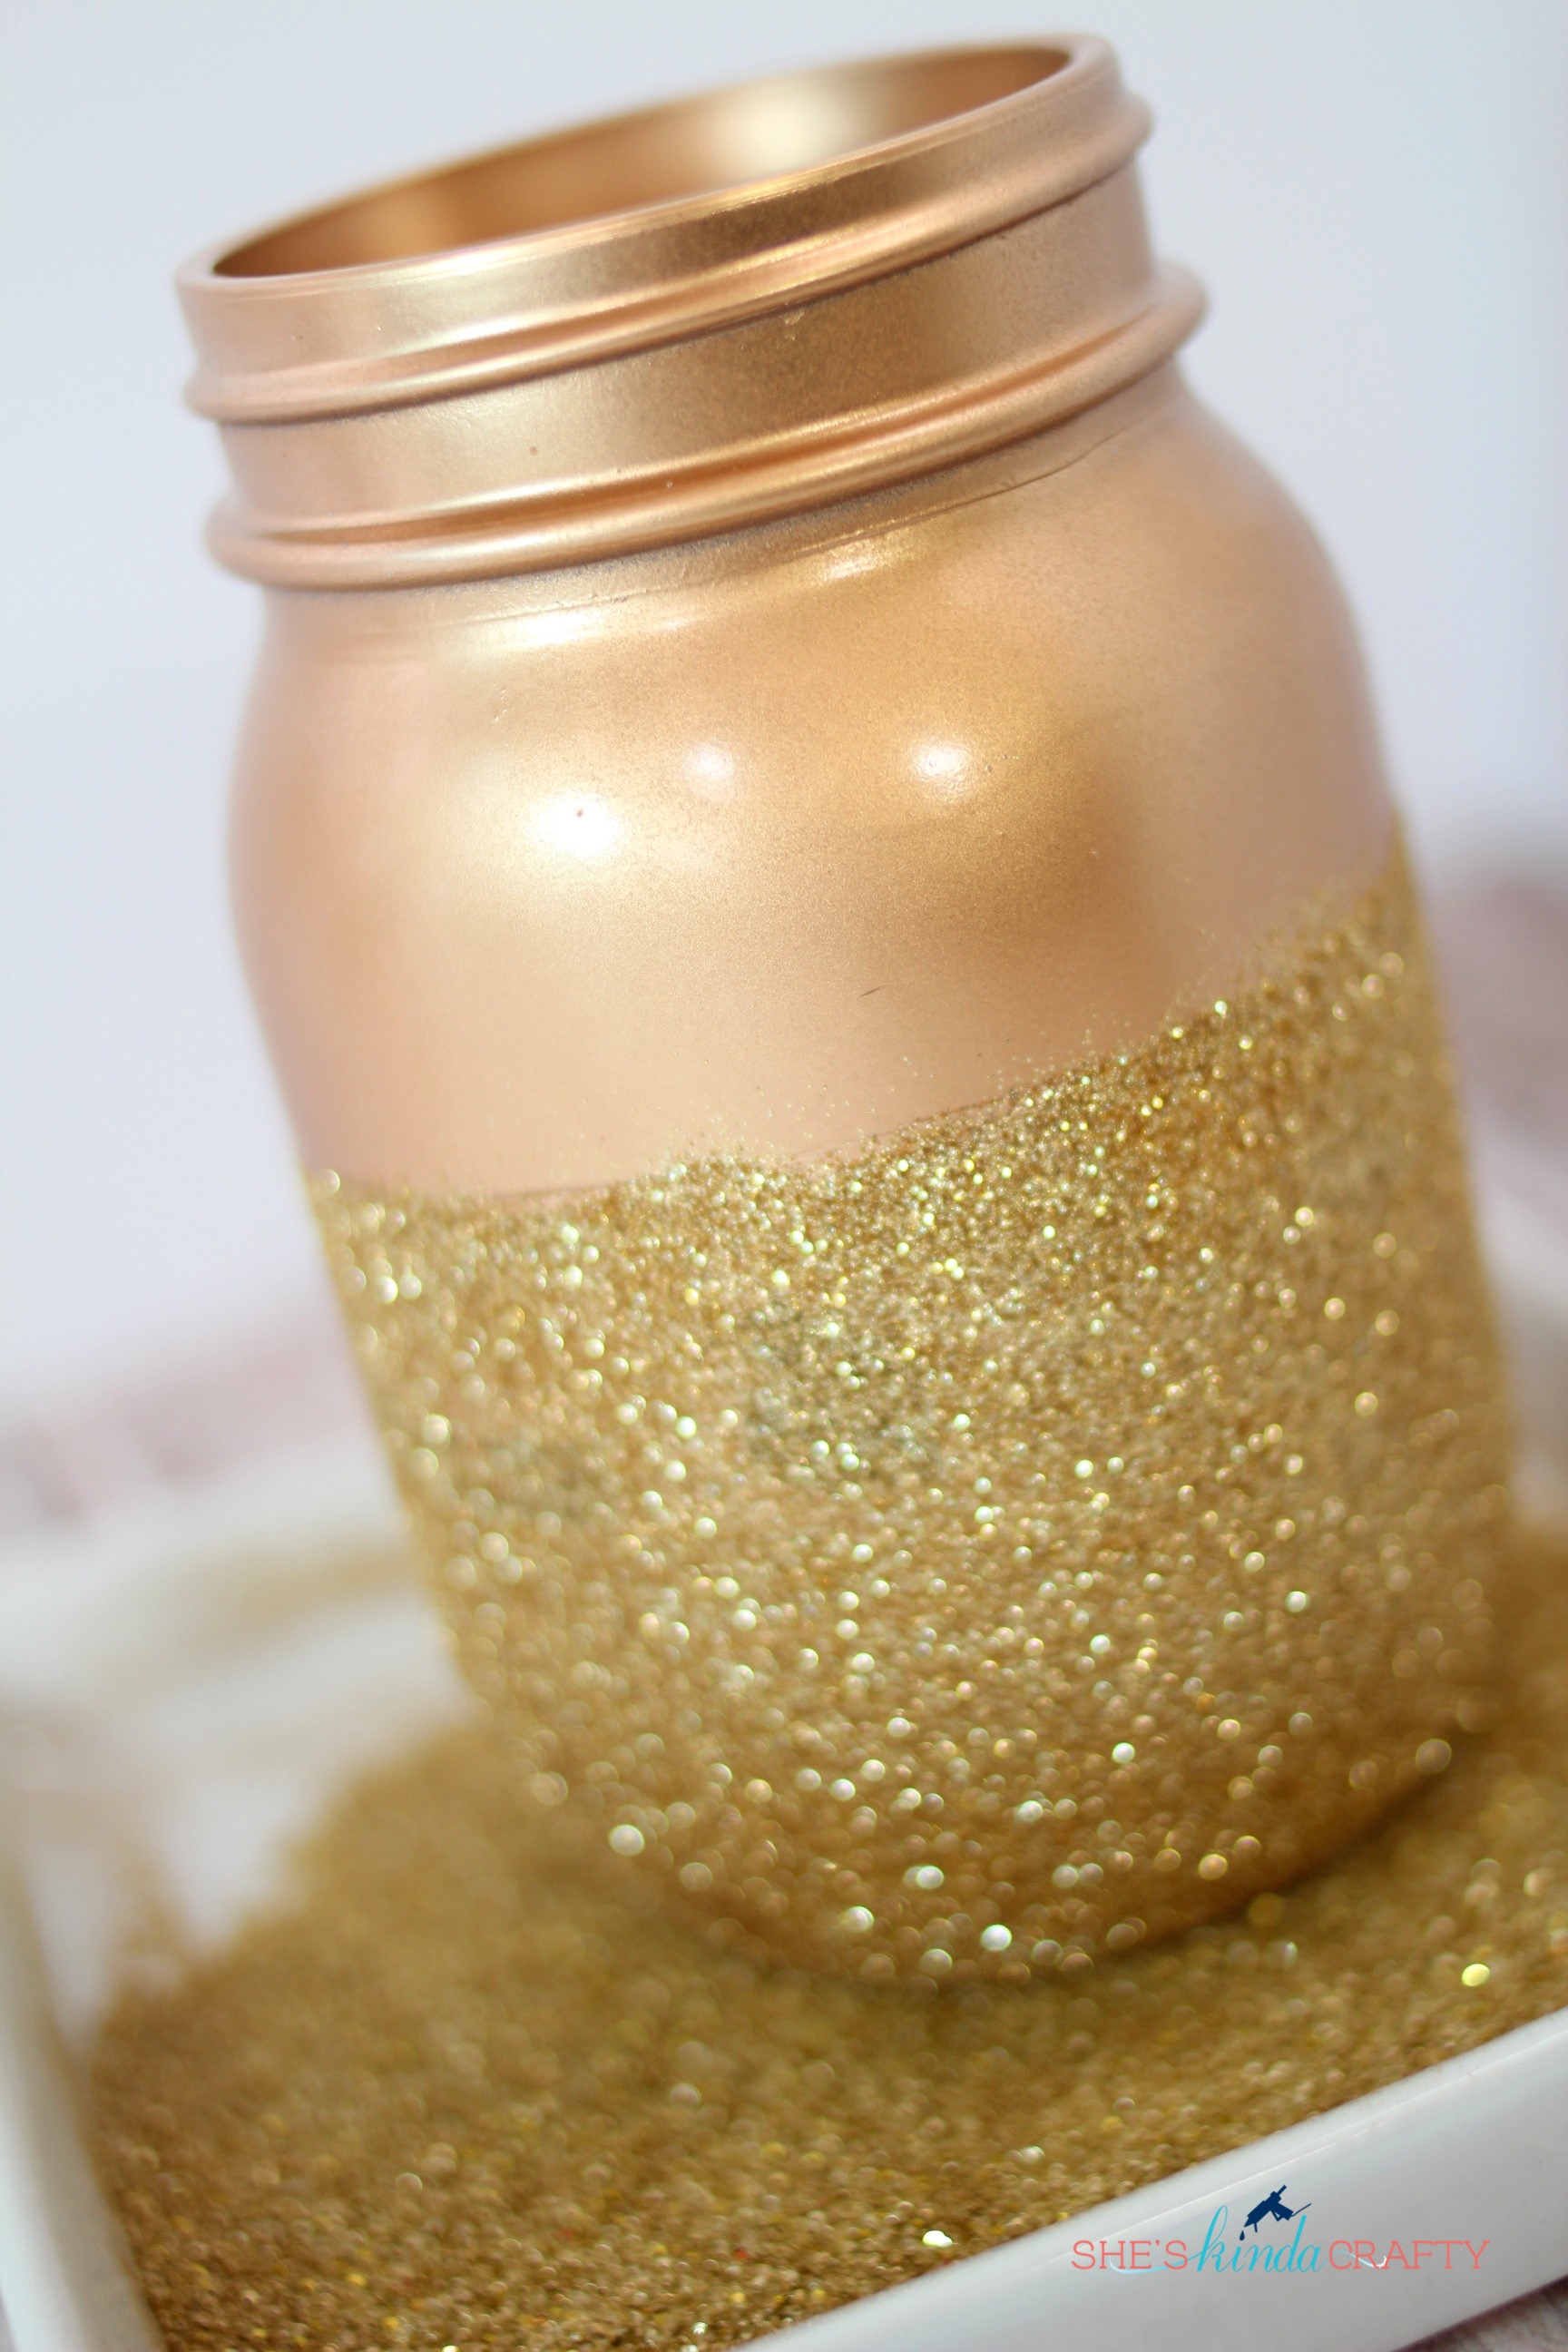
Once your jar is completely dry, as in let it sit overnight dry, decide how much glitter you want on your jar. Use your tape to mark off the area you want to sparkle and shine, then paint a medium coat of your Mod Podge below your tape line overlapping the tape slightly. Next, get your glitter out and start sprinkling! I like to work over a piece of wax, parchment, or freezer paper so I can capture the unused glitter and dump it back into the glitter jar.
Depending on how you are going to use your jars you might want to seal the glitter. You can do this without losing the sparkle if you use a spray acrylic sealer. Just spray a light coat on your jar while you’re outside.
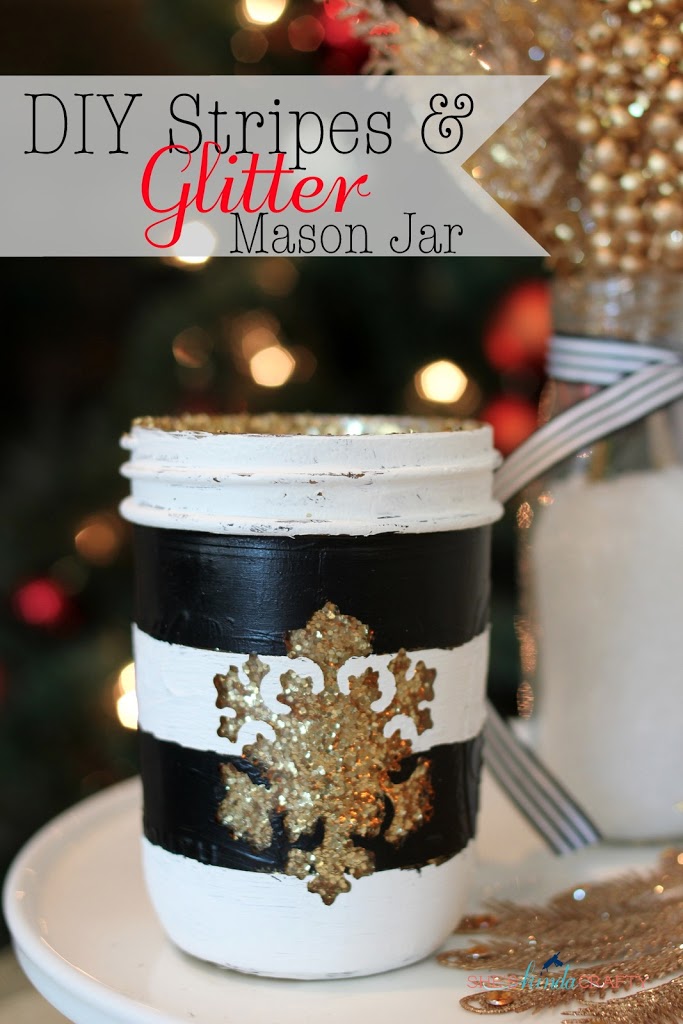
I wanted to try a spray paint only method of painting mason jars and all was going well until I tried to mark off the glitter area with washi tape. When I peeled it back to straighten the tape the spray paint came off, even though I had used primer, too. So I improvised and eye-balled the mod podge without the help of the tape. It came out nicely but definitely not as straight as when I used the washi tape.
I hope you feel a little more confident in your mason jar painting abilities. Now go out there, get some jars, and start painting! Oh, and don’t forget the glitter, too, there’s always room for sparkly glitter!


what kind of spray paint do you use
What primer do you use?