Shes {kinda} Crafty

Dedicated to All Things {kinda} Crafty

  • Home
  • Blog
  • About Me
  • Shop
  • Wreaths
  • As Seen On
  • Privacy Policy

Getting Started with Your Silhouette Part 1

October 10, 2014 By Stacy 4 Comments

One of the most common questions I receive is, “What do I need to get started with this whole Silhouette CAMEO/Portrait thing?” That’s a great question. When I bought mine four years ago I had no idea what I was getting into, I just knew that it looked cool and I could cut out letters to make nice banners from paper. Well, as you can see if you look around my blog, your Silhouette cutter can do much, MUCH more than just cut paper to make cute banners. I’ve put together a list of some Silhouette virgin essentials to get the most out of your new machine! For part 2 I will explain the basics of the software, how to buy or import designs, and how to make your first cut!!


There are so many types of projects that you can do with your new Silhouette cutting machine. I am only going to cover 2.5 of those many amazing things in this post. I would be more than happy to answer questions about rhinestones, fabric cutting, stamp making, tattoos, glass etching, sketch pens, magnets, and any of the other speciality materials you can use to create fabulous crafts and gifts. Just leave a comment and I will reply to you! (See I told you it could do a lot!)
The first thing you’ll have to do is pick your machine size. Silhouette currently has 2 different machines (although next week there is announcement about an updated CAMEO, but to my knowledge it will be the same size) the 9″ wide Portrait and the 12″ wide CAMEO. The only difference in ability between the 2 current machines is the size. 
The 12″ CAMEO is great for using 12×12 scrapbook paper without having to cut it down, make slightly larger 3D shapes like boxes, and cutting larger vinyl decals. It does, however, take up a lot of desk space.

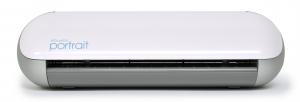
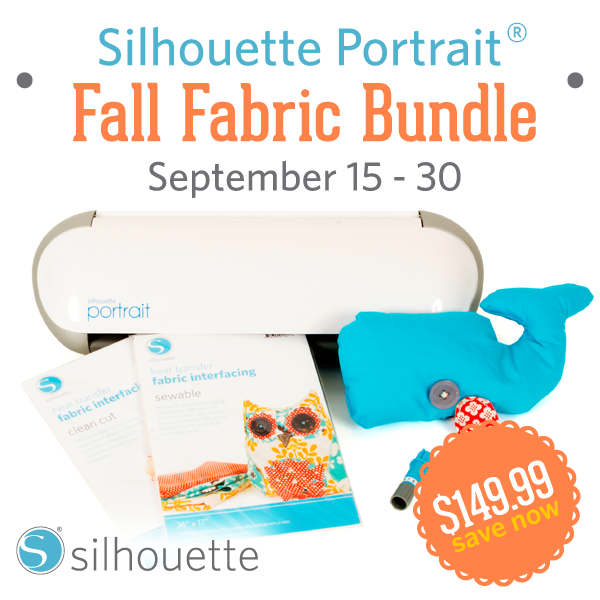
The 9″ Portrait is great for using regular 8.5×11 sized paper (it’s perfect for Print & Cut which is one of my favorite features of the Silhouette), vinyl decals up to 9×36″, and anyone who may be crafting in a small space. I also think that this is a better machine to travel with, so if you do scrapbooking sessions away from home this would be great.

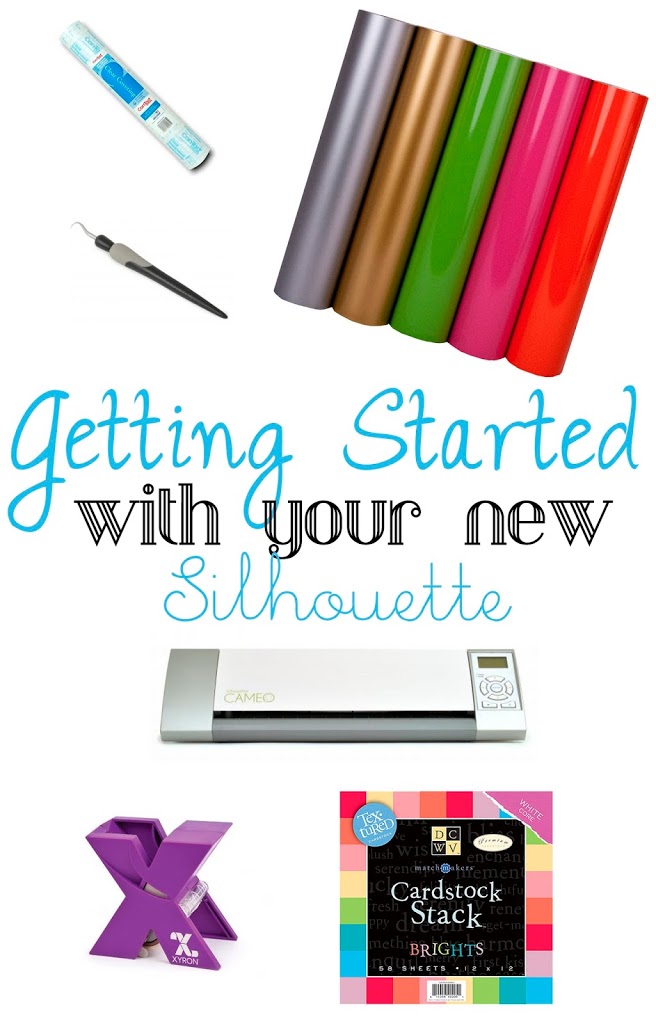
Now that you’ve picked your machine here are a few basic items that won’t come with your machine that you’re going to want straight out the gate when you machine arrives.

First up, paper crafting –

A big ol’ pad of quality scrapbook paper in a rainbow of colors. You’ll also want plenty of white and black cardstock around, too. 

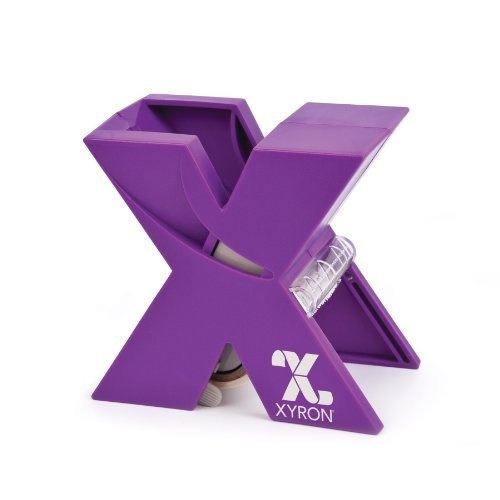
Adhesives are a bit of a personal preference but you’ll want something to help you attach small letters and cuts to your projects. Your basic adhesive runner will work for the larger pieces but you will drive yourself crazy trying to attach small letters without one of these handy “sticker machine” from Xyron. You can find them at the craft store where you can use you coupon. Now, if you want my opinion on adhesive runners I only use the big pink gun (Scotch ATG – Advanced Tape Glider) these days, make sure you use your best coupon on that one!

Now on to my recent favorite – vinyl decal making!

Once you’ve got the feel for the machine and you’ve made all the banners, birthday cards, and party supplies that you can handle it’s time to move on to Vinyl! With the right vinyl you can personalize just about ANYTHING you’d ever want to personalize.

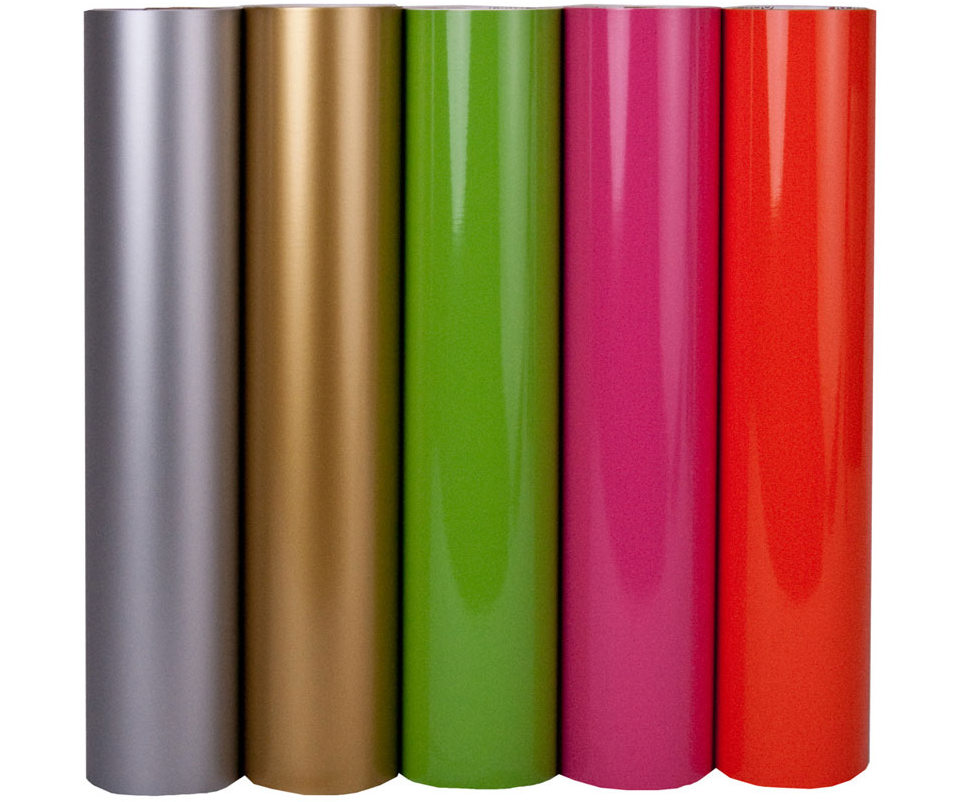
My favorite, go-to vinyl is Oracal 651. It is a glossy finish with permanent adhesive. It’s great for anything that may get wet but not great if you’re going to want to remove it, like from your walls. It does come in matte finishes but only for black and white. There are MANY sources that will sell you Oracal 651 vinyl. From Amazon to Etsy and Ebay, a quick Google search will find you what you need.  If you want to make personalized t-shirt and apparel you are going to need Heat Transfer Vinyl, also sometimes called T-Shirt Vinyl. The best brand is Siser Easyweed. Again, it’s pretty simple to find.

The tricky part of vinyl is called “weeding” – it’s removing all the little pieces of vinyl that you don’t want from the image you just cut. I have a very helpful tutorial on the entire vinyl process that will show you how I use this hook tool. It’s ALWAYS near me!

The last part of vinyling (is that a real verb? It should be, because I do it all day long!) is transferring your project from the vinyl backing to your prepared surface without losing the spacing, lining, etc, of your shape. To do this you’ll need to use transfer tape. There are many types of transfer tape but I am cheap and I like to use my transfer tape liberally so I use clear contact paper instead. The fact that is it clear really has helped me figure out complicated multi-layer decals. 
Next week I will bring you part two of getting started which will cover the software, the Silhouette online store, and making your first cuts!!

Ok, so those supplies should help you get started and on your way. Of course the sky’s the limit on what you can cut and how you can use those cuts. I think that’s why four years later I am using my machine just as much, actually probably much more, than I did when I bought it. I can’t really think of anything I’ve purchased for my craft room (other than my computers) that I would be so lost without. I wouldn’t want to go back to my days before this machine!!
Please feel free to leave a comment if you have any questions. Also, I always love to hear what type of tutorials you are looking for!!!

Related posts:

Glitter Thank You Card and Silhouette Deal Vinyl Layering 101 | A Silhouette Tutorial 1409854001Bm2Zg2How to Make a Split Pumpkin Monogram | September Silhouette Special Typography Signs 201 + Silhouette Promotion
YARPP

Filed Under: Craft Supplies, craft tips, Silhouette

← DIY Monogrammed Ring Dish Free Halloween Brown Bag Topper →

Comments

  1. This American Wife says

    October 10, 2014 at 9:31 pm

    Awesome. Thanks for the offer to answer more questions later, and for being so thorough. Bookmarking your site!!

    Reply
  2. Samantha Taylor says

    October 14, 2014 at 7:51 pm

    Thank you! This is exactly what I needed. I can’t wait to get started, and once I do- the questions might never stop!

    Reply
  3. Michelle says

    December 7, 2015 at 1:38 am

    Hello,
    I make stained glass pieces as a hobby and would like an easy way to put words and pictures on the glass. Do you recommend a silhouette for that? I am very new to a cutting machine world so I know very little. I like that you can make stuff for shirts too. I am very interested in asking for a machine for Christmas!

    Reply
    • Stacy says

      January 1, 2016 at 11:51 pm

      Yes! I would definitely recommend a Silhouette for that very task!!

      Reply

Leave a Reply Cancel reply

Your email address will not be published. Required fields are marked *

CommentLuv badgeShow more posts

Welcome! {I’m Stacy.}


Good time, great laughs, and lots of crafts!
I am a full-time working momma of 2 adorable and funny and fully southern little ladies. I like to think that everyone has a crafty side, even if it's only kinda crafty.

{find it}

{follow via Email}

Enter your email address to subscribe to this blog and receive notifications of new posts by email.

Google+ Badge

{previous posts}

Rivit Media Publisher

{Popular Posts}

  • Tips and Tricks for Painting Mason Jars
  • Camping Pillow Tutorial | Ann Kelle Fabrics
  • Halloween {Candy} Holder
  • Custom Ribbon | How to Print on Ribbon
  • Baby Boy {Burp} Cloths!

{Facebook}

Unable to display Facebook posts.
Show error

Error: Error validating application. Application has been deleted.
Type: OAuthException
Code: 190
Please refer to our Error Message Reference.

{Instagram}

{Pinterest}

  • Custom knotty alder vent hood | Etsy
  • Amazing Girls Dragon Braid Hairstyle DIY Tutorial - Video
  • Thursday- Shoulders & Traps: my visual workout created at WorkoutLabs.com • Click through to customize and download as a FREE PDF! #customworkout
Follow Me on Pinterest

Copyright © 2019 Shes Kinda Crafty • Website Design by Brave Creative Design · Log in