It’s a new year and maybe that means that you’ve set some goals for yourself and your family. One of those goals might be eating a tad healthier or keeping on top of things or organizing your life…something that might make use of a planner or journal. At least I know that I have made those goals, again, this year and I am trying diligently to meal plan so that it’s easier to make healthy choices since I have thought out what I am going to make and bought all the ingredients to make those healthier meals. I mean, it’s worth a shot, right! Even if you don’t make all of those meals that week because, hey, life happens (don’t forget stress = bad, so don’t forget to forgive yourself and allow flexibility) at least it is a leap in the right direction! And to since you are more likely to follow along with something that is easy, why not use planner clips, or you could call them bookmarks, to make it even easier to flip straight to the correct page in your planner/journal?!? The bonus is that they make your planner EVEN cuter and they can be made with just a few scraps of leftover paper!!
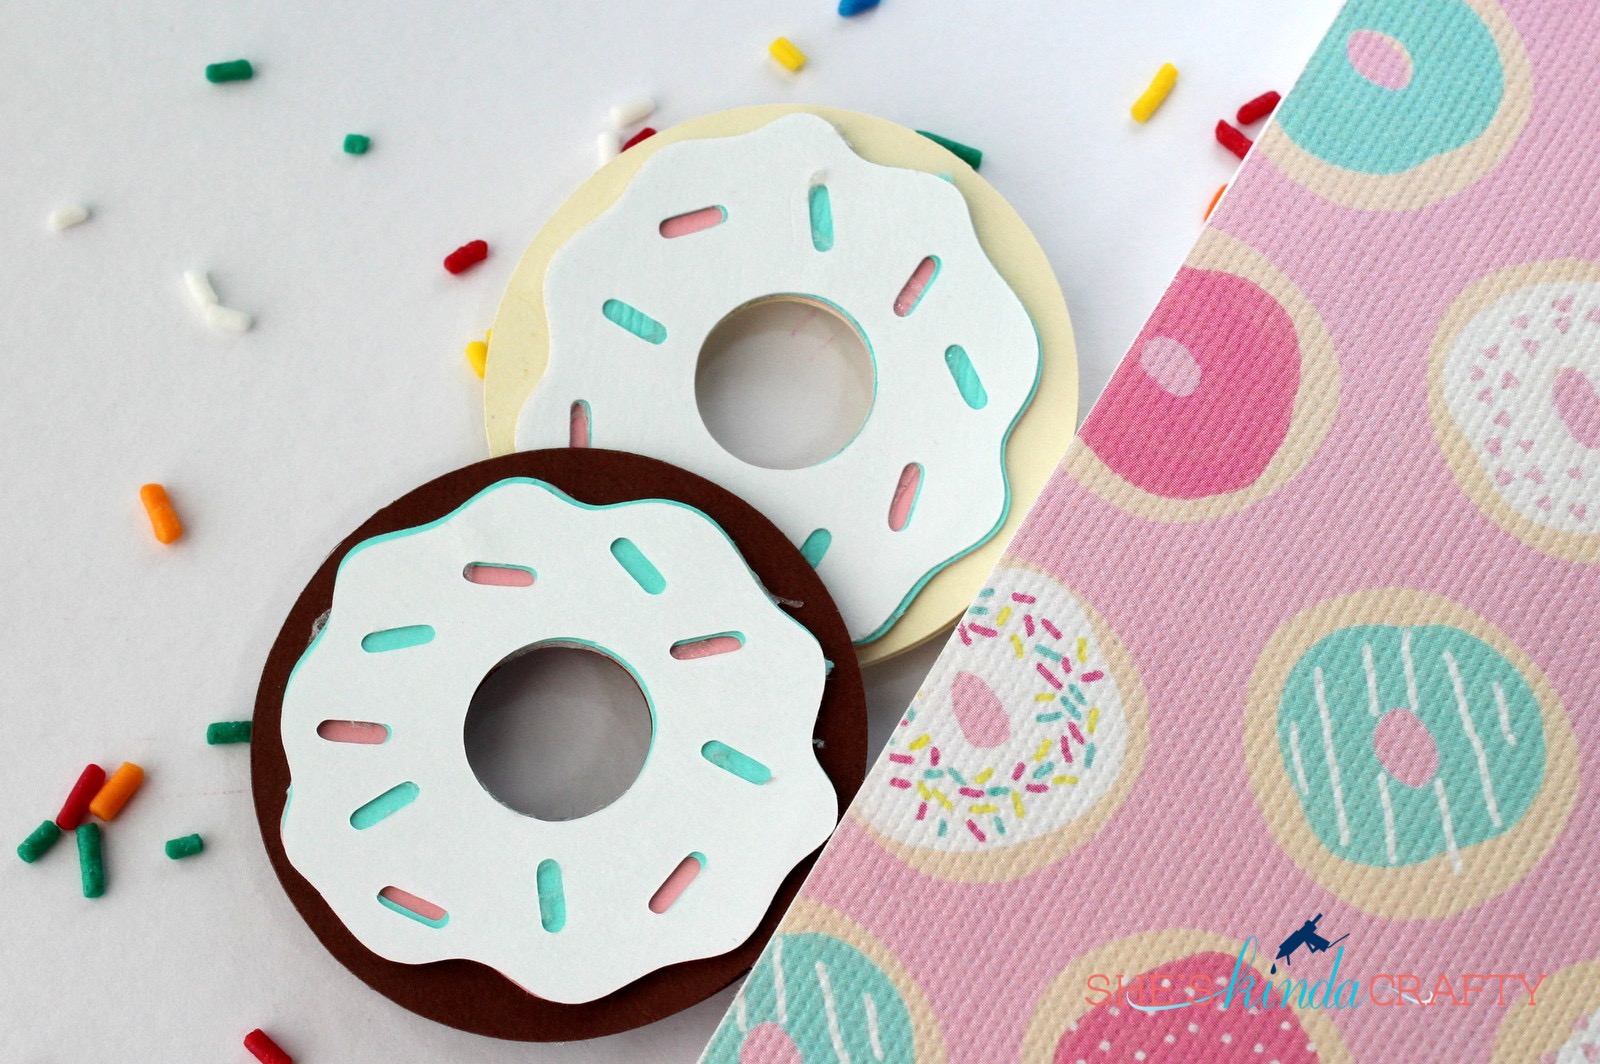
These clips were so super easy to make I will probably be making at least 20 more, you know, just in case. 😉
I started by downloading this design from the Silhouette Design Store. Isn’t is cute? You can make any design into a planner clip or bookmark, this one just happened to be designed for this very purpose!
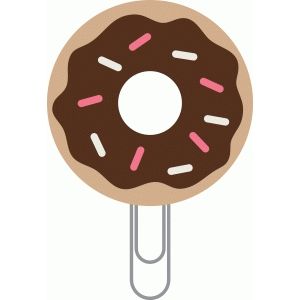
I opened up the design in Silhouette Studio and ungrouped the images. I decided that I didn’t need the clip to be two sided so I deleted all the extra pieces. However you will need a 2nd base layer to sandwich the paper clip in, so don’t delete that piece. If you are using a different design, just simply make a copy of your base layer and make a mirror image of it so you have a back piece to use to enclose the paper clip!
Now, you don’t have to use scraps for this project. You can cut each layer separately, loading and unloading your cutting mat and placing and replacing each individual color of paper. However, I like to simplify my cutting as much as possible. So if you’d like to experiment with using scraps for a project here’s how you do it (or at least how I do it).
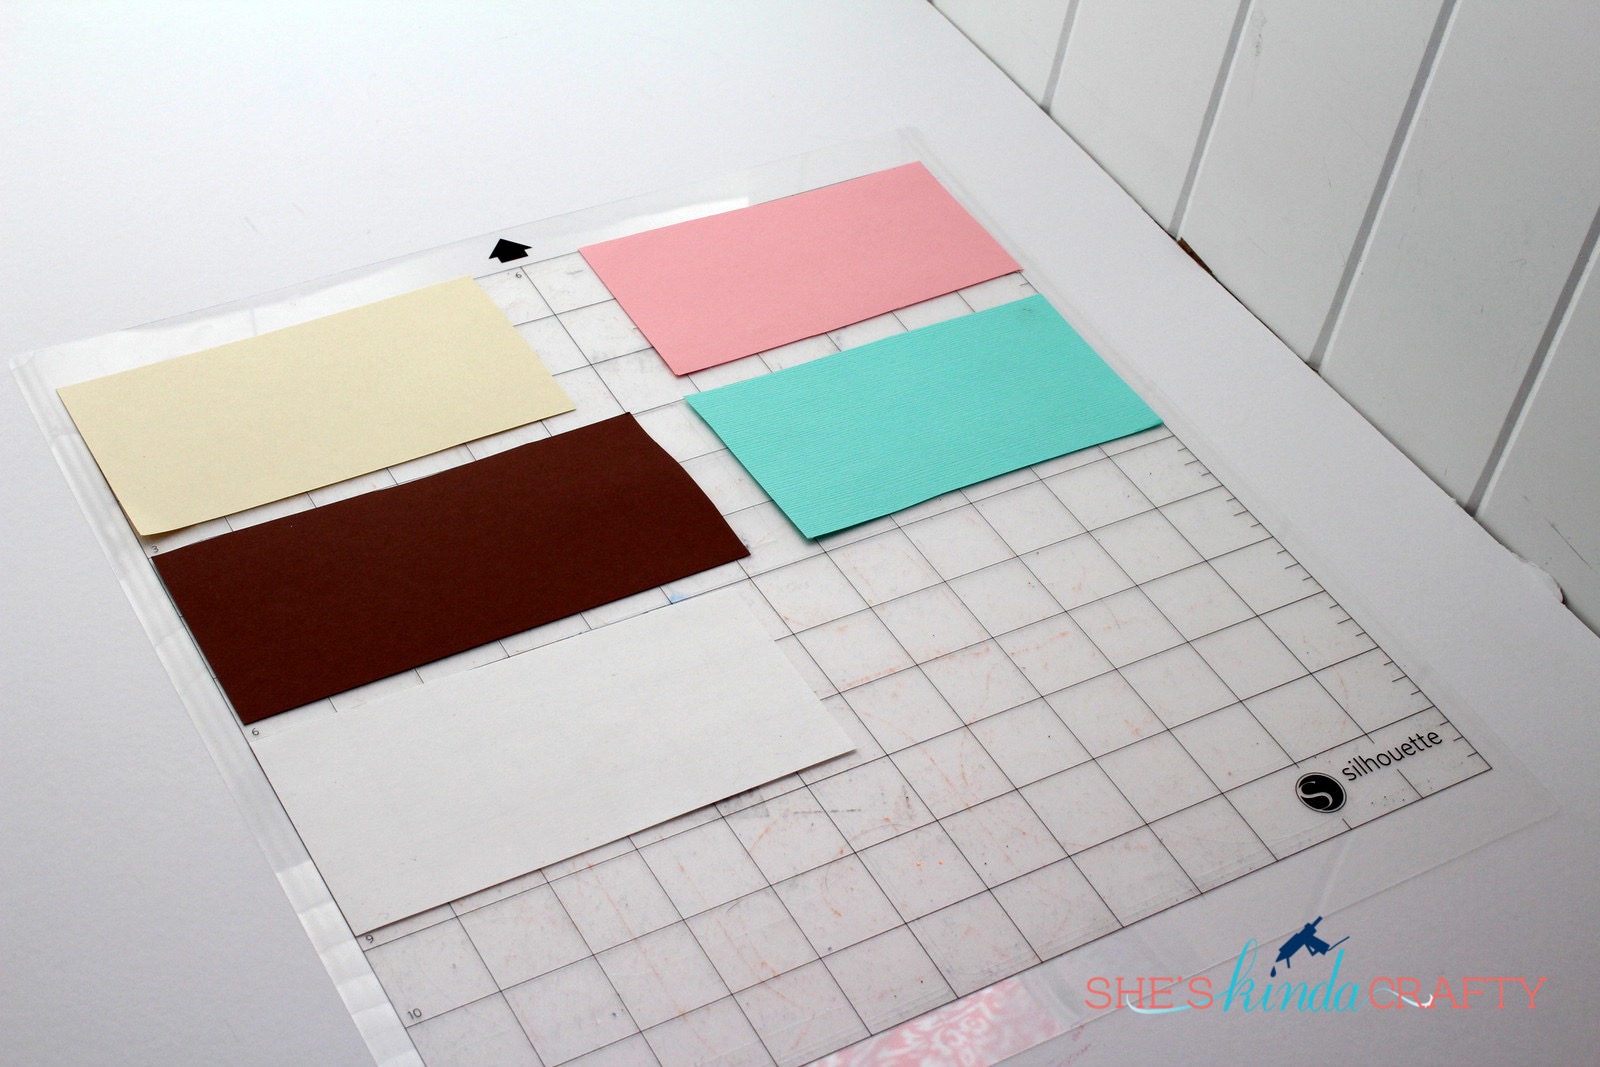
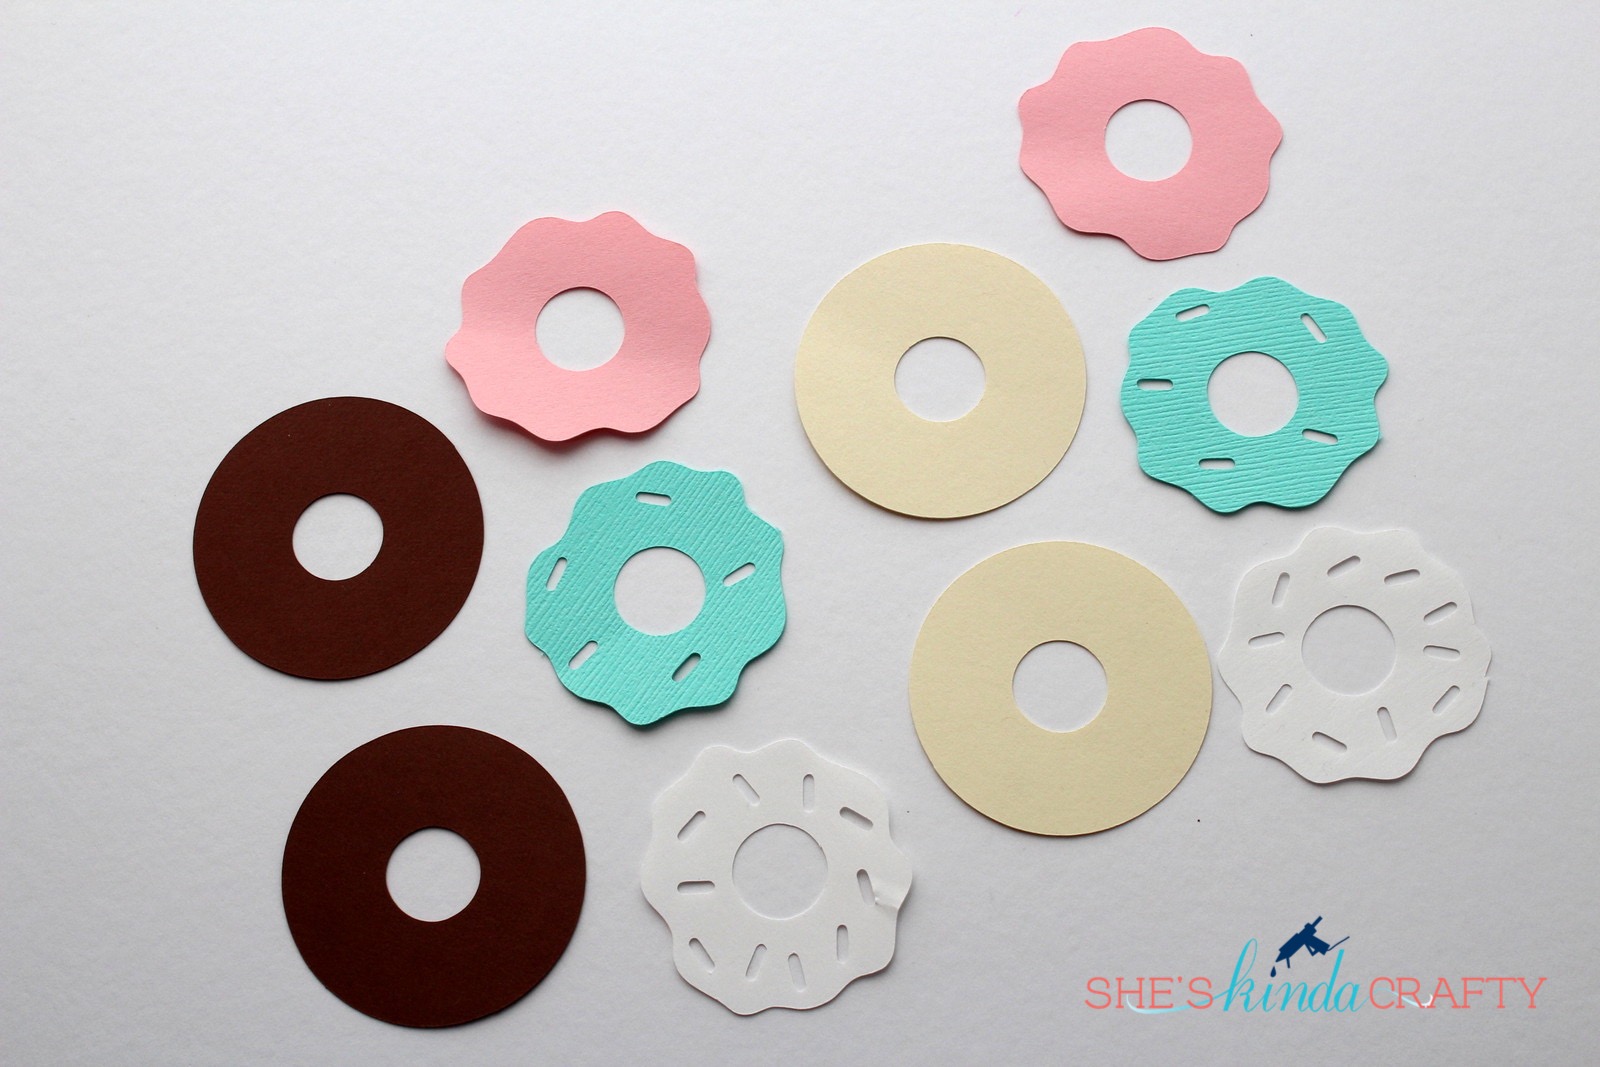
After determining the size of everything I want to cut I cut out my scrap paper to have about a half inch of allowance, width and height. I then arrange my different paper onto my cutting mat like so – making sure I use the grid as my guide.
Once my paper is all in place I go back to Silhouette Studio and place all of my designs to line up with where I have placed my paper scraps. To make this easier I like to color all my layers in Silhouette Studio the same (roughly) color as the paper I am going to cut it out on. It helps me organize the different layers. You have to make sure your grid is turned on so that you know where to place your cuts.
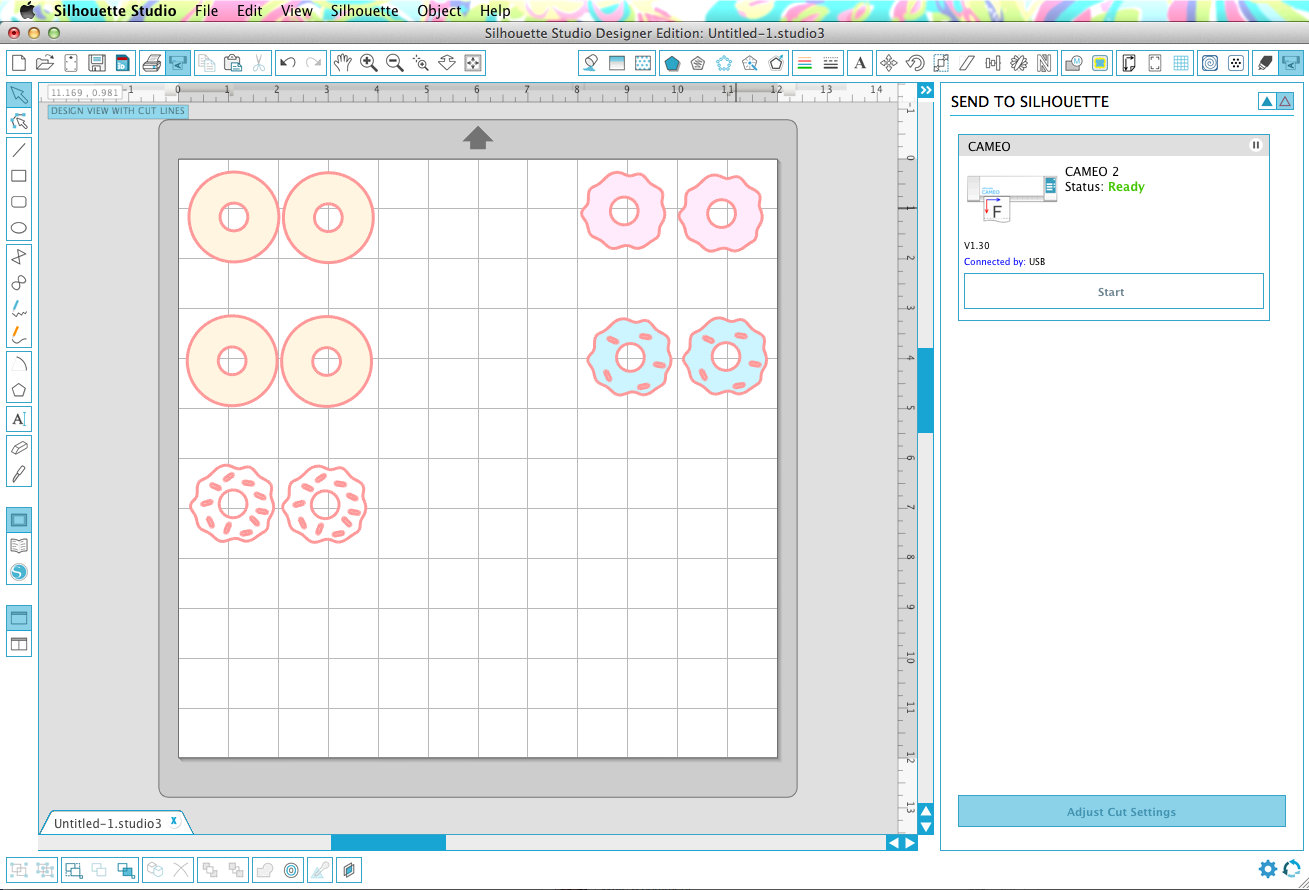
Next, send that baby to your machine and watch it go! I only took me 1 min and 28 seconds from start to finish to get all of these piece cut! It would have taken a lot longer if I had done one layer at a time!
Ok, so now that we’ve cut all of our layers out in record time we’re ready to assemble the clips. You’ll need some sort of adhesive for the paper layers and hot glue for the enclosing of the paper clip. By the way, a cordless hot glue gun is an AMAZING thing to have!
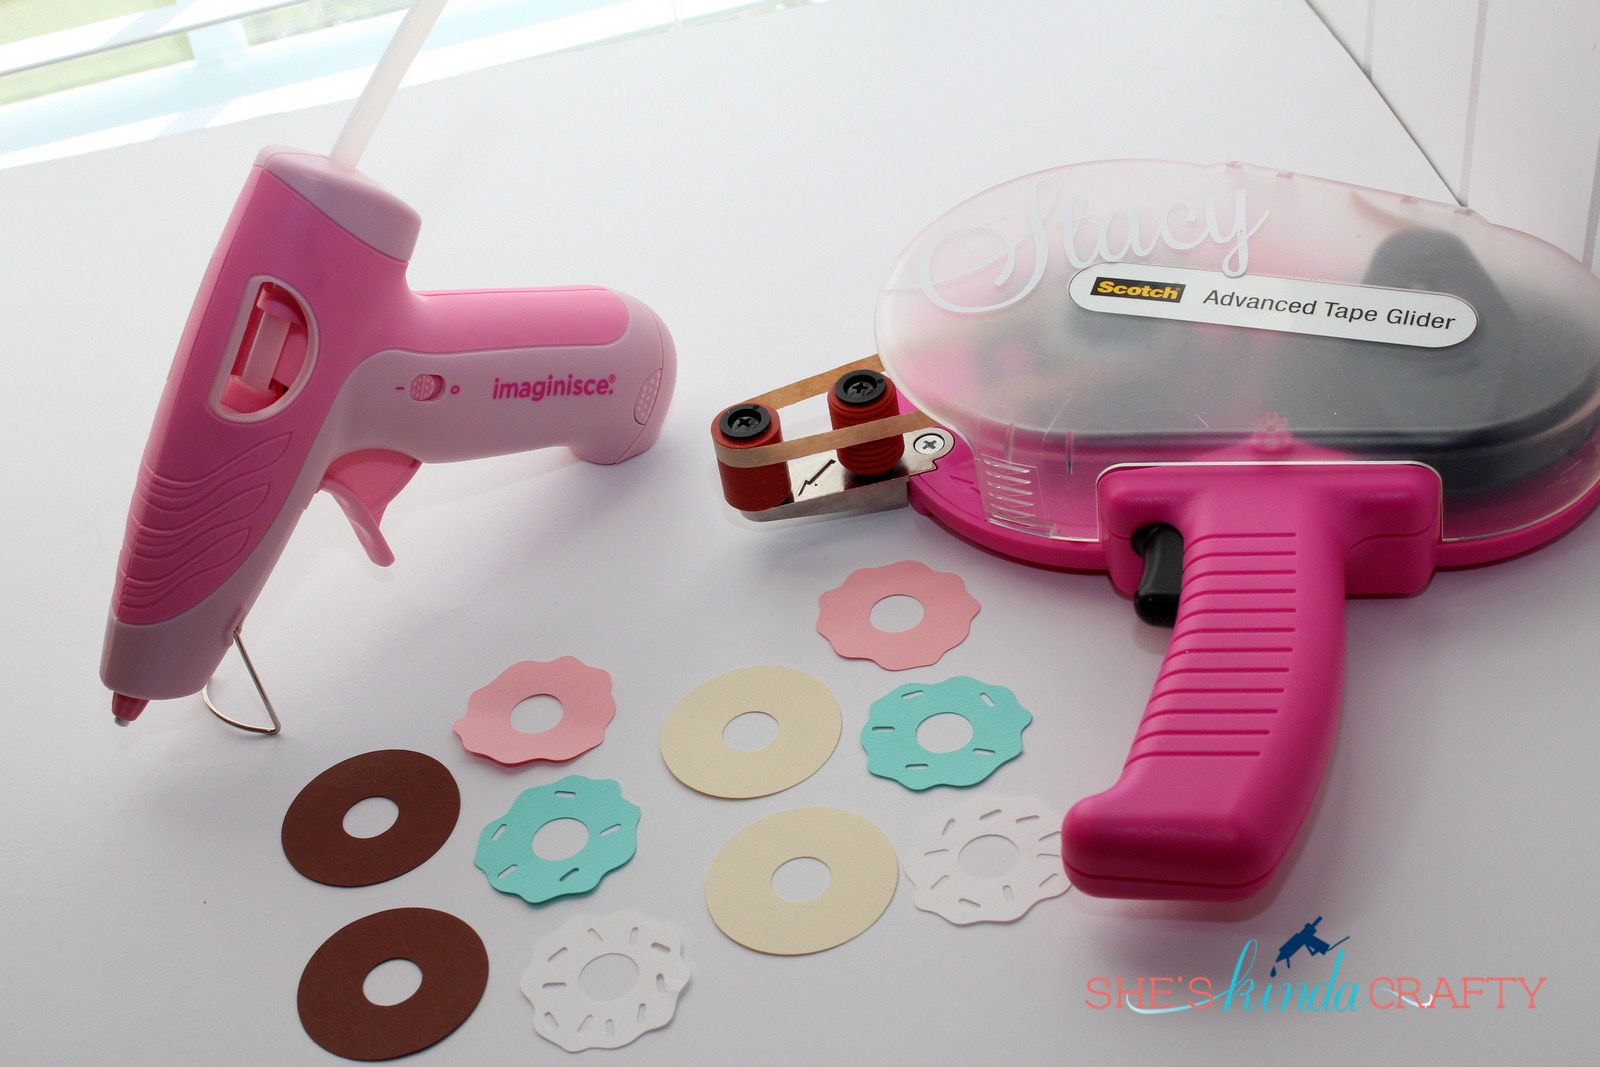
Line up your layers, use the adhesive runner to stick them all together. Then, apply a nice amount of glue on the back of your shape and use that share base layer you cut to sandwich the paper clip between. Give it about a minute to dry and you are ready to clip away!!
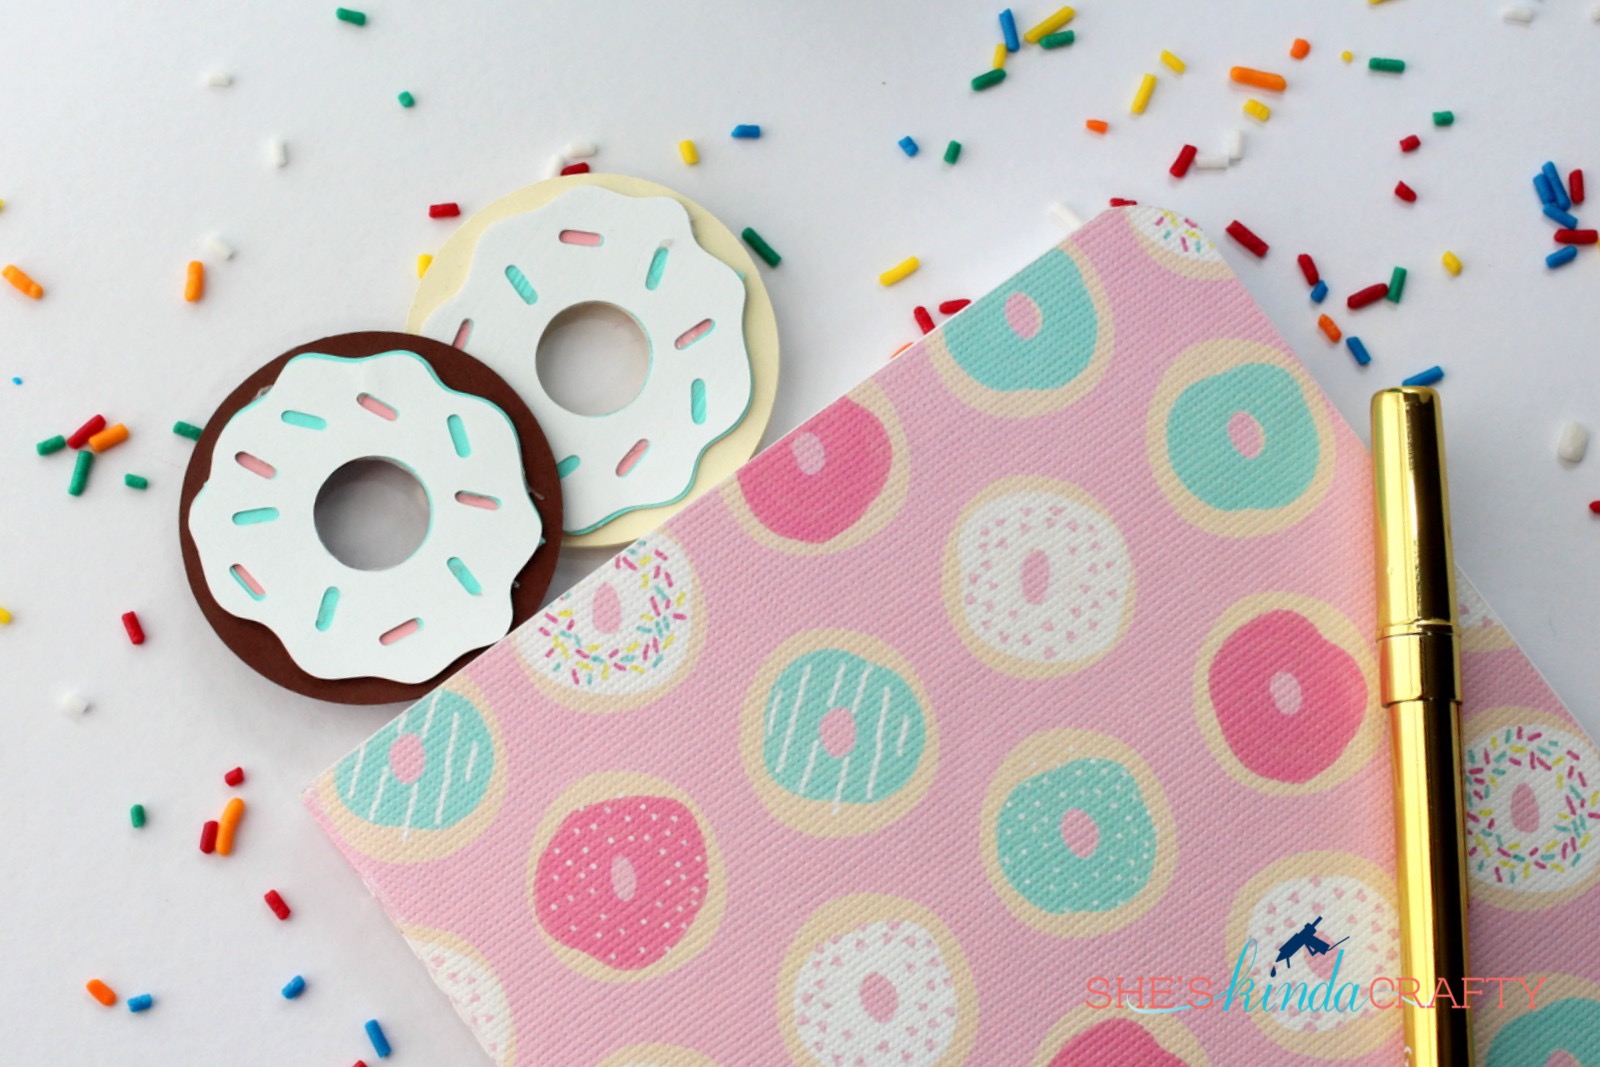
Now I will always know exactly what week I am on in my May Designs meal planner. Which, by the way, is about the cutest thing ever (you can turn any of their designs into a meal planner)!
So what do you think? Are you ready to try cutting with scraps? You can use this same technique when you are cutting vinyl, too! Let me know if you have any questions!!


Leave a Reply