Shes {kinda} Crafty

Dedicated to All Things {kinda} Crafty

  • Home
  • Blog
  • About Me
  • Shop
  • Wreaths
  • As Seen On
  • Privacy Policy

#TBT (Throwback Thursday) Print and Cut Tutorial

March 20, 2014 By Stacy 5 Comments

We’re going Throwback Thursday Style today with a print and cut tutorial for your Silhouette cutting machine! Why the throwback? Well because Silhouette has an amazing deal on a Print and Cut Bundle!! I’ll post the details under the tutorial, just remember you have to use the coupon code KINDA to get the discounts!

The Silhouette can do many amazingly awesome things, the problem is you have to know how to use the software to get it to do all those amazingly awesome things. I will try to bring you some Silhouette Tutorials as questions come my way.

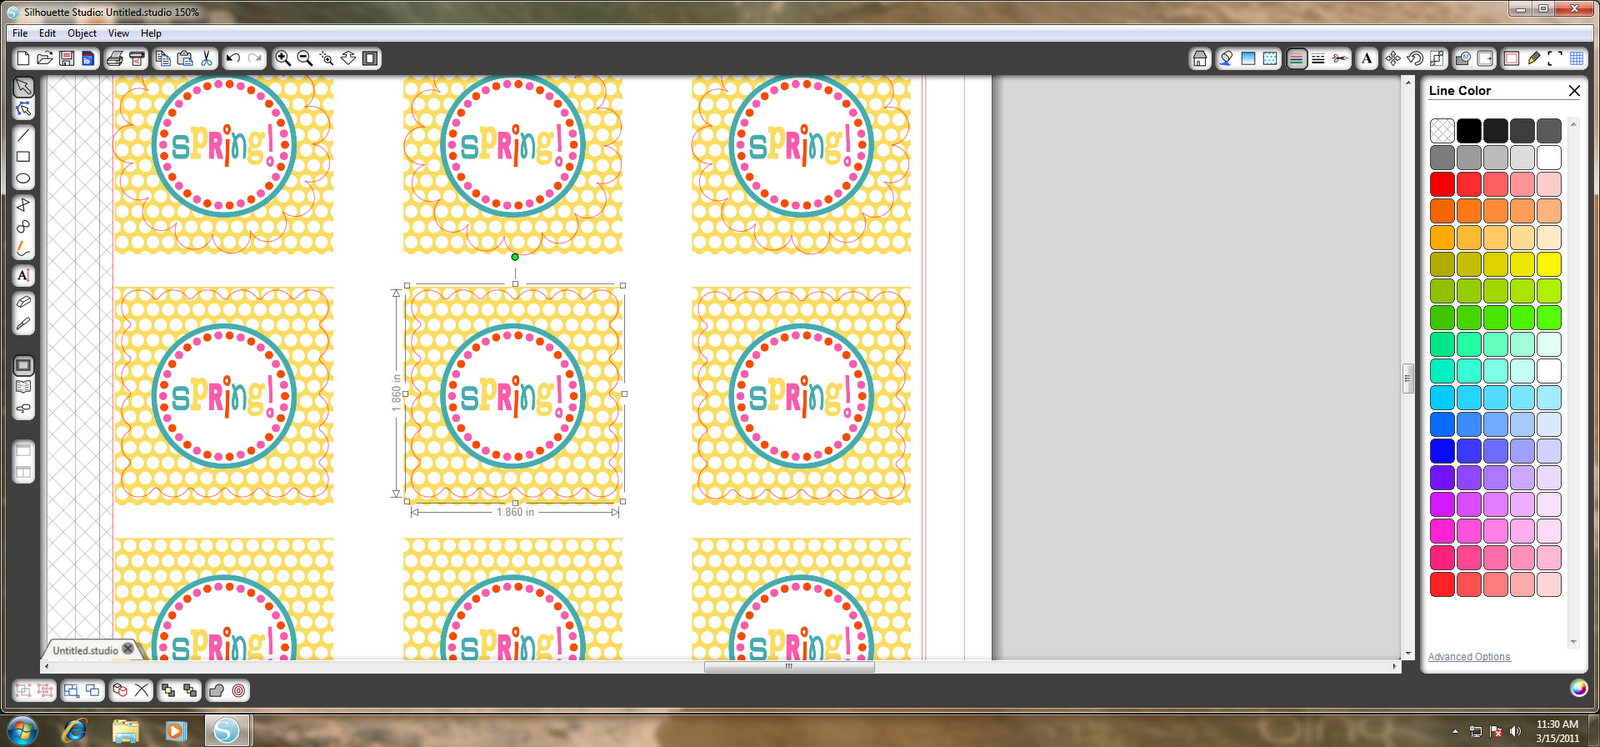
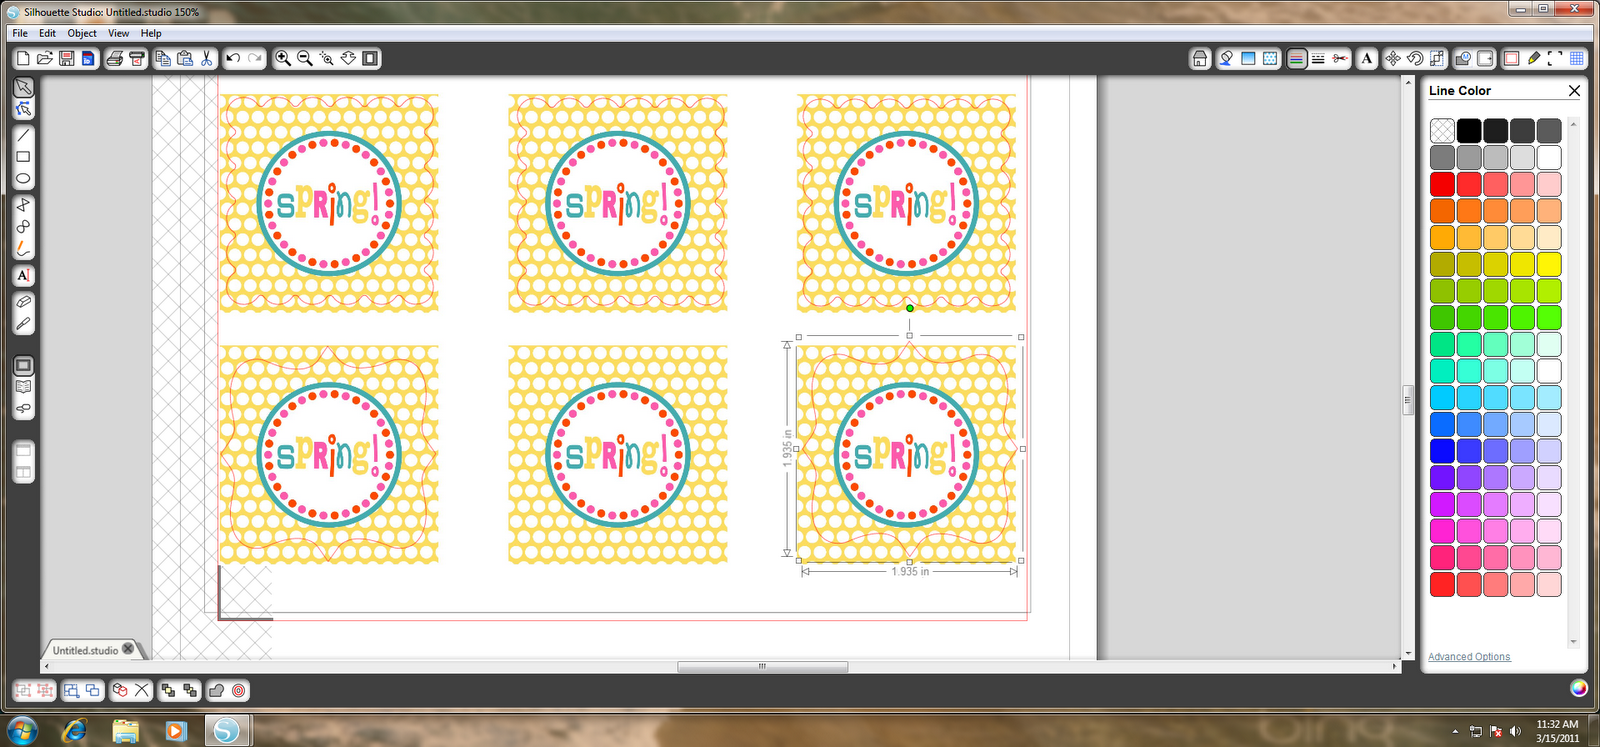
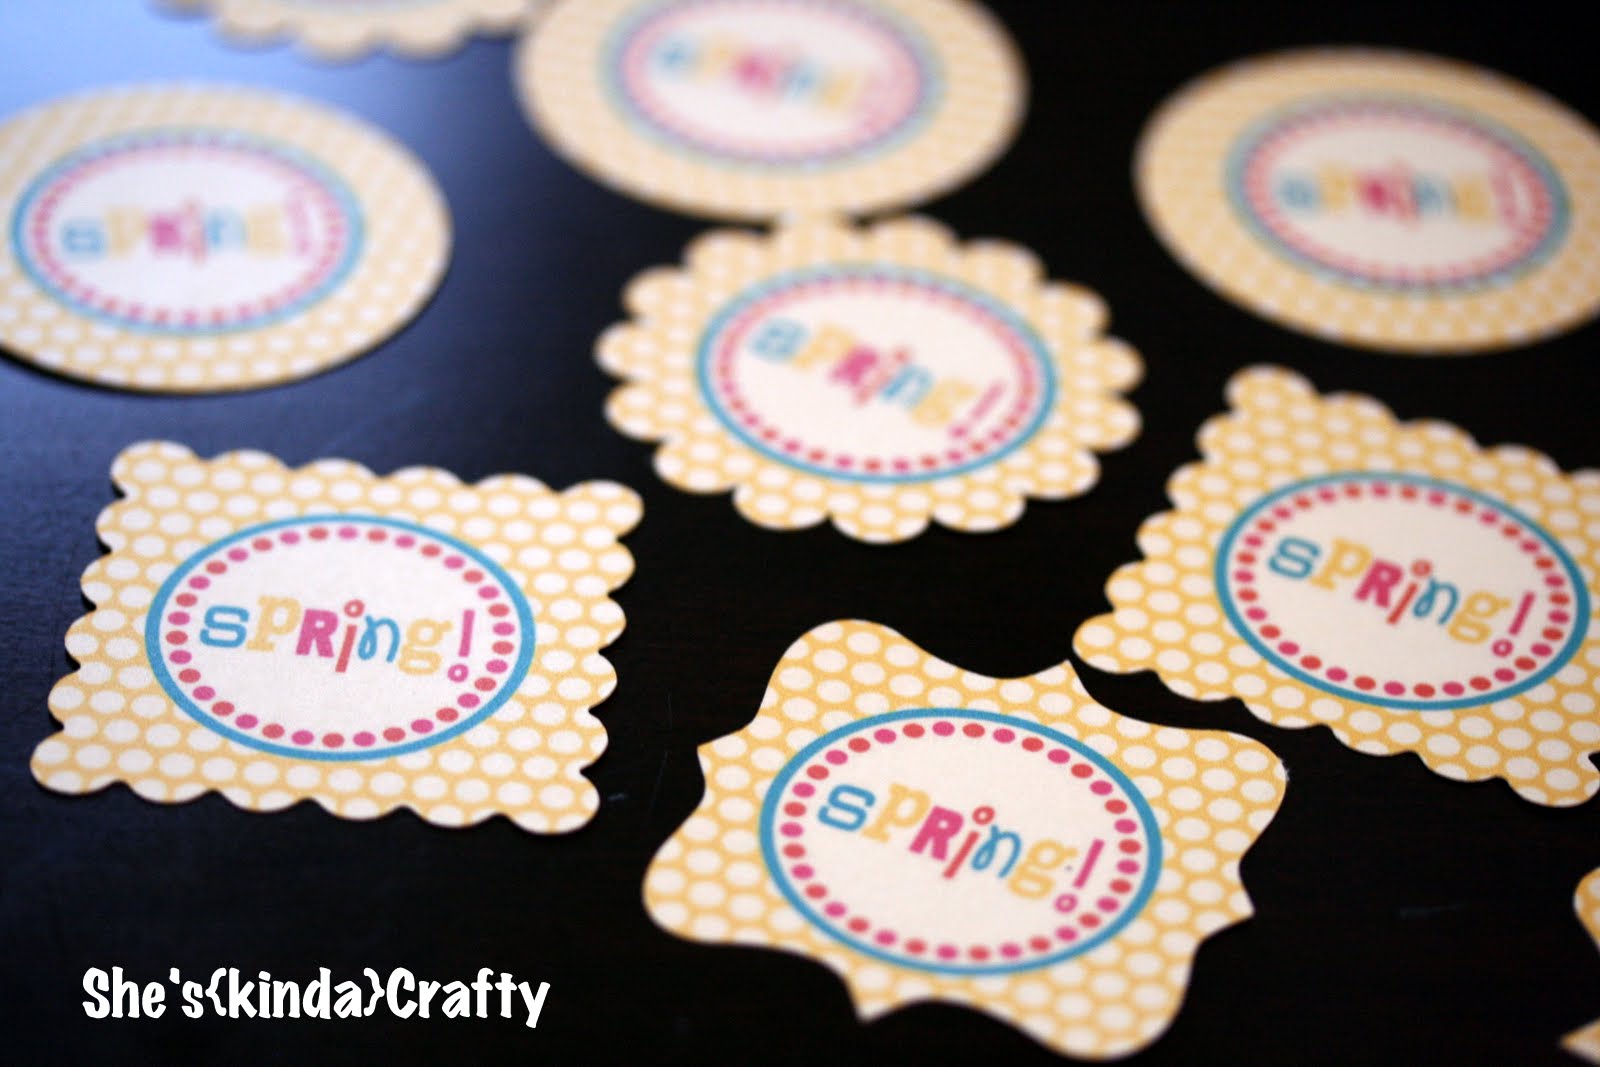
Today’s tutorial is how to effectively use the Print and Cut feature on your machine to “punch” out party circles/logos/tags in many different shapes without needing any physical punches! I am going to use my Spring party tags from my latest Crafty Ladies Night Out post. However after going through the steps to make the tutorial I realized it would be easier if I resized my dimensions to make it easier for you. So you can now download those newly resized pages here and here. However my screen shots will have the original files.

***warning – the following tutorial is rather wordy – my apologizes in advanced***
{if you want to see more details in the photos just click on them to get a full screen view}
Open a new Silhouette Studio page and turn on your registration marks
  Import the downloaded file into your Library
Go to your image library and double click on the file you just imported. If you can not find it make sure you are looking in the folder that is called “Show All Designs” it should be in there. When you open the image it will be much larger than your page, just resize it until the graphics fit in the red box (which is the constraints on the cutting area).
It should look like this
 Using the circle drawing button on the left hand side of the screen, make a circle that is the size you wan your “punch” to be and center it around the tag (Silhouette studios gives you great guides that show you the height and width of your drawing so you know it’s an exact circle). 
a closer look – then copy and paste that circle as many times as punches you need. You will have to manually center the circles on top of each graphic.
But you don’t just have to use circles. Here I took a scalloped circle shape I had and resized it to fit my graphic and then copied and pasted it 2 more times.
And then I did the same with a scalloped square
And a fun bracket shape, too!
(this completes our screen shot portion of the tutorial)
Now you are ready to print and cut the page. Here is where the tricky wordy part starts. First you want to go to Object Cut Line Settings and make sure that the large imported file is not set to cut because it will try to cut all the way around the border of that file you imported (just select that line/large box that is going all the way around the page and then click “no cut”). Then, for some reason Silhouette will not print the registration marks correctly if you have an image on top of them (even though you can clearly see those registration marks in full in the photo above, the white portion of my image is sitting on top of them and they wouldn’t print out for me). So if at all possible make your image smaller than those marks.
Now we are ready to cut. Select your paper type and make sure you have the right blade setting for your paper type and press “send to Silhouette”. It will ask you if you want to print or skip printing, go ahead and print your paper with the registration marks. Then it will ask you if you want to detect registration marks, and the answer is Yes! This is how the machine knows exactly where to cut your shapes in relationship to your printed page. Once the marks have been detected you just tell it to go ahead and cut and that’s it!! Now it may take a couple of times of trial and error to get it all down but of course practice makes perfect! Here is what mine looked like
I hope that this make some sense. It is way easier to do than to explain, so if there are any parts that don’t make sense please leave a comment and I will email you back! Or leave me a posting on my Facebook page and I will get back to you there! Happy Crafting!
So what can you get in the Print and Cut Bundle? By using the coupon code KINDA you can get – 
 Silhouette CAMEO® plus the following print & cut related items:

1 package of temporary tattoo paper

1 package of printable adhesive kraft paper

1 package of printable adhesive gold foil

1 package of printable adhesive silver foil

1 package of printable white sticker paper

1 package of printable clear sticker paper

1 package of printable adhesive cotton canvas

for $269.99 (MSRP $357.92)

or
Silhouette Portrait™ plus the following print & cut related items:
1 package of temporary tattoo paper
1 package of printable adhesive kraft paper
1 package of printable adhesive gold foil
1 package of printable adhesive silver foil
1 package of printable white sticker paper
1 package of printable clear sticker paper
1 package of printable adhesive cotton canvas
for $129.99 ($237.92 MSRP)
If you have any questions about the specialty media, let me know! I am working on some tattoos to show y’all real soon!!

Related posts:

Default ThumbnailSilhouette {Tutorial} – Print & Cut Default ThumbnailPrint and Cut 101: Back to School Labels Default ThumbnailCustom Ribbon | How to Print on Ribbon Default ThumbnailVinyl Layering 101 | A Silhouette Tutorial

Filed Under: DIY, Silhouette, tutorial

← Peacock Diaper Cake April (no) Fools Free Printable Tag →

Comments

  1. Amy says

    March 24, 2014 at 6:06 pm

    Hi! I have what is probably a very dumb question…does the Silhouette print the labels and cut them or do you print them and then use the Silhouette to cut them out? I thought it printed from this post, but when I looked at their site it said it cuts things I printed with my home printer. Thanks so much!

    Reply
    • Stacy @ She's {kinda} Crafty says

      March 24, 2014 at 6:15 pm

      Hi Amy,
      The Silhouette is NOT a printer. You print the page, with the registration marks, from your own printer, and then the Silhouette uses those registration marks to precisely cut them out.

      Reply
  2. Bellenza Wedding Bistro says

    April 5, 2014 at 7:31 am

    Awesome tutorial! Thanks for this. Really helpful 🙂

    Reply
  3. Crystal King says

    April 8, 2014 at 12:37 am

    What program did you use to make your spring circleslabels?

    Reply
  4. Crystal King says

    April 8, 2014 at 12:37 am

    What program did you use to make your spring circleslabels?

    Reply

Leave a Reply Cancel reply

Your email address will not be published. Required fields are marked *

CommentLuv badgeShow more posts

Welcome! {I’m Stacy.}


Good time, great laughs, and lots of crafts!
I am a full-time working momma of 2 adorable and funny and fully southern little ladies. I like to think that everyone has a crafty side, even if it's only kinda crafty.

{find it}

{follow via Email}

Enter your email address to subscribe to this blog and receive notifications of new posts by email.

Google+ Badge

{previous posts}

Rivit Media Publisher

{Popular Posts}

  • Time for a Quiz | Father's Day Free Printables
  • Custom Ribbon | How to Print on Ribbon
  • Camping Pillow Tutorial | Ann Kelle Fabrics
  • Can We Play? | Last Day of School Cards
  • DIY Stripes and Glitter Mason Jar

{Facebook}

Unable to display Facebook posts.
Show error

Error: (#200) Provide valid app ID
Type: OAuthException
Code: 200
Please refer to our Error Message Reference.

{Instagram}

{Pinterest}

Follow Me on Pinterest

Copyright © 2025 · Daily Dish Pro Theme on Genesis Framework · WordPress · Log in