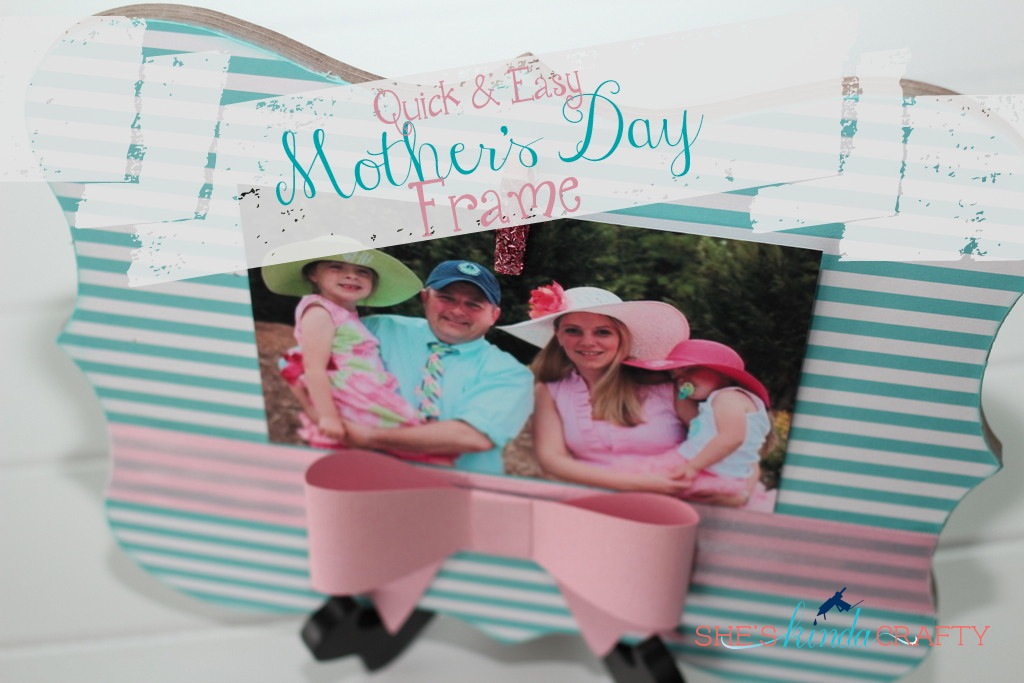
This “frame” starts out with some simple supplies including this oh, so yummy, chipboard decor shape that I picked up from Hobby Lobby last week. It even has 2 pre-drilled keyhole notches so it’s all ready for hanging! On the plus side for me, it’s super light since I have to ship my gifts.

Supplies:
- Chipboard decor “frame”found at Hobby Lobby for $3.99 (you could also use a piece of wood)
- 12×12 scrapbook paper of your choice
- Mod Podge & brush
- Mini clothespin
- glitter (you could just paint yours if you’d like)
- Scissors or craft knife
- various embellishments – optional
- hot glue

Turn both your paper and your chipboard over (obviously I didn’t do that for the purposes of this photo) and trace your chipboard shape on to your paper.

Carefully cut out your paper so it is the same shape as your chipboard. Don’t worry too much about the exact size, we’ll take care of that in a moment, but make sure the paper is not smaller than the chipboard, bigger is better in this case.

Working quickly, apply a nice even coat of mod podge on your chipboard and lay your paper in place on top of the glue. Use your hands to work the paper in place from one side to the other to limit your air pockets. Let the paper dry for about 5 minutes (you can continue on to the next step while it dries) and then flip the board over and trim off any excess paper. Once I trimmed off all the extra paper I took a nail file and “sanded” down the edges.
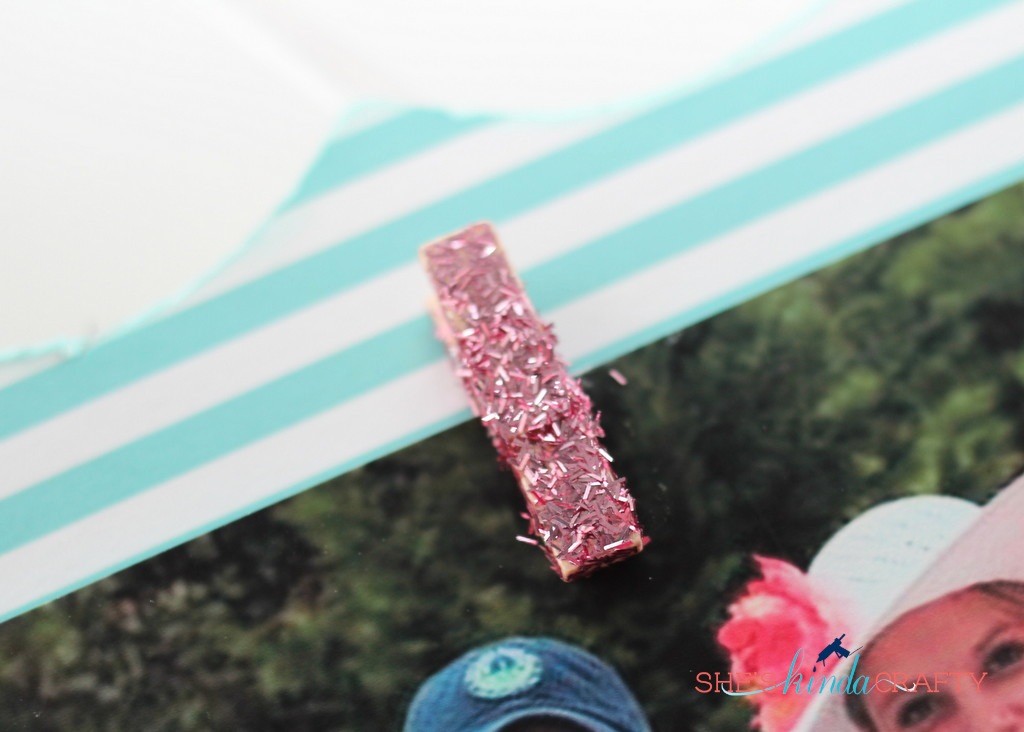
Use a little of your Mod Podge to apply a thin layer to your mini clothespin and then shake liberally with glitter. I only had tinsel glitter in the color I wanted but I think regular glitter would be better since the clothespin is so small. Give it a minute or so to dry (let it dry while you go trim the excess paper from around your chipboard) and then use a small dab of hot glue to secure the clothespin into place.

I had some extra ribbon and paper bow cut outs from the party this weekend laying around so I decided to embellish my frame with them. The options on embellishing this project are limitless, I wanted to keep a nice clean look to my frame but feel free to add anything you have or can make to this project to make it uniquely your own. This is a great time to add some personalization for the recipient, too!


very cute!
Adorable! Thanks for the easy idea 🙂
Soooo…cute! Thanks for the idea! Found you over at Tater Tots and Jello. Pinned it!
Hope you’ll drop by I Dig Pinterest soon.
Christine @ http://idigpinterest.blogspot.com
This is really cute, Modpodge hates me but I would give this a try in a heart beat. Thanks for sharing.
That looks so pretty! I am still looking for Mother’s Day gift ideas so thanks for sharing this.
If you have a minute to spare I’d be thrilled if you could share this post at my weekly Say G’Day Saturday linky party which has just started. I’m also inviting Pinning Bloggers to pin to my Mother’s Day Group board; if you are interested the details are all at my blog.
Best wishes and happy weekend!
Natasha in Oz
http://www.natashainoz.com